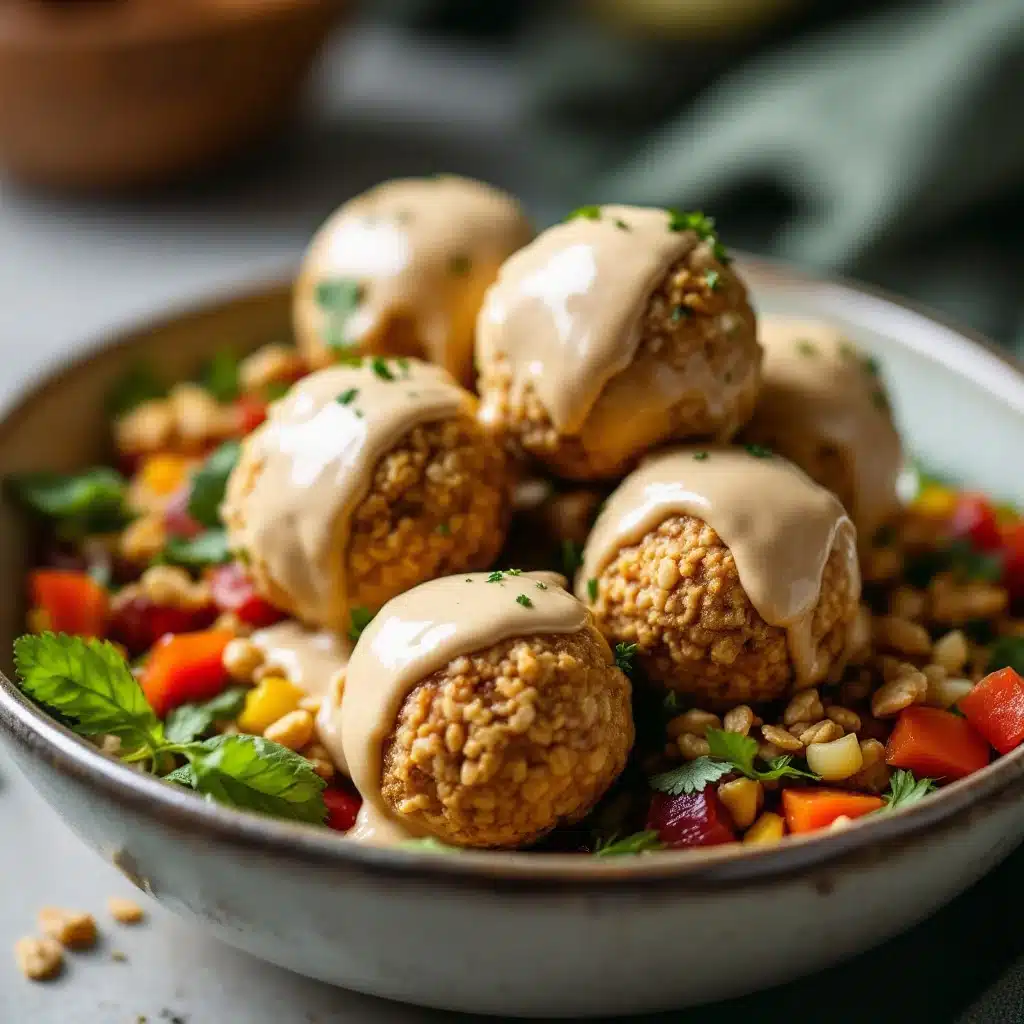
I figured these little energy balls would be a decent snack, something to tide me over between meals. It took about one bite for that assumption to get completely wrecked. I was standing in my kitchen, staring at a bowl of oats, peanut butter, and honey, thinking I was just making a sensible, practical little snack. You know, something responsible. But then I rolled the first one, popped it in my mouth, and honestly? I almost ate the entire batch right there. They were that good. And the best part? There was no oven involved, no waiting, no complicated steps. Just me, a bowl, and ten minutes that changed my snack game forever.
These Easy No-Bake Peanut Butter Granola Bites are the kind of recipe that feels like a cheat code. They are ridiculously simple to throw together, yet they deliver this perfect little punch of sweet, salty, peanut buttery goodness that hits every single craving. I started making them on a whim one afternoon when I needed something—anything—that didn’t require turning on the stove. The kitchen was already warm, and I just couldn’t. So I grabbed what I had, crossed my fingers, and ended up with a snack that I now make at least once a week. They are my go-to for busy mornings, afternoon slumps, and those moments when you need a little something sweet but don’t want to commit to a whole baking project. Trust me, once you make them, you will understand why I can’t stop talking about them.
Why You’ll Love This Recipe
Let me tell you why these little bites have become a staple in my house. Honestly, it is not just about the taste—though that is a huge part of it. It is about how easy they are and how good they make you feel.
- Quick & Easy: These come together in under 10 minutes. No joke. You mix, you roll, you eat. Perfect for those days when you need a snack now.
- Simple Ingredients: You probably have everything in your pantry already. Oats, peanut butter, honey, chocolate chips—the usual suspects. No fancy trips to the store required.
- Perfect for Meal Prep: Make a batch on Sunday, and you have snacks for the whole week. They are great for lunchboxes, post-workout refueling, or a quick breakfast on the go.
- Crowd-Pleaser: Kids love them, adults love them, and they disappear fast at parties. I have brought these to playdates, and they are always the first thing to go.
- No-Bake Magic: This is the best part. No oven, no heat, no fuss. Just mix and chill. It is practically foolproof.
What makes this recipe different from all the other energy ball recipes out there? It is the texture. I have tested a lot of versions, and this one hits that perfect sweet spot—not too dry, not too sticky, with just the right amount of chew. The peanut butter coats every oat perfectly, and the mini chocolate chips add these little pockets of melty goodness. It is the kind of snack that makes you close your eyes after the first bite. It is comfort food, but in a healthy, wholesome package. Perfect for impressing guests without any stress, or for turning a simple Tuesday afternoon into something a little more special.
What Ingredients You Will Need
This recipe uses simple, wholesome ingredients to deliver bold flavor and satisfying texture without the fuss. Most of these are pantry staples, which is exactly why I love this recipe. Here is what you will need:
- 1 cup old-fashioned rolled oats: These give the bites their hearty texture. I prefer old-fashioned oats over quick oats because they hold up better and don’t get mushy. You can use quick oats in a pinch, but the texture will be a bit softer.
- 1/2 cup creamy peanut butter: This is the glue that holds everything together. I recommend using a natural, no-stir peanut butter for the best flavor and consistency. If you use a natural peanut butter that separates, make sure to stir it really well before measuring. My personal favorite is Skippy Natural—it has the perfect balance of creaminess and sweetness.
- 1/3 cup honey: This adds just the right amount of sweetness and helps bind the ingredients. You can also use maple syrup for a slightly different flavor profile. Honey works best for texture, though.
- 1/4 cup mini chocolate chips: These are the little bursts of joy in every bite. I use semi-sweet mini chocolate chips because they melt perfectly and distribute evenly. You can use dark chocolate, milk chocolate, or even white chocolate chips if you prefer.
- 1/4 cup ground flaxseed: This is my secret ingredient. It adds a boost of fiber and omega-3s without changing the flavor. You can skip it if you don’t have it, but it really helps with the texture and makes the bites a little more nutritious.
- 1/4 teaspoon salt: A little salt balances the sweetness and brings out the peanut butter flavor. If your peanut butter is already salted, you can reduce this to a pinch.
- 1/2 teaspoon vanilla extract: This adds a warm, comforting flavor that ties everything together. Don’t skip it—it makes a difference.
Ingredient Selection Tips: For the best results, look for oats that are fresh and not stale. I always check the expiration date on my oats before using them. For the peanut butter, avoid the “natural” kinds that are super runny—they can make the mixture too sticky. A creamy, well-stirred peanut butter is your best bet.
Substitution Guidance: If you need a gluten-free option, make sure to use certified gluten-free oats. For a vegan version, swap the honey for maple syrup or agave nectar. You can also substitute the peanut butter with almond butter or sunflower seed butter for a nut-free option. And if you are not a fan of chocolate chips, try dried cranberries, raisins, or chopped nuts instead.
Equipment Needed
You do not need much for this recipe, which is part of the beauty. Here is what you will need:
- Large mixing bowl: Any medium to large bowl will work. I use a glass or stainless steel bowl because they are easy to clean and don’t hold onto flavors.
- Measuring cups and spoons: Accurate measurements are key for getting the right texture. I recommend using dry measuring cups for the oats and flaxseed, and liquid measuring cups for the honey and peanut butter.
- Rubber spatula or wooden spoon: For mixing everything together. A rubber spatula is my go-to because it scrapes the sides of the bowl really well.
- Baking sheet or plate: To hold the rolled bites while they chill. Line it with parchment paper for easy cleanup.
- Parchment paper: Optional but helpful for preventing sticking and making cleanup a breeze.
- Refrigerator: The bites need at least 30 minutes to firm up. Patience is key here!
Budget-Friendly Options: You do not need any fancy equipment for this recipe. A simple bowl and a spoon will do the job. If you don’t have a baking sheet, a regular dinner plate works just fine for chilling the bites. And if you are in a rush, you can even pop them in the freezer for 15 minutes instead of the fridge.
Preparation Method
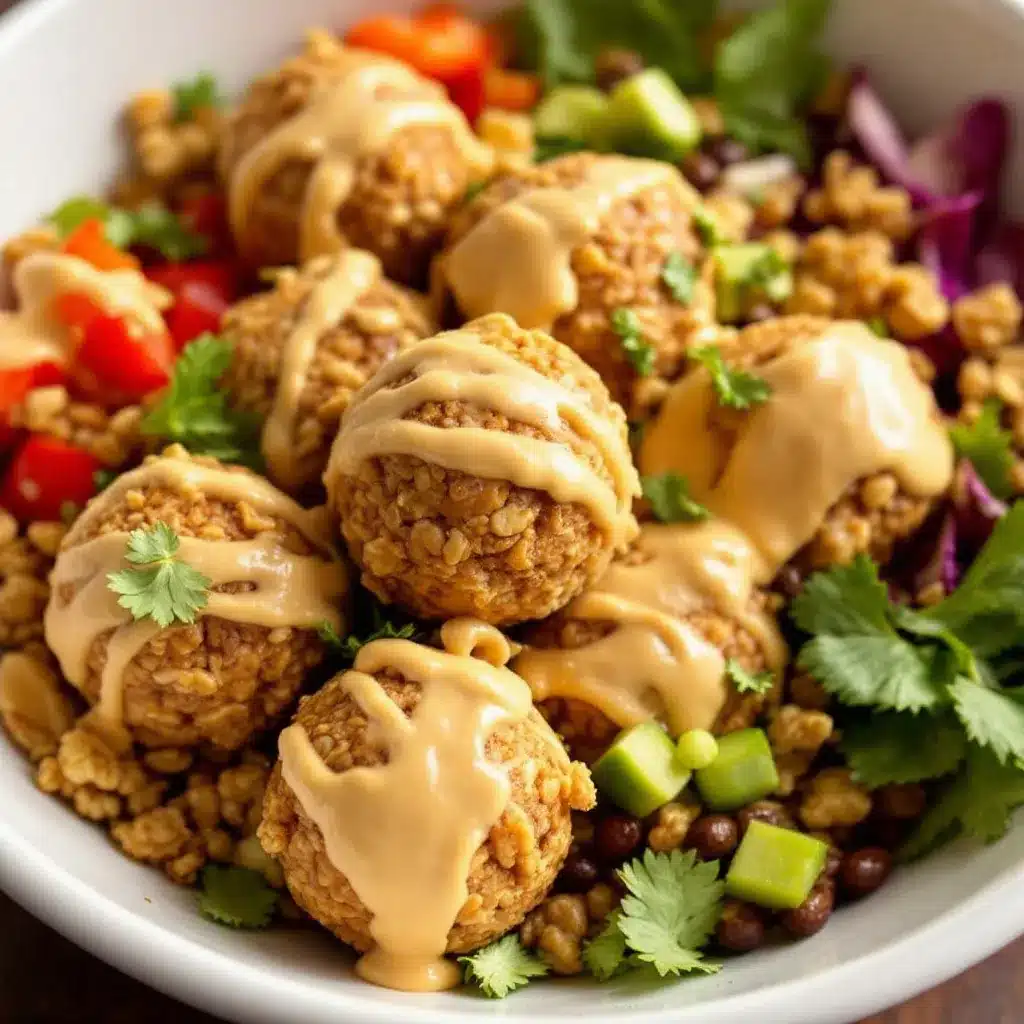
Alright, let’s get to the fun part. This is so simple, you might be skeptical. But trust the process—it works.
- Combine the dry ingredients: In a large mixing bowl, add 1 cup of old-fashioned rolled oats, 1/4 cup of ground flaxseed, 1/4 teaspoon of salt, and 1/4 cup of mini chocolate chips. Give it a quick stir with your rubber spatula to distribute everything evenly. This step ensures that the chocolate chips are scattered throughout, so every bite gets a little piece of chocolate.
- Add the wet ingredients: Add 1/2 cup of creamy peanut butter, 1/3 cup of honey, and 1/2 teaspoon of vanilla extract to the bowl. This is where the magic happens. The peanut butter and honey act as the glue, binding everything together into a cohesive mixture.
- Mix until combined: Stir everything together with your rubber spatula or wooden spoon. At first, it might seem like the dry ingredients are not going to come together. Keep mixing—it will happen. You want a uniform, slightly sticky mixture that holds together when pressed. If it feels too dry, add a teaspoon more of honey or peanut butter. If it feels too sticky, add a tablespoon more of oats.
- Chill the mixture (optional but recommended): For easier rolling, you can pop the bowl in the fridge for about 10-15 minutes. This firms up the mixture and makes it less sticky to handle. I usually skip this step if I am in a hurry, but it does make the rolling process a little cleaner.
- Roll into bites: Using your hands, scoop out about 1 tablespoon of the mixture and roll it into a ball. You want them to be about 1 inch in diameter—roughly the size of a walnut. Place each rolled bite on a parchment-lined baking sheet or plate. Repeat until all the mixture is used. You should get about 18-20 bites, depending on the size.
- Chill to set: Place the baking sheet or plate in the refrigerator for at least 30 minutes. This allows the bites to firm up and hold their shape. If you are in a rush, you can pop them in the freezer for 15 minutes instead. They will be ready to eat even sooner!
- Enjoy: Once chilled, they are ready to go. Store any leftovers in an airtight container in the refrigerator for up to a week. I bet they won’t last that long, though.
Preparation Notes: The mixture should feel slightly sticky but not wet. If it is too sticky to roll, add a little more oats. If it is too dry and crumbly, add a little more honey or peanut butter. The texture should be like a soft cookie dough.
Sensory Cues: When you mix the ingredients, you will notice the peanut butter and honey coating every oat perfectly. The mixture will smell warm and nutty, with a hint of sweetness from the honey. When you roll the bites, they should feel slightly firm but pliable—like a soft play dough. The chocolate chips will be visible throughout, promising little pockets of sweetness in every bite.
Cooking Tips & Techniques
Over the years, I have learned a few tricks that make these bites even better. Here are my top tips for success:
- Use room temperature ingredients: If your peanut butter or honey is cold, it will be harder to mix. Let them sit out for a few minutes before starting. This makes the mixture come together much more smoothly.
- Don’t overmix: Once the ingredients are combined, stop mixing. Overmixing can make the oats break down and turn the mixture into a paste. You want a chunky, textured bite, not a smooth one.
- Wet your hands slightly: If the mixture is sticking to your hands while rolling, lightly dampen your palms with water. This prevents sticking without adding too much moisture to the bites. It is a game-changer.
- Use a cookie scoop for uniformity: If you want perfectly even bites, use a small cookie scoop or a tablespoon measure. This ensures that each bite is the same size, which helps with even chilling and portion control.
- Let them rest after rolling: After you roll the bites, let them sit at room temperature for about 5 minutes before putting them in the fridge. This allows the flavors to meld together and the texture to stabilize.
Common Mistakes and How to Avoid Them: One of the biggest mistakes I made early on was using a natural peanut butter that was too runny. The mixture turned into a sticky mess, and the bites never firmed up properly. Stick with a creamy, well-stirred peanut butter for the best results. Another mistake is skipping the chill time. I know it is tempting to eat them right away, but the bites really need that time in the fridge to hold their shape. Trust me, it is worth the wait.
Personal Cooking Failure: I once tried to make these with almond butter, and they turned out way too oily. The almond butter I had was super runny, and the bites never set. They were more like a crumbly mess than a snack. So, lesson learned: stick with peanut butter, or if you use another nut butter, make sure it is thick and creamy.
Variations & Adaptations
One of the best things about this recipe is how versatile it is. You can switch things up based on what you have in your pantry or what you are craving. Here are some of my favorite variations:
- Chocolate Peanut Butter Bliss: Add 1 tablespoon of cocoa powder to the dry ingredients for a double-chocolate experience. This is my go-to when I need a serious chocolate fix. The cocoa powder pairs beautifully with the peanut butter and honey.
- Crunchy Nutty Bites: Replace the chocolate chips with 1/4 cup of chopped peanuts or almonds. This adds a nice crunch and makes the bites even more satisfying. I love these for a post-workout snack when I need a little extra protein.
- Tropical Twist: Swap the chocolate chips for 1/4 cup of dried pineapple or mango, and add 2 tablespoons of shredded coconut. This gives the bites a bright, tropical flavor that is perfect for summer. They taste like a vacation in your mouth.
- Vegan Option: Use maple syrup instead of honey, and make sure your chocolate chips are dairy-free. This version is just as delicious and perfect for anyone following a plant-based diet.
- Gluten-Free Adaptation: Use certified gluten-free oats to make this recipe safe for those with gluten sensitivities. Everything else in the recipe is naturally gluten-free, so it is an easy swap.
Personal Variation I Love: I once made a batch with a pinch of cinnamon and a handful of dried cranberries. The warm spice and tart fruit were a beautiful contrast to the rich peanut butter. It felt like a cozy fall snack, even in the middle of summer. I have been making that version ever since.
Serving & Storage Suggestions
These bites are best served cold, straight from the fridge. The texture is firm and satisfying, and the flavors are perfectly balanced. I love to grab a couple as a quick breakfast on busy mornings or as an afternoon pick-me-up when my energy starts to dip.
Serving Suggestions: These bites pair beautifully with a glass of cold milk, a cup of hot coffee, or a smoothie for a more substantial snack. For a fun party platter, arrange them on a board with fresh fruit, cheese, and crackers. They are also great for lunchboxes—just pop them in a container, and they are ready to go.
Storage Instructions: Store the bites in an airtight container in the refrigerator for up to one week. They will stay fresh and firm the whole time. If you want to keep them longer, you can freeze them for up to three months. Just place them in a single layer on a baking sheet, freeze until solid, then transfer to a freezer-safe bag or container. When you are ready to eat, let them thaw in the fridge for about 30 minutes, or enjoy them straight from the freezer for a firmer, colder bite.
Reheating Tips: These bites are meant to be eaten cold, so there is no need to reheat them. However, if you prefer a softer texture, you can let them sit at room temperature for about 10 minutes before eating. The chocolate chips will soften slightly, and the peanut butter will become a little more spreadable.
Flavor Development: One thing I have noticed is that these bites actually get better after a day or two in the fridge. The flavors meld together, and the texture becomes more cohesive. So if you can resist eating them all on day one, you will be rewarded with an even better snack on day two.
Nutritional Information & Benefits
These bites are not just delicious—they are also packed with good-for-you ingredients. Here is a rough estimate of the nutritional information per bite (based on 18 bites):
- Calories: Approximately 120-140 calories per bite
- Protein: 4-5 grams
- Fiber: 2-3 grams
- Healthy Fats: 6-8 grams (from peanut butter and flaxseed)
- Carbohydrates: 14-16 grams
- Sugar: 8-10 grams (mostly natural sugars from honey)
Health Benefits: The oats provide slow-release energy, keeping you full and focused for longer. The peanut butter adds protein and healthy fats, which are great for heart health. The flaxseed is a fantastic source of omega-3 fatty acids and fiber, which supports digestion. And the honey offers natural sweetness along with antioxidants. These bites are a great choice for a pre-workout snack, a post-workout refuel, or a healthy treat for kids.
Dietary Considerations: This recipe is naturally vegetarian and can easily be made vegan (by using maple syrup) or gluten-free (by using certified gluten-free oats). It is also free from refined sugars if you use a natural sweetener like honey or maple syrup. The only potential allergen is peanuts, so be mindful if serving to someone with a nut allergy. You can easily swap the peanut butter for sunflower seed butter for a nut-free version.
Conclusion
These Easy No-Bake Peanut Butter Granola Bites have become a staple in my kitchen for a reason. They are quick, simple, and absolutely delicious. Whether you need a quick breakfast, a post-workout snack, or a healthy treat for the kids, these bites have you covered. And the best part? You can customize them to your heart’s content. Add chocolate, swap in dried fruit, or throw in some nuts—the possibilities are endless.
I love this recipe because it is proof that you do not need a lot of time or fancy ingredients to make something truly satisfying. It is the kind of recipe that makes you feel good about what you are eating, without sacrificing flavor. So go ahead, give them a try. I promise you will be hooked after the first bite.
If you make these, I would love to hear about it! Leave a comment below and let me know how they turned out. Did you try any variations? What is your favorite way to enjoy them? And if you loved this recipe, share it with your friends and family. Happy snacking!
Frequently Asked Questions
Can I use quick oats instead of rolled oats?
Yes, you can, but the texture will be softer. Rolled oats give the bites a heartier, chewier texture that I prefer. If you use quick oats, your bites might be a little more delicate and less structured.
How long do these granola bites last?
They will stay fresh in the refrigerator for up to one week when stored in an airtight container. You can also freeze them for up to three months. Just make sure they are in a freezer-safe bag or container.
Can I make these without honey?
Absolutely! You can substitute honey with maple syrup, agave nectar, or even brown rice syrup. The texture might be slightly different, but they will still be delicious. For a sugar-free option, you can try using a sugar-free syrup, though the texture may vary.
Why are my granola bites too dry?
If your mixture is too dry and crumbly, it usually means you need a little more liquid. Add an extra tablespoon of honey or peanut butter and mix again. The mixture should hold together when pressed between your fingers.
Can I add protein powder to these bites?
Yes, you can! Just add 1-2 tablespoons of your favorite protein powder to the dry ingredients. You may need to adjust the wet ingredients slightly, as protein powder can absorb moisture. Start with a tablespoon and see how the mixture feels.
Pin This Recipe!
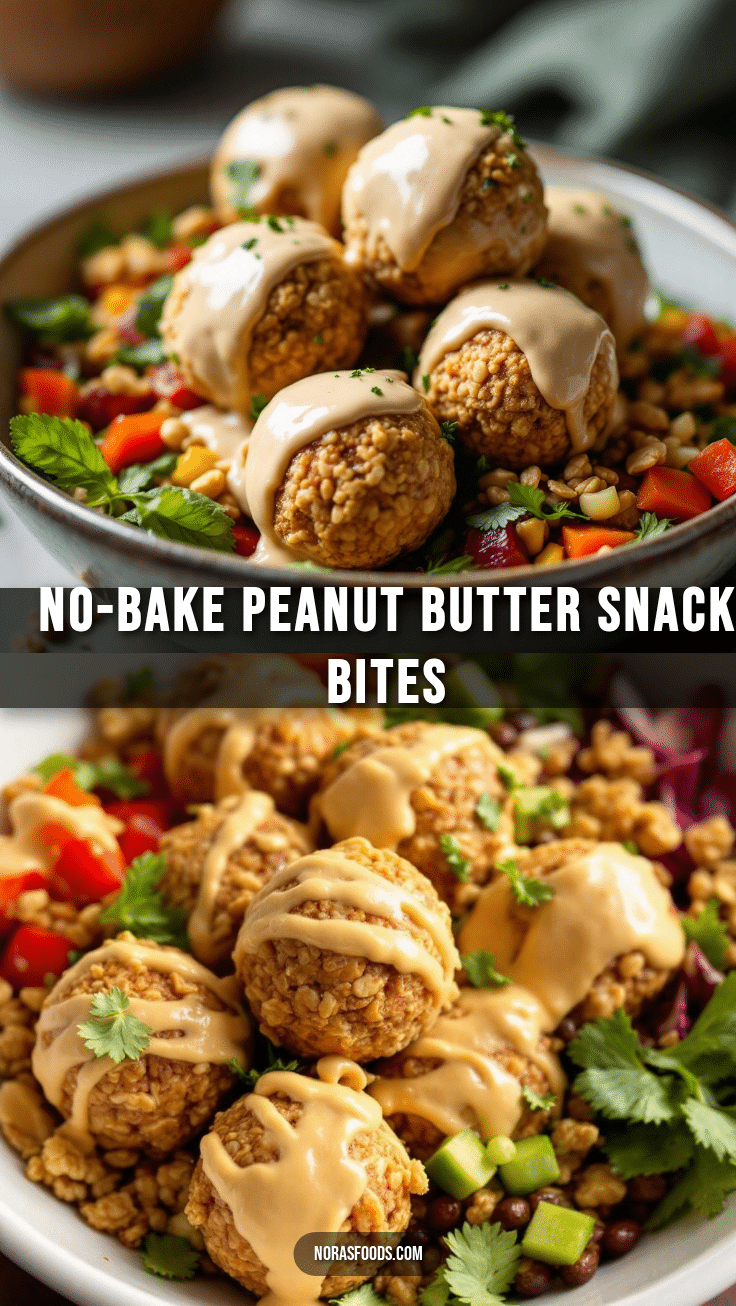
Easy No-Bake Peanut Butter Granola Bites: Best 10-Minute Snack

These no-bake peanut butter granola bites are a quick, easy, and delicious snack made with simple pantry ingredients. Ready in just 10 minutes, they are perfect for meal prep, busy mornings, or a healthy treat.
- Prep Time: 10 minutes
- Cook Time: 0 minutes
- Total Time: 40 minutes (includes 30 minutes chilling)
- Yield: 18-20 bites 1x
- Category: Snack
- Cuisine: American
Ingredients
- 1 cup old-fashioned rolled oats
- 1/2 cup creamy peanut butter
- 1/3 cup honey
- 1/4 cup mini chocolate chips
- 1/4 cup ground flaxseed
- 1/4 teaspoon salt
- 1/2 teaspoon vanilla extract
Instructions
- In a large mixing bowl, combine the rolled oats, ground flaxseed, salt, and mini chocolate chips. Stir to distribute evenly.
- Add the creamy peanut butter, honey, and vanilla extract to the bowl.
- Mix everything together with a rubber spatula or wooden spoon until a uniform, slightly sticky mixture forms. If too dry, add a teaspoon more honey or peanut butter; if too sticky, add a tablespoon more oats.
- For easier rolling, chill the mixture in the refrigerator for 10-15 minutes (optional).
- Using your hands, scoop about 1 tablespoon of the mixture and roll into a 1-inch ball. Place on a parchment-lined baking sheet or plate. Repeat with remaining mixture (makes about 18-20 bites).
- Refrigerate the bites for at least 30 minutes to firm up (or freeze for 15 minutes if in a rush).
- Enjoy chilled. Store leftovers in an airtight container in the refrigerator for up to one week.
Notes
For best results, use a creamy, well-stirred peanut butter. If the mixture is too sticky to roll, lightly wet your hands. These bites get better after a day in the fridge as flavors meld. For a vegan version, substitute honey with maple syrup. For a nut-free version, use sunflower seed butter.
Nutrition
- Serving Size: 1 bite
- Calories: 130
- Sugar: 9
- Sodium: 85
- Fat: 7
- Saturated Fat: 1.5
- Carbohydrates: 15
- Fiber: 2.5
- Protein: 4.5
Keywords: no-bake, peanut butter, granola bites, energy balls, healthy snack, easy snack, gluten-free option, vegan option