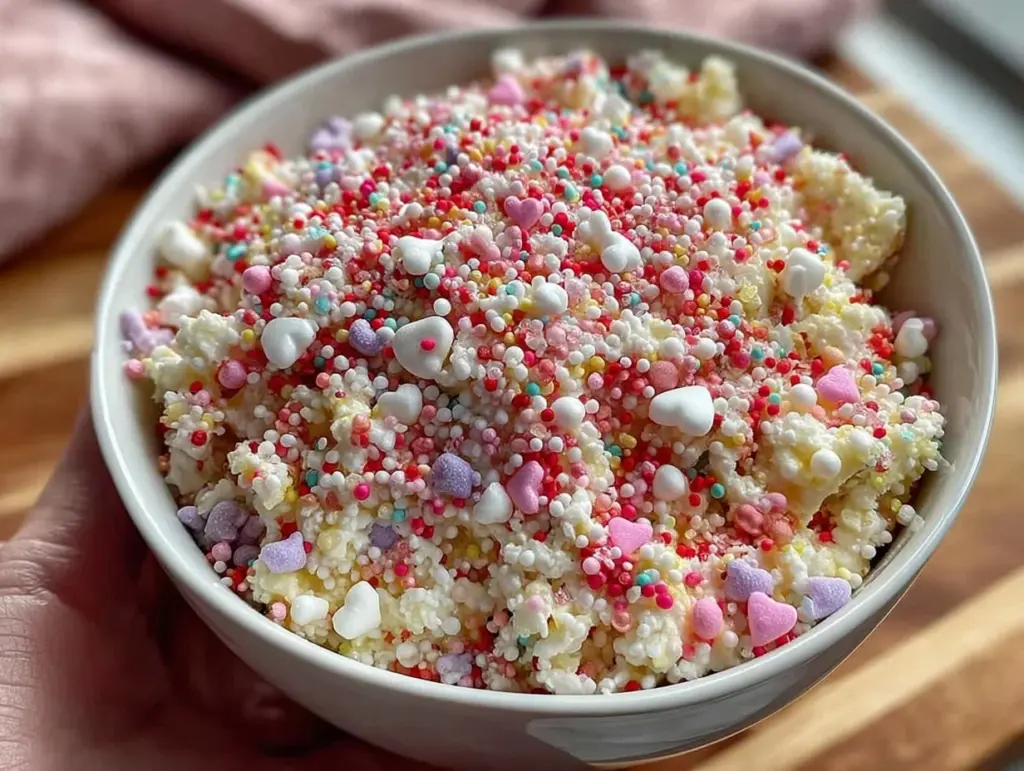
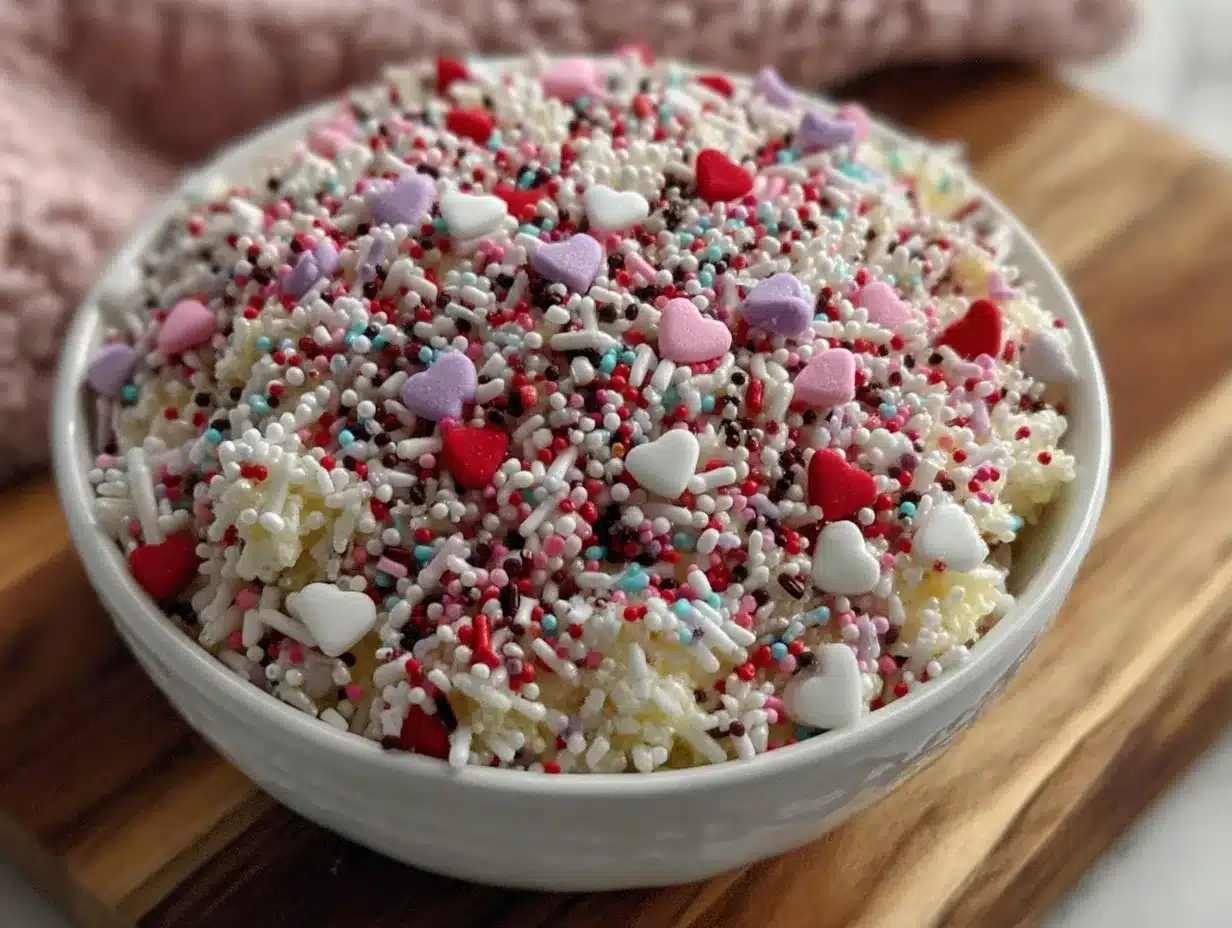
Let me tell you, the sight of vibrant red, pink, and white sprinkles scattered across freshly baked cupcakes is enough to make anyone’s heart skip a beat. The first time I whipped up these Colorful Valentine’s Sprinkles, I was instantly hooked—the kind of moment where you pause, take a deep breath, and just smile because you know you’re onto something truly special. Years ago, when I was knee-high to a grasshopper, my grandma used to add sprinkles to every holiday treat she made, but nothing compared to the joyful explosion of colors these sprinkles bring to the table.
Honestly, my family couldn’t stop sneaking them off the cooling rack (and I can’t really blame them). You know what makes these sprinkles dangerously easy to make? They turn any ordinary baked good into pure, nostalgic comfort, perfect for brightening up your Pinterest cookie board or making a sweet treat for your kids. Whether it’s a last-minute Valentine’s Day dessert or a fun weekend baking project, these Colorful Valentine’s Sprinkles add just the right pop of festive cheer.
I’ve tested this recipe multiple times (in the name of research, of course), and it’s become a staple for family gatherings, gifting, and even just a little midweek pick-me-up. Trust me, this sprinkle recipe feels like a warm hug in every bite—and you’re going to want to bookmark this one for 2024’s baking adventures.
Why You’ll Love This Recipe
After making these Colorful Valentine’s Sprinkles more times than I can count, I can confidently say this recipe is a keeper. Here’s why you’ll want to try it:
- Quick & Easy: Comes together in under 20 minutes, perfect for busy weeknights or last-minute baking emergencies.
- Simple Ingredients: No fancy grocery trips needed; you likely have everything in your kitchen pantry right now.
- Perfect for Valentine’s Day: Great for cupcakes, cookies, or even ice cream toppings to celebrate the season of love.
- Crowd-Pleaser: Kids and adults alike can’t get enough of the bright colors and sweet crunch.
- Unbelievably Delicious: The sprinkles have just the right sweetness and texture to add that extra magic to your baked treats.
This isn’t just another sprinkle recipe. The secret is in the perfect balance of colors and the slightly chewy texture that sticks beautifully to frostings and batters. I even experimented with natural food colorings to keep it a little healthier, and let me tell you—it’s comfort food reimagined, but with the same soul-soothing satisfaction. Whether you’re impressing guests without stress or turning a simple dessert into something memorable, these sprinkles deliver every time.
What Ingredients You Will Need
This recipe uses simple, wholesome ingredients to deliver bold color and satisfying crunch without the fuss. Most are pantry staples, and you can easily swap a few to suit your needs.
- Powdered sugar (1 cup / 120g): The base for your sprinkles, providing sweetness and structure.
- Cornstarch (2 tablespoons / 16g): Helps keep the sprinkles light and prevents clumping.
- Egg white powder (2 tablespoons / 12g): Adds binding without extra moisture (I recommend brands like Wilton for best texture).
- Food coloring: Red, pink, and white are classic for Valentine’s. Use gel food coloring for vibrant hues without thinning the batter.
- Vanilla extract (1 teaspoon / 5ml): Adds a subtle warmth and depth of flavor.
- Salt (a pinch): Balances the sweetness and enhances flavors.
Optional:
- Edible glitter or shimmer dust: Perfect for adding some sparkle to your sprinkles if you want to get fancy.
- Almond extract (substitute for vanilla): Offers a lovely twist with a nutty aroma.
If you want to skip the egg white powder, you can use a small amount of meringue powder or even aquafaba powder, but the texture might vary slightly. For a gluten-free version, all these ingredients are naturally gluten-free, which is a nice bonus!
Equipment Needed
- Mixing bowls: For combining ingredients smoothly. I usually use glass bowls because they’re easy to clean and don’t hold odors.
- Electric hand mixer or stand mixer: Speeds up mixing and helps achieve a uniform texture.
- Spoon or spatula: For folding in colors and scraping down the bowl.
- Baking sheet lined with parchment paper: To pipe the sprinkles onto and let them dry.
- Piping bag with a small round tip: Essential for shaping the sprinkles. If you don’t have one, a zip-top bag with a tiny corner snipped works just fine.
- Cooling rack: To let your sprinkles dry evenly without sticking.
For budget-friendly options, you can substitute the stand mixer with a sturdy whisk and a bit of elbow grease—just be patient! Also, keeping your mixing bowls and tools dry is key to avoid clumps forming in the powder mixture.
Preparation Method
- Mix dry ingredients: In a large bowl, sift together 1 cup (120g) powdered sugar, 2 tablespoons (16g) cornstarch, 2 tablespoons (12g) egg white powder, and a pinch of salt. This ensures no lumps and a smooth sprinkle base. (Time: 5 minutes)
- Add flavoring: Stir in 1 teaspoon (5ml) vanilla extract until fully incorporated. The mixture will clump slightly but that’s okay. (Time: 2 minutes)
- Divide and color: Split the mixture into three smaller bowls. Add a few drops of red gel coloring in one, pink in another, and leave one plain white. Use a spatula to mix well until the color is evenly distributed. Add more drops if you want deeper hues. (Time: 10 minutes)
- Prepare for piping: Transfer each colored mixture into separate piping bags fitted with a small round tip (about 1/8 inch or 3mm diameter). If using zip-top bags, snip a tiny corner just enough for the batter to squeeze out slowly. (Time: 5 minutes)
- Pipe sprinkles: On a parchment-lined baking sheet, pipe tiny little rods about 1/4 inch (0.6cm) long. Space them slightly apart—they’ll dry and firm up without sticking together. (Time: 15 minutes)
- Dry sprinkles: Let the piped sprinkles air dry at room temperature for at least 4 hours, or overnight for best results. They should be firm and dry to the touch but not brittle. (Time: 4+ hours)
- Store: Gently peel the sprinkles off the parchment and store in an airtight container at room temperature. They’ll stay fresh for weeks! (Time: 2 minutes)
Pro tip: If sprinkles feel sticky after drying, pop them in the fridge for about 30 minutes—they’ll firm up nicely. Also, don’t rush the drying step; it’s key for that perfect sprinkle crunch.
Cooking Tips & Techniques
When making these Colorful Valentine’s Sprinkles, a few tricks can make all the difference. First off, using gel food coloring is a game-changer. Liquid food coloring can add too much moisture, making the mixture runny and hard to pipe.
Mixing the dry ingredients thoroughly is crucial to avoid clumpy sprinkles. I’ve learned the hard way that skipping the sifting step means you’ll end up with uneven texture and frustrating lumps. Also, don’t be tempted to pipe large sprinkles—they dry unevenly and lose that delicate crunch.
Another tip? Work quickly when coloring because the mixture can start drying out in the bowls. Cover with plastic wrap if you need a break. When piping, steady hands help, but if yours aren’t steady (mine certainly aren’t), just embrace the slight imperfections—they add charm!
Timing is everything here. While it’s tempting to rush drying with the oven, air drying is gentler and prevents melting or browning. Multitasking works well: pipe your sprinkles and then get your baking underway while they dry.
Finally, keep your sprinkles stored in a dry place to maintain their texture. Moisture is the enemy here, so airtight containers are your best friend.
Variations & Adaptations
These sprinkles are surprisingly adaptable! Here are some variations I’ve tried and loved:
- Dietary: Swap powdered sugar with a powdered erythritol blend for a sugar-free option. Just note the texture might be slightly different.
- Seasonal: Instead of Valentine’s colors, try pastel shades for Easter or bold orange and black for Halloween. You can even add edible glitter for extra sparkle.
- Flavor twists: Add a drop of peppermint extract for a cool, refreshing vibe or a hint of almond extract for a nutty undertone.
If you want to skip piping, you can spread the mixture thinly on parchment and let it dry, then break into smaller pieces for a rustic sprinkle look. For different textures, lightly toasting the dried sprinkles in a low oven (about 250°F or 120°C for 5 minutes) adds a subtle crunch and slightly toasted flavor.
Allergen-wise, if egg white powder is a no-go, try a vegan meringue powder substitute. I’ve done this with great success, though it requires a bit more drying time.
Serving & Storage Suggestions
These Colorful Valentine’s Sprinkles are best served at room temperature on top of your favorite frostings, cupcakes, cookies, or even sprinkled over ice cream. They add instant festive cheer and a satisfying crunch that makes every bite more exciting.
Try pairing them with classic flavors like vanilla, chocolate, or strawberry for a harmonious taste experience. They also contrast beautifully with creamy textures, so don’t hesitate to sprinkle over mousse or pudding.
Store your sprinkles in an airtight container at room temperature, away from humidity and heat. They keep well for up to 3 weeks, which means you can make a batch ahead of your Valentine’s Day plans.
When reheating or using leftovers, avoid microwaving the sprinkles directly. If they soften, just let them rest at room temperature to regain their crunch or pop them briefly in the fridge.
Over time, the colors might mellow slightly but the flavor remains delightful. This gradual change can add a nostalgic, homemade vibe to your treats!
Nutritional Information & Benefits
While sprinkles are a sweet treat, this homemade version is a little kinder than store-bought options loaded with artificial ingredients. A typical serving (about 1 tablespoon or 10g) contains approximately:
| Calories | 40 |
|---|---|
| Sugar | 10g |
| Fat | 0g |
| Protein | 0.5g |
The key ingredients like egg white powder offer a bit of protein, and using gel food coloring avoids unnecessary additives. For those with dietary restrictions, this recipe is naturally gluten-free and can be adapted to be sugar-free or vegan with the right substitutions.
From a wellness perspective, making your own sprinkles lets you control what goes in—no mystery chemicals, just simple ingredients you can trust. It’s a fun way to add sweetness without overdoing it.
Conclusion
So, there you have it—your go-to recipe for Colorful Valentine’s Sprinkles that are easy, fun, and packed with festive flair. Whether you want to brighten up cupcakes for a party, add a playful touch to cookies, or create a sprinkle jar gift, this recipe has you covered.
I love this recipe because it’s simple enough for beginner bakers but still feels special and homemade—a rare combo! Feel free to tweak the colors, flavors, or shapes to make it truly yours.
If you give it a try, please leave a comment and let me know how your sprinkles turned out or share your own creative spin. And hey, don’t forget to share this recipe with your fellow baking enthusiasts. Happy sprinkles-making, and may your 2024 be as colorful and sweet as these little treats!
FAQs
Can I make these sprinkles without egg white powder?
Yes! You can substitute egg white powder with meringue powder or aquafaba powder. Just be aware it may change drying time and texture slightly.
How long do homemade sprinkles last?
Stored in an airtight container at room temperature, these sprinkles stay fresh for about 3 weeks.
Can I use liquid food coloring instead of gel?
It’s best to use gel food coloring because liquid can add moisture, making the sprinkle mixture too runny to pipe.
Is this recipe gluten-free?
Absolutely! All ingredients used are naturally gluten-free, making these sprinkles safe for most gluten-sensitive diets.
Can I add sprinkles to the batter directly?
You can, but these sprinkles are best used as toppings. If added to batter, they might lose their shape and color during baking.
Pin This Recipe!
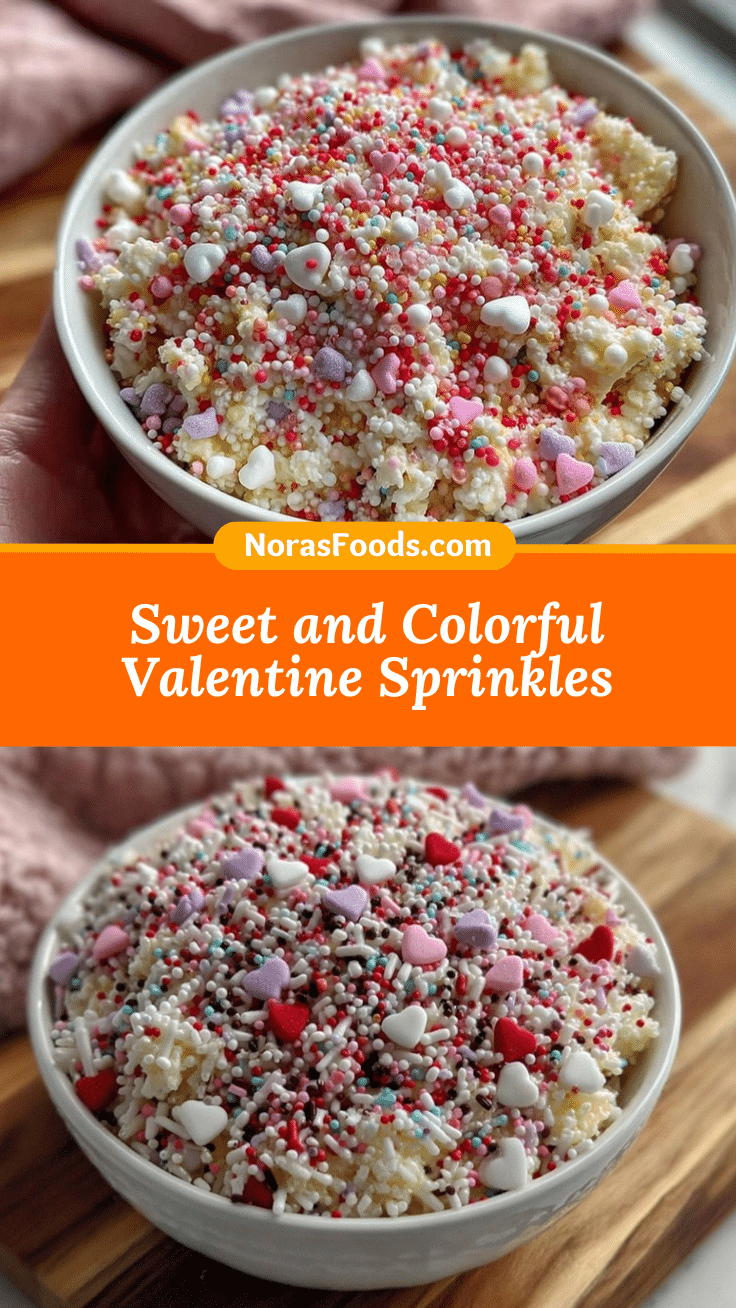
Colorful Valentines Sprinkles Recipe
A quick and easy recipe for vibrant red, pink, and white sprinkles perfect for Valentine’s Day treats. These sprinkles add festive cheer and a satisfying crunch to cupcakes, cookies, and more.
- Prep Time: 20 minutes
- Cook Time: 0 minutes
- Total Time: 4 hours 20 minutes
- Yield: About 3 tablespoons of sprinkles 1x
- Category: Baking
- Cuisine: American
Ingredients
- 1 cup (120g) powdered sugar
- 2 tablespoons (16g) cornstarch
- 2 tablespoons (12g) egg white powder
- Red gel food coloring
- Pink gel food coloring
- Vanilla extract (1 teaspoon / 5ml)
- Pinch of salt
- Optional: edible glitter or shimmer dust
- Optional: almond extract (substitute for vanilla)
Instructions
- Mix dry ingredients: sift together powdered sugar, cornstarch, egg white powder, and salt in a large bowl (5 minutes).
- Add flavoring: stir in vanilla extract until fully incorporated (2 minutes).
- Divide and color: split mixture into three bowls; add red gel coloring to one, pink to another, and leave one plain white. Mix well (10 minutes).
- Prepare for piping: transfer each colored mixture into separate piping bags fitted with a small round tip or use zip-top bags with a small corner snipped (5 minutes).
- Pipe sprinkles: pipe tiny rods about 1/4 inch (0.6 cm) long on a parchment-lined baking sheet, spacing them slightly apart (15 minutes).
- Dry sprinkles: let sprinkles air dry at room temperature for at least 4 hours or overnight until firm but not brittle (4+ hours).
- Store: peel sprinkles off parchment and store in an airtight container at room temperature (2 minutes).
Notes
Use gel food coloring to avoid moisture that makes the mixture runny. Air drying is essential for the perfect crunch; avoid oven drying to prevent melting or browning. Store sprinkles in an airtight container away from humidity. If sprinkles feel sticky after drying, refrigerate for 30 minutes to firm up.
Nutrition
- Serving Size: 1 tablespoon (10g)
- Calories: 40
- Sugar: 10
- Carbohydrates: 10
- Protein: 0.5
Keywords: Valentine's Day, sprinkles, colorful sprinkles, festive baking, homemade sprinkles, easy sprinkles recipe