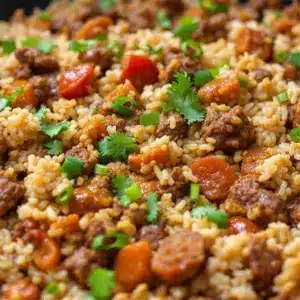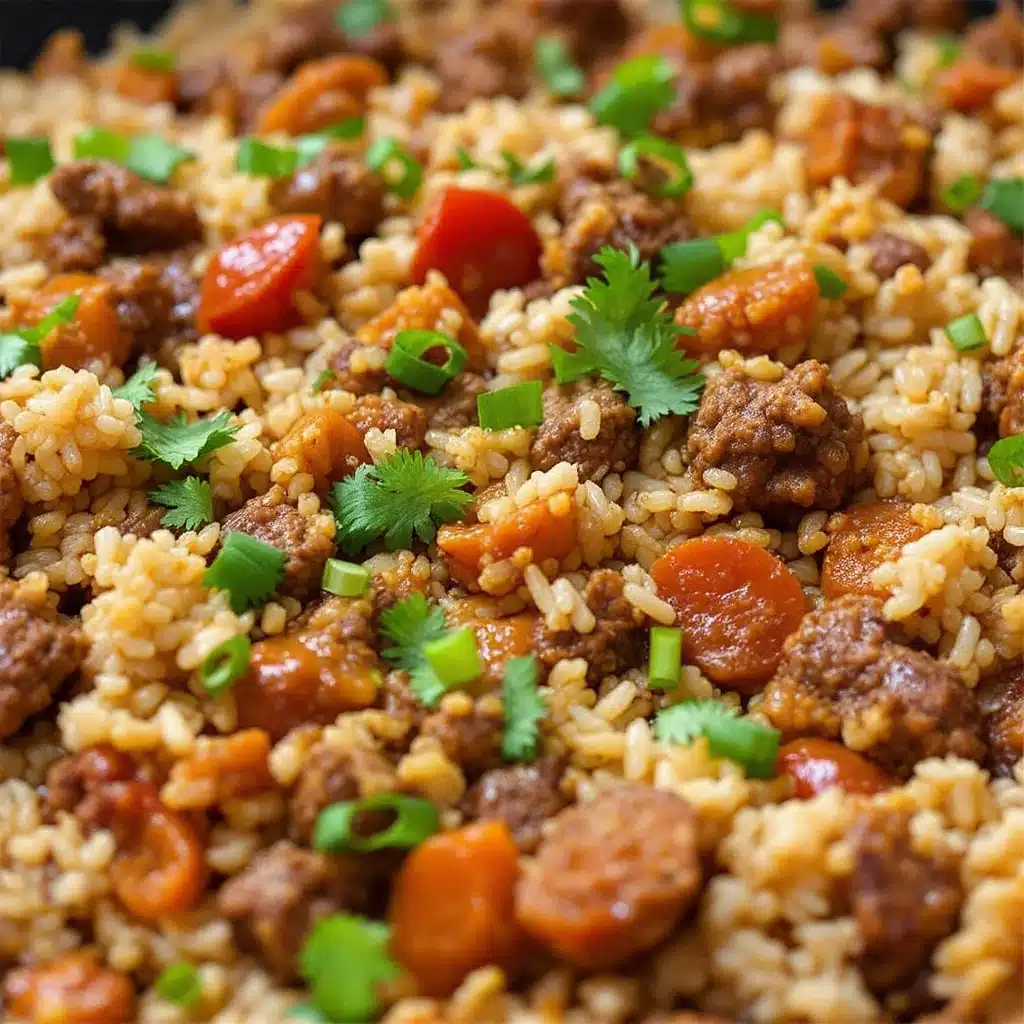
Ground beef sizzling in the skillet, the smoky scent hitting me before I even had the rice measured out, when my kid walked in and asked, “What’s for dinner?” with that look—the one that says please don’t say chicken again. I pointed at the pan and said, “Cheesy beef and rice. Twenty minutes.” He raised an eyebrow. Honestly, I wasn’t sure myself if I could pull it off that fast. But I had a half-empty box of beef broth, a bag of shredded cheddar staring at me from the shelf, and a hungry family that wasn’t waiting around.
This easy cheesy ground beef & rice skillet wasn’t planned. It was born from a Tuesday night where nothing else made sense. The kind of meal you throw together when you’re tired, the fridge is half-empty, and everyone just wants something warm and filling. I grabbed a yellow onion, some garlic, and that last bell pepper rolling around in the crisper drawer. Within minutes, the whole kitchen smelled like comfort—rich and savory, with that promise of melty cheese at the end.
That first bite? It was quiet at the table. Always a good sign. The rice was tender, the beef was seasoned just right, and the cheese pulled into those long, stretchy ribbons that make you forget you’re eating a weeknight dinner. It stuck. Not just in the skillet, but in our rotation. Now I make it whenever I need something that feels like a hug in a bowl without spending an hour in the kitchen. Trust me, this one earns a permanent spot in your dinner lineup.
Why You’ll Love This Recipe
This isn’t just another ground beef recipe. I’ve been testing skillet dinners for years, tweaking ratios and timing, and this version hits that sweet spot between fast and genuinely delicious. Here’s why it works:
- Quick & Easy: From fridge to table in under 20 minutes. No marinating, no complicated steps—just one skillet and a little patience while the rice cooks.
- Simple Ingredients: You probably have most of this in your kitchen right now. Ground beef, rice, broth, cheese, and a few pantry staples. No fancy grocery run required.
- Perfect for Busy Weeknights: When you’re juggling homework, soccer practice, or just the general chaos of life, this skillet saves the night. It’s forgiving, filling, and everyone actually eats it.
- Crowd-Pleaser: Kids love the cheesiness. Adults appreciate the savory depth. Even picky eaters tend to clean their plates—I’ve tested this on my own crew multiple times.
- Unbelievably Satisfying: There’s something about the combination of seasoned beef, tender rice, and melted cheddar that just works. It’s comfort food without the guilt or the cleanup.
What makes this different from other skillet recipes? It’s the technique. I cook the rice directly in the broth with the beef, so every grain absorbs that rich flavor. No separate pot, no draining, no extra dishes. And the cheese goes in at the very end, off the heat, so it melts into creamy perfection without turning greasy. It’s a small detail, but it makes all the difference.
Honestly, this is the kind of recipe that makes you feel like a hero on a Tuesday. It’s warm, cheesy, and deeply satisfying—the kind of meal that makes everyone at the table take a second look at the skillet.
What Ingredients You Will Need
This recipe relies on simple, everyday ingredients that come together to create something truly comforting. No surprises here—just smart choices that build flavor without extra work.
- Ground beef (1 lb / 450g): I use 80/20 for the best balance of flavor and moisture. Leaner blends work too, but you might need a splash of oil to keep things from drying out. Look for fresh, bright-red beef at the store.
- Long-grain white rice (1 cup / 200g): This gives the fluffiest texture. Avoid instant rice—it gets mushy. Basmati or jasmine work beautifully if that’s what you have.
- Beef broth (2 cups / 480ml): Use low-sodium so you can control the salt. The broth is where most of the flavor comes from, so go with a brand you trust—I like Swanson or Kitchen Basics.
- Shredded cheddar cheese (1.5 cups / 170g): Sharp cheddar adds the most punch. Shred it yourself if you can—pre-shredded has anti-caking agents that affect melting. But in a pinch, the bagged stuff works fine.
- Yellow onion (1 medium, diced): Adds sweetness and depth. White onion works too, but yellow gives a mellower flavor that blends better with the beef.
- Garlic (3 cloves, minced): Fresh garlic is non-negotiable here. That jarred stuff? Save it for another day. The fresh stuff brings a punchy warmth that makes the whole dish sing.
- Bell pepper (1 medium, diced): Any color works. Red adds sweetness, green adds a bit of bite. I usually grab whatever’s in the fridge.
- Tomato paste (2 tablespoons): This adds a subtle richness and helps thicken the broth slightly. It’s a small addition with big impact.
- Worcestershire sauce (1 tablespoon): Adds umami and a little tang. Don’t skip it—it’s the secret weapon here.
- Paprika (1 teaspoon): Smoked paprika if you have it, regular works too. It adds color and a subtle warmth.
- Salt and black pepper (to taste): Start with 1 teaspoon salt and ½ teaspoon pepper, then adjust at the end.
- Olive oil (1 tablespoon): For sautéing the veggies. Avocado oil works too.
- Optional garnish: Fresh parsley or green onions for a pop of color at the end.
Substitution note: If you’re out of beef broth, chicken broth works in a pinch. The flavor will be slightly lighter, but still good. For a gluten-free version, just double-check your Worcestershire sauce—some brands contain gluten.
Equipment Needed
You don’t need a fancy kitchen for this one. Here’s what I use every time:
- Large skillet or sauté pan (12-inch / 30cm with a lid): A deep skillet is key—you need room for the rice to expand. I use my trusty Lodge cast iron, but any heavy-bottomed pan works. If you don’t have a lid, foil works as a cover.
- Wooden spoon or spatula: For breaking up the beef and stirring. Silicone works too, but wood won’t scratch your pan.
- Chef’s knife and cutting board: For dicing the onion, bell pepper, and garlic. A sharp knife makes this step go faster—trust me, I learned the hard way.
- Measuring cups and spoons: For the rice, broth, and seasonings. Eyeballing works for some things, but rice-to-liquid ratio is worth measuring precisely.
- Box grater or food processor: If you’re shredding cheese from a block. I usually just grab the pre-shredded bag on busy nights, but fresh shreds melt better.
- Colander: If you want to drain the beef fat. I usually skip this step and just spoon out excess grease with a ladle—one less dish to wash.
Budget-friendly tip: You don’t need a fancy skillet. A non-stick pan from the supermarket works perfectly. Just make sure it’s oven-safe if you ever want to broil the cheese on top (not required here, but nice to know).
Preparation Method
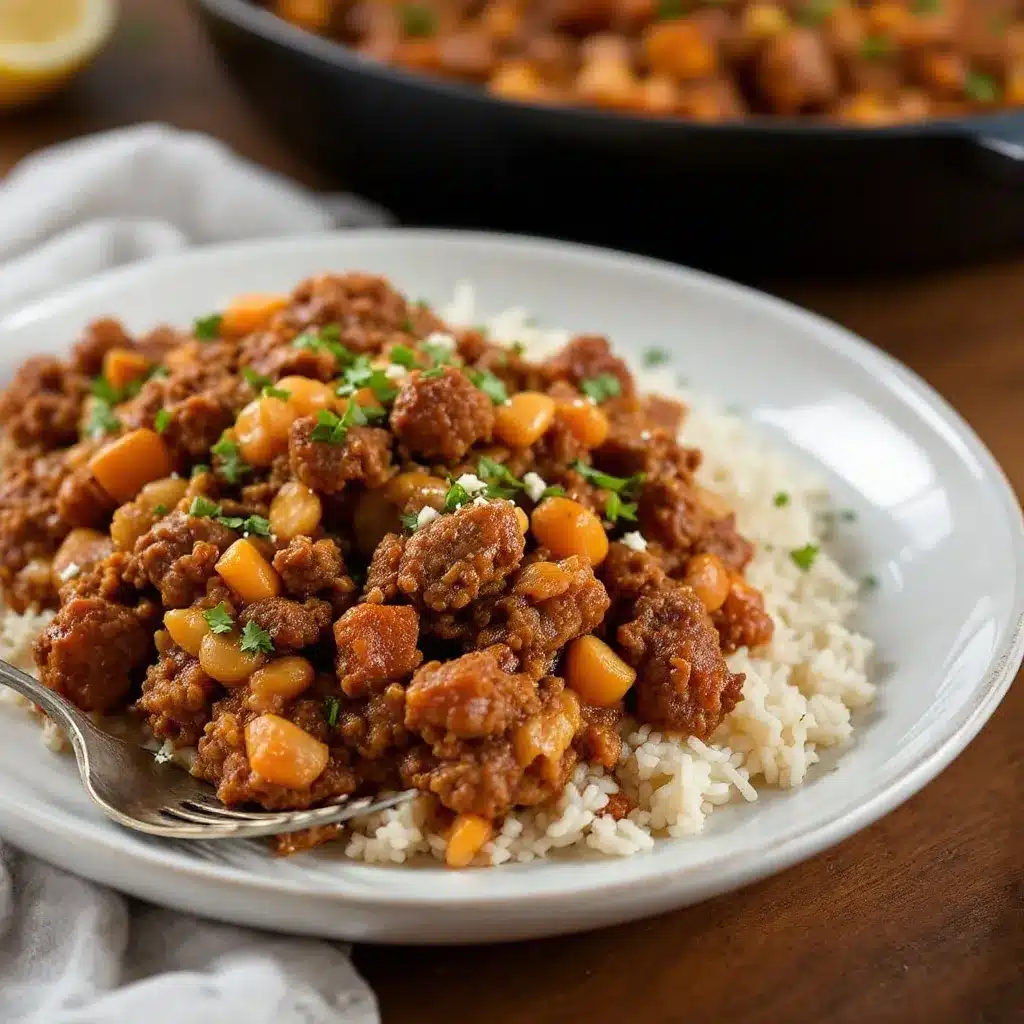
Let’s get cooking. This comes together fast, so have everything prepped before you start—mise en place style. Trust me, it makes the whole process smoother.
- Heat the oil (1 minute): Place your large skillet over medium-high heat and add 1 tablespoon olive oil. Let it shimmer for about 30 seconds—you want it hot but not smoking.
- Sauté the aromatics (3-4 minutes): Add the diced onion and bell pepper. Cook, stirring occasionally, until softened and the onion turns translucent. Toss in the minced garlic and cook for another 30 seconds until fragrant. Don’t let the garlic burn—it turns bitter fast.
- Brown the beef (5-6 minutes): Add the ground beef to the skillet, breaking it apart with your wooden spoon. Let it sit undisturbed for a minute to get a nice sear, then stir and continue breaking it up. Cook until no longer pink. If there’s excess grease, spoon it out or carefully tilt the pan and drain it—leave about 1 tablespoon for flavor.
- Season the meat (1 minute): Stir in the tomato paste, Worcestershire sauce, paprika, salt, and pepper. Cook for about a minute, stirring constantly, until the paste darkens and the spices become fragrant. Your kitchen should smell incredible at this point.
- Add the rice and broth (15-18 minutes): Pour in the rinsed rice (rinsing removes excess starch and prevents gumminess) and the beef broth. Stir everything together, scraping up any browned bits from the bottom of the pan—that’s pure flavor. Bring to a boil, then reduce heat to low, cover, and let it simmer. Set a timer for 15 minutes. Do not lift the lid during this time—the steam is what cooks the rice evenly.
- Check the rice (1 minute): After 15 minutes, remove the lid carefully. The rice should be tender and most of the liquid absorbed. If it’s still a bit soupy, cover and cook for another 2-3 minutes. If it’s dry but the rice is still firm, add a splash of broth or water and cook a few more minutes.
- Add the cheese (1-2 minutes): Remove the skillet from the heat. Sprinkle the shredded cheddar evenly over the top. Cover again and let it sit for 1-2 minutes—the residual heat will melt the cheese into a creamy blanket. For a more integrated texture, stir the cheese in gently until melted and gooey.
- Rest and serve (2 minutes): Let the skillet rest off the heat for a couple of minutes. This allows the flavors to settle and the rice to firm up slightly. Garnish with fresh parsley or sliced green onions if you’re feeling fancy.
Sensory cue: When it’s done, you should see steam rising, the cheese should be stretchy when you lift a spoonful, and the rice should be tender but still hold its shape. The aroma? Rich, savory, with that hint of Worcestershire tang. Your family will start wandering into the kitchen before you even call them.
Cooking Tips & Techniques
I’ve made this skillet more times than I can count, and I’ve learned a few things the hard way. Here’s what I wish someone had told me:
- Rinse your rice: This is non-negotiable. Rinsing removes surface starch that can turn your skillet into a gluey mess. Place the rice in a fine-mesh strainer and run cold water over it until the water runs clear. It takes 30 seconds and makes a huge difference.
- Don’t lift the lid: I know it’s tempting to peek. But every time you lift that lid, steam escapes, and your cooking time gets thrown off. Trust the process. Set a timer and walk away.
- Toast the rice first (optional): For extra nutty flavor, try adding the dry rice to the skillet after browning the beef and stirring it around for 1-2 minutes before adding the broth. It adds a subtle depth that’s really lovely. I do this when I have an extra minute.
- Season in layers: Add salt at each stage—a pinch with the onions, a pinch with the beef, a final adjustment at the end. This builds flavor from the ground up instead of relying on a last-minute salt dump.
- Watch your heat: Medium-high for browning, low for simmering. If the heat is too high during the simmer, the liquid will evaporate before the rice cooks through. Burnt rice is not a fun cleanup.
- My biggest failure: I once used extra-lean ground beef (93/7) and ended up with dry, crumbly meat that stuck to the pan. The lack of fat also meant less flavor. Stick with 80/20 for the best results. If you’re watching fat intake, drain the grease after browning but don’t swap the meat blend.
Variations & Adaptations
This recipe is a great base for experimentation. Here are some ways I’ve tweaked it over the years:
- Tex-Mex Style: Swap the paprika for chili powder and cumin. Add a can of drained black beans and a can of diced tomatoes with green chiles (reduce broth by ¼ cup). Top with Monterey Jack cheese and a dollop of sour cream. I made this version for a game day dinner and it disappeared in minutes.
- Vegetarian Version: Replace the ground beef with a plant-based crumble or finely chopped mushrooms. Use vegetable broth instead of beef broth. The mushrooms add that umami depth that mimics meat surprisingly well. My vegetarian friend requested this for our weekly dinner swap.
- Spicy Kick: Add ½ teaspoon red pepper flakes along with the paprika, or stir in a diced jalapeño with the onions. For extra heat, use pepper jack cheese instead of cheddar. My husband loves this version—he says it “wakes up your taste buds.”
- Low-Carb Adaptation: Swap the rice for cauliflower rice (fresh or frozen). Reduce the broth to 1 cup and cook for only 8-10 minutes, covered. The cauliflower releases water, so you don’t need as much liquid. I’ve tested this and it’s surprisingly good—just don’t expect the same texture.
- Cheese Lover’s Dream: Use a blend of cheddar, mozzarella, and a little cream cheese stirred in at the end. The cream cheese makes it extra creamy. I did this once when I had leftover cream cheese from a bagel breakfast, and now it’s my “treat yourself” version.
Serving & Storage Suggestions
This skillet is best served hot, straight from the pan. Here’s how to make the most of it:
- Serving temperature: Serve immediately after the cheese melts. The rice will continue to absorb liquid as it sits, so don’t let it cool in the pan too long.
- Presentation: Spoon it into shallow bowls and garnish with fresh parsley or sliced green onions. A sprinkle of extra cheese on top never hurts. For a complete meal, serve with a simple side salad or steamed green beans.
- Complementary dishes: This pairs beautifully with a crisp garden salad dressed with vinaigrette—the acidity cuts through the richness. I also love serving it with a side of roasted broccoli or a simple cucumber salad, like this fresh grandma’s cucumber onion salad for a cool, tangy contrast.
- Storage: Let leftovers cool completely, then transfer to an airtight container. Refrigerate for up to 4 days. The flavors actually meld together overnight, so leftovers taste even better the next day.
- Reheating: The best method is on the stovetop. Add a splash of broth or water to a skillet, add the leftover skillet, and warm over medium-low heat, stirring occasionally, until heated through (about 5-7 minutes). The microwave works in a pinch—cover the bowl with a damp paper towel to add moisture—but the texture won’t be as good.
- Freezing: This freezes well for up to 3 months. Portion into freezer-safe containers, leaving a little room for expansion. Thaw overnight in the fridge and reheat as directed. The rice may soften slightly after freezing, but the flavor remains excellent.
Flavor development note: I’ve noticed that the skillet tastes even better on day two. The rice absorbs more of the broth, and the seasonings meld together into something deeper and more cohesive. It’s one of those rare recipes that rewards you for making extra.
Nutritional Information & Benefits
Here’s a rough estimate per serving (based on 4 servings, using 80/20 beef and full-fat cheddar):
| Nutrient | Amount per Serving |
|---|---|
| Calories | ~520 |
| Protein | 32g |
| Fat | 24g |
| Carbohydrates | 42g |
| Fiber | 2g |
| Sodium | ~680mg |
Pin This Recipe!

Easy Cheesy Ground Beef & Rice Skillet: Best 20-Minute Dinner

A quick and comforting one-skillet meal with seasoned ground beef, tender rice, and melted cheddar cheese, ready in under 20 minutes. Perfect for busy weeknights.
- Prep Time: 5 minutes
- Cook Time: 15 minutes
- Total Time: 20 minutes
- Yield: 4 servings 1x
- Category: Main Course
- Cuisine: American
Ingredients
- 1 lb (450g) ground beef (80/20)
- 1 cup (200g) long-grain white rice, rinsed
- 2 cups (480ml) low-sodium beef broth
- 1.5 cups (170g) shredded sharp cheddar cheese
- 1 medium yellow onion, diced
- 3 cloves garlic, minced
- 1 medium bell pepper, diced
- 2 tablespoons tomato paste
- 1 tablespoon Worcestershire sauce
- 1 teaspoon paprika (smoked preferred)
- 1 teaspoon salt (or to taste)
- ½ teaspoon black pepper (or to taste)
- 1 tablespoon olive oil
- Fresh parsley or green onions for garnish (optional)
Instructions
- Heat olive oil in a large skillet over medium-high heat. Add diced onion and bell pepper; cook until softened, about 3-4 minutes. Add minced garlic and cook 30 seconds until fragrant.
- Add ground beef to the skillet, breaking it apart. Cook until no longer pink, about 5-6 minutes. Spoon out excess grease, leaving about 1 tablespoon.
- Stir in tomato paste, Worcestershire sauce, paprika, salt, and pepper. Cook for 1 minute until fragrant.
- Add rinsed rice and beef broth. Stir, scraping up browned bits. Bring to a boil, then reduce heat to low, cover, and simmer for 15 minutes. Do not lift the lid.
- After 15 minutes, check rice. If tender and liquid absorbed, proceed. If still soupy, cook 2-3 minutes more. If dry but rice firm, add a splash of broth and cook a few more minutes.
- Remove skillet from heat. Sprinkle shredded cheddar evenly over top. Cover and let sit 1-2 minutes until cheese melts. For integrated texture, stir cheese in gently.
- Let rest off heat for 2 minutes. Garnish with parsley or green onions if desired. Serve hot.
Notes
Rinse rice thoroughly to prevent gumminess. Do not lift the lid while rice simmers. For extra flavor, toast dry rice in skillet for 1-2 minutes before adding broth. Season in layers for best results. Leftovers keep in fridge for up to 4 days and freeze well for up to 3 months.
Nutrition
- Serving Size: 1 serving (about 1.5
- Calories: 520
- Sugar: 4
- Sodium: 680
- Fat: 24
- Saturated Fat: 10
- Carbohydrates: 42
- Fiber: 2
- Protein: 32
Keywords: ground beef skillet, cheesy rice, 20-minute dinner, weeknight meal, one-skillet dinner, easy dinner recipe