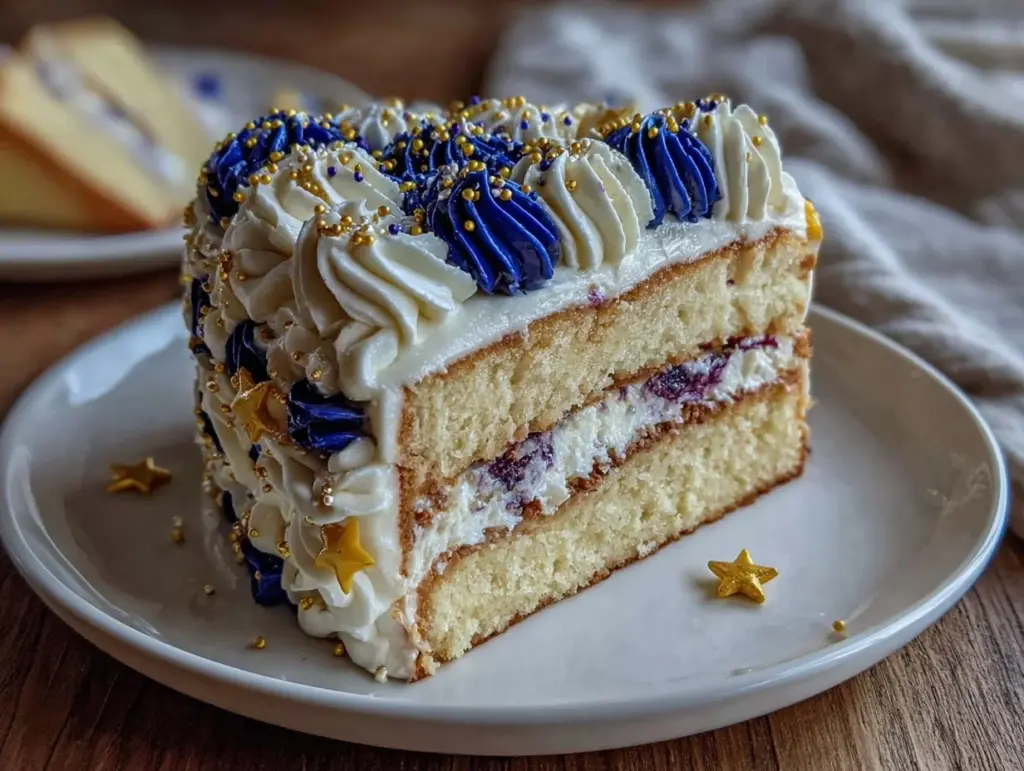
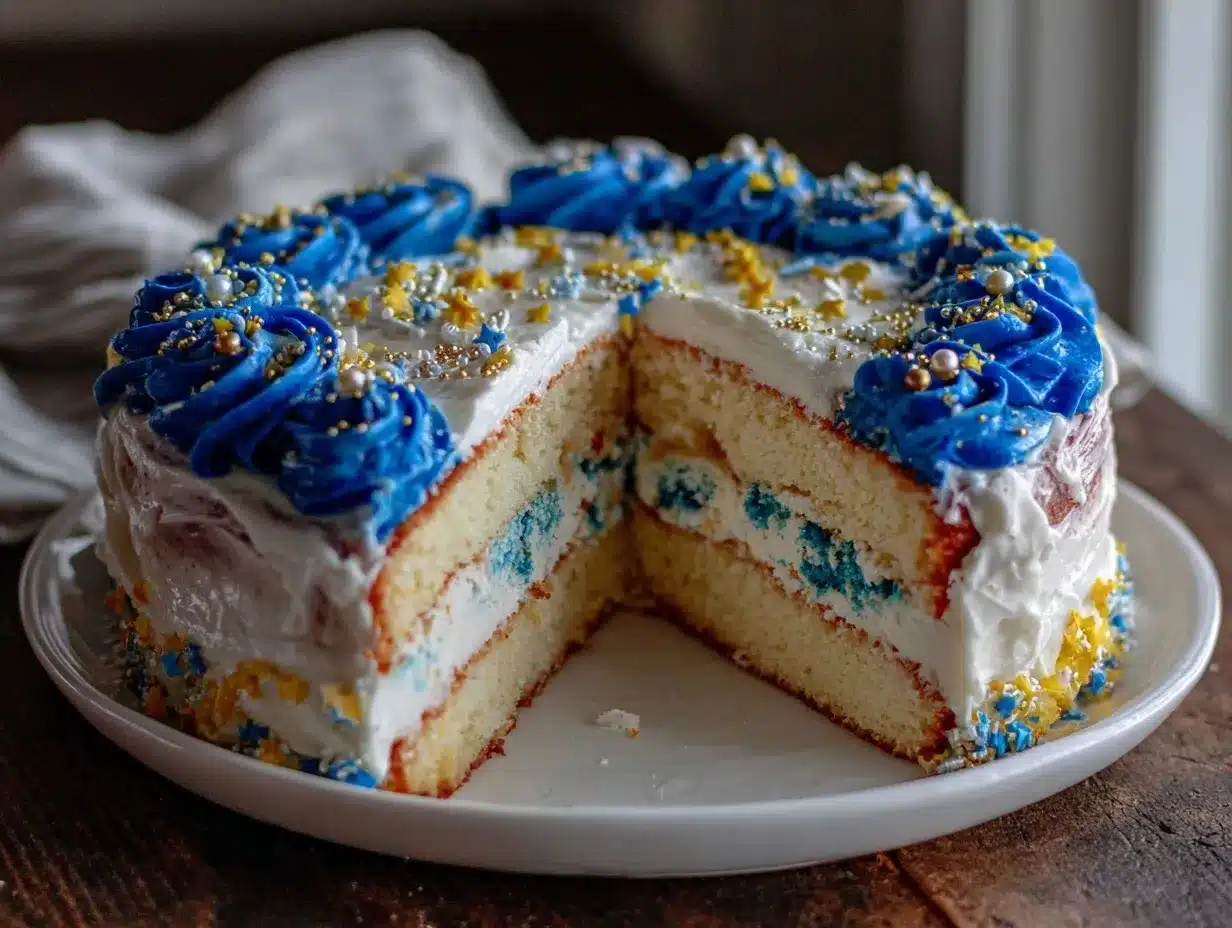
“You know, I wasn’t sure how this was going to turn out,” I told my neighbor Sarah as I scrambled through the kitchen, juggling cake layers and trying to match those tricky school colors perfectly. It was the day before graduation, and honestly, I’d promised to bring a cake that would wow the whole crowd at the party. The idea of a perfect high school graduation cake with school colors buttercream felt intimidating at first. After all, capturing a whole school’s spirit in frosting? No pressure, right?
What started as a last-minute favor turned into a bit of an obsession. I found myself tweaking the buttercream recipe, testing out color combinations, and replaying memories of that bittersweet senior year. There was something oddly comforting about mixing sugar and butter while the late afternoon sun warmed the kitchen. The cake wasn’t just dessert; it became a quiet way to mark the milestone and celebrate dreams in the making.
Funny thing is, the more I worked on it, the more I realized how much this cake was about more than just taste or looks. It’s about pride—pride in the hard work, the late nights, the friendships forged. And honestly, once I nailed that buttercream, I couldn’t wait to see faces light up as they saw their school colors come to life in frosting. This recipe stuck with me because it’s more than a cake; it’s a little edible cheer for the next chapter ahead.
Why You’ll Love This Recipe
Making the perfect high school graduation cake with school colors buttercream has been a rewarding (and tasty) adventure, tested over several celebrations and countless tweaks. Here’s why this recipe shines:
- Quick & Easy: The cake layers come together in about 45 minutes, with simple buttercream frosting that whips up fast—ideal for last-minute party prep.
- Simple Ingredients: You probably have everything on hand already—nothing fancy, no hunting down specialty items.
- Perfect for Graduation Parties: Whether it’s an intimate family gathering or a big backyard bash, this cake steals the spotlight.
- Crowd-Pleaser: Kids, parents, and even the teachers will be asking for seconds—the classic vanilla sponge is moist and not overly sweet.
- Unbelievably Delicious: The buttercream is rich but light, and mixing your school colors turns it into a personalized masterpiece.
What sets this cake apart? The buttercream technique—using a smooth, creamy base that accepts colors evenly without cracking or running. Plus, the balance of sweetness and texture means it never feels heavy or cloying. It’s not just a cake; it’s a celebration you can slice and share, with every bite reminding you why this moment matters so much.
Honestly, this recipe has become my go-to for graduation season because it manages to feel festive without being fussy. I love how it brings a little sparkle to the table and makes the day feel that much more special.
What Ingredients You Will Need
This recipe uses straightforward, pantry-friendly ingredients to deliver a moist, tender cake layered with vibrant, silky buttercream. No surprises here—just good stuff done right. Here’s what you’ll need:
- For the Cake:
- All-purpose flour – 2 ½ cups (310 g), sifted for a light crumb
- Baking powder – 2 ½ teaspoons, to give that perfect rise
- Salt – ½ teaspoon
- Unsalted butter – 1 cup (225 g), softened (I prefer Land O’Lakes for a rich flavor)
- Granulated sugar – 1 ¾ cups (350 g)
- Large eggs – 4, room temperature for better mixing
- Pure vanilla extract – 2 teaspoons for that classic warmth
- Whole milk – 1 cup (240 ml), warmed slightly (can swap with almond milk for a dairy-free twist)
- For the School Colors Buttercream:
- Unsalted butter – 1 cup (225 g), softened (important for smooth frosting)
- Powdered sugar – 4 cups (480 g), sifted to avoid lumps
- Heavy cream – 2-4 tablespoons (30-60 ml), to adjust consistency
- Pure vanilla extract – 1 teaspoon
- Gel food coloring in school colors – I recommend AmeriColor gels for vibrant, true-to-tone shades
Feel free to swap whole milk with any plant-based milk if that suits your needs. For the buttercream, choosing gel colors over liquid ones is key—this keeps the frosting thick and bright without watering it down. In summer, I love adding a splash of lemon zest to the cake batter for a fresh twist, but it’s optional.
Equipment Needed
Here’s what you’ll want on hand to tackle this graduation cake like a pro:
- Two 9-inch (23 cm) round cake pans – non-stick or well-greased with parchment paper lining
- Electric mixer – stand or hand-held (a stand mixer saves your arms, but a hand mixer works just fine)
- Mixing bowls – medium and large sizes for batter and frosting
- Rubber spatula – for scraping bowls clean and folding ingredients gently
- Offset spatula or butter knife – essential for smooth frosting application
- Cake turntable (optional) – makes frosting much easier and more precise if you have one
- Measuring cups and spoons – accurate measurements are a must here
- Cooling racks – to cool the cakes evenly and avoid soggy bottoms
If you don’t have a cake turntable, no worries! A lazy Susan or just a steady hand will do. I’ve made this cake dozens of times with simple tools—what matters most is patience with the frosting. Also, keep your butter at room temperature but not too soft; this is a trick I learned after a few batches that really improved the buttercream’s texture.
Preparation Method
- Preheat and prepare pans: Set your oven to 350°F (175°C). Grease two 9-inch round pans and line the bottoms with parchment paper. This step avoids any cake sticking and helps the cake release easily.
- Mix dry ingredients: In a bowl, whisk together 2 ½ cups flour, 2 ½ teaspoons baking powder, and ½ teaspoon salt. Set aside. This ensures the leavening and salt are evenly distributed.
- Cream butter and sugar: In a large bowl, beat 1 cup softened butter with 1 ¾ cups sugar on medium speed until pale and fluffy, about 3-4 minutes. This air incorporation is key to a tender crumb.
- Add eggs one at a time: Beat in 4 eggs, one by one, making sure each is fully incorporated before adding the next. Add 2 teaspoons vanilla extract with the last egg.
- Alternate dry ingredients and milk: With mixer on low, add the dry mixture in three parts, alternating with the warmed milk in two parts. Start and end with flour. Mix just until combined—overmixing can toughen the cake.
- Divide batter and bake: Evenly pour batter into prepared pans. Smooth tops with a spatula. Bake for 30-35 minutes or until a toothpick inserted in the center comes out clean.
- Cool completely: Let cakes cool in pans 10 minutes, then invert onto cooling racks. Cooling fully is crucial before frosting, or the buttercream will melt.
- Make the buttercream: Beat 1 cup softened butter until creamy, about 2 minutes. Gradually add 4 cups powdered sugar, mixing on low until combined. Add 2-4 tablespoons heavy cream and 1 teaspoon vanilla extract, then beat on high for 3 minutes until fluffy and spreadable. Divide buttercream into separate bowls to tint with your gel food coloring, blending until you get rich school colors.
- Assemble the cake: Place one cake layer on your serving plate or turntable. Spread a thick layer of one color buttercream evenly. Top with second cake layer, then frost the entire cake with the remaining buttercream colors in your chosen design—stripes, layers, or swirls. Use an offset spatula for smooth edges.
- Final touches: Chill the cake briefly to set the frosting, then remove from fridge about 20 minutes before serving to soften slightly for best flavor.
One tip I’ve learned: if the buttercream feels too stiff, add a splash more cream, but add it slowly. And when coloring, start with a little gel and build up—colors deepen as you mix.
Cooking Tips & Techniques
Getting this graduation cake with school colors buttercream just right means paying attention to a few little details:
- Butter temperature matters: Too cold and it won’t cream well; too warm and your frosting will be greasy. Aim for room temp—soft but still holding shape.
- Don’t rush cooling: Frosting a warm cake leads to melty, messy results. Cooling on a wire rack helps air circulate and prevents sogginess.
- Gel food coloring is the secret: Liquid colors can thin frosting, but gels keep the texture firm and vibrant. I’ve tried both, and gels win hands down.
- Layer frosting carefully: Use a crumb coat—a thin layer of buttercream applied first and chilled—to trap crumbs. This keeps your final coat smooth and crumb-free.
- Practice piping or spreading designs: For stripes or ombré effects, I recommend dividing the buttercream into bowls ahead of time. Having everything ready before assembly saves stress.
- Multitasking tip: While cakes bake, prep your buttercream and clean up your workspace. This keeps momentum going and cuts down on post-bake chaos.
Early on, I made the mistake of skipping the crumb coat and ended up with flecks of cake in my final frosting. Lesson learned! Also, make sure your spatula is clean and warm (run it under hot water and dry) for gliding on the final coat.
Variations & Adaptations
Every graduation is unique, so here are some ways you can tweak this cake to suit your style or dietary needs:
- Flavor swaps: Add cocoa powder (½ cup/50 g) to the dry ingredients for a chocolate version, or fold in fresh lemon zest for a bright citrus twist.
- Dietary adjustments: Use gluten-free all-purpose flour blend to make the cake gluten-free. Swap the buttercream’s dairy ingredients for vegan butter and coconut cream to suit dairy-free diets.
- Alternative frosting styles: Try cream cheese frosting for tangy richness, especially great with carrot or spice cake layers.
- Decorative touches: Add edible gold stars or personalized cake toppers to match the school’s mascot or motto for extra flair.
One time, I made a mini version of this cake with layers of lemon blueberry icebox cake flavors for a friend who wanted something lighter but still festive. It was a hit!
Serving & Storage Suggestions
Serve this cake at room temperature for the best flavor and texture—take it out of the fridge 20-30 minutes before slicing. The buttercream softens beautifully and the cake becomes tender.
It pairs wonderfully with fresh berries or a light sparkling drink to cut through the richness. For an easy brunch spread, consider pairing it with savory bites like the easy cheesy breakfast burrito foil packets—both crowd-pleasers in their own right.
Store leftovers covered tightly in the refrigerator for up to 4 days. It freezes well too—wrap each slice in plastic wrap and place in an airtight container for up to 3 months. Thaw overnight in the fridge and bring to room temp before serving.
Interestingly, the flavors often deepen after a day or two, making it even more satisfying.
Nutritional Information & Benefits
Each slice (about 1/12th of the cake) contains roughly:
| Calories | 350-400 kcal |
|---|---|
| Fat | 18-22 g (mostly from butter) |
| Carbohydrates | 45-50 g |
| Protein | 4-5 g |
The cake provides energy for celebrations, while the butter and eggs contribute essential fats and proteins. Using real butter and whole milk keeps the frosting smooth and rich without artificial additives. For those mindful of gluten, the recipe adapts well to gluten-free flour blends.
Personally, I think this cake is a lovely treat that balances indulgence with the joy of marking a big milestone. Moderation is key, but it’s hard to beat a slice shared with friends and family.
Conclusion
This perfect high school graduation cake with school colors buttercream recipe is a dependable, heartfelt way to celebrate one of life’s big moments. It’s approachable enough for a home baker but impressive enough to make any grad feel special. I love how it brings people together around something sweet yet meaningful.
Feel free to make it your own—swap flavors, adjust colors, or decorate with personal touches. Each cake tells a story, and this one’s about pride, accomplishment, and the excitement of what’s next.
If you try this recipe, I’d love to hear how it turned out or what customizations you made. There’s something wonderful about sharing these moments and recipes with fellow food lovers. Here’s to many more celebrations filled with good food and great company!
Frequently Asked Questions
Can I make this cake ahead of time?
Yes! You can bake the cake layers up to 2 days ahead and keep them wrapped tightly in the fridge. Bake the buttercream fresh on the day you plan to assemble and frost for best results.
How do I get vibrant school colors in my buttercream?
Use gel food coloring instead of liquid to keep colors bright without thinning the frosting. Add color gradually until you reach the shade you want.
What if I don’t have a turntable for frosting?
No problem! Use a steady hand with an offset spatula or butter knife, and rotate the cake on your countertop to smooth the frosting evenly.
Can I substitute dairy ingredients for a vegan version?
Absolutely. Use vegan butter and coconut or almond milk for the cake and frosting. The texture might be slightly different, but it still tastes delicious.
What’s the best way to store leftover cake?
Store covered in the fridge for up to 4 days or freeze slices wrapped tightly for up to 3 months. Bring to room temperature before serving for the best texture.
Pin This Recipe!
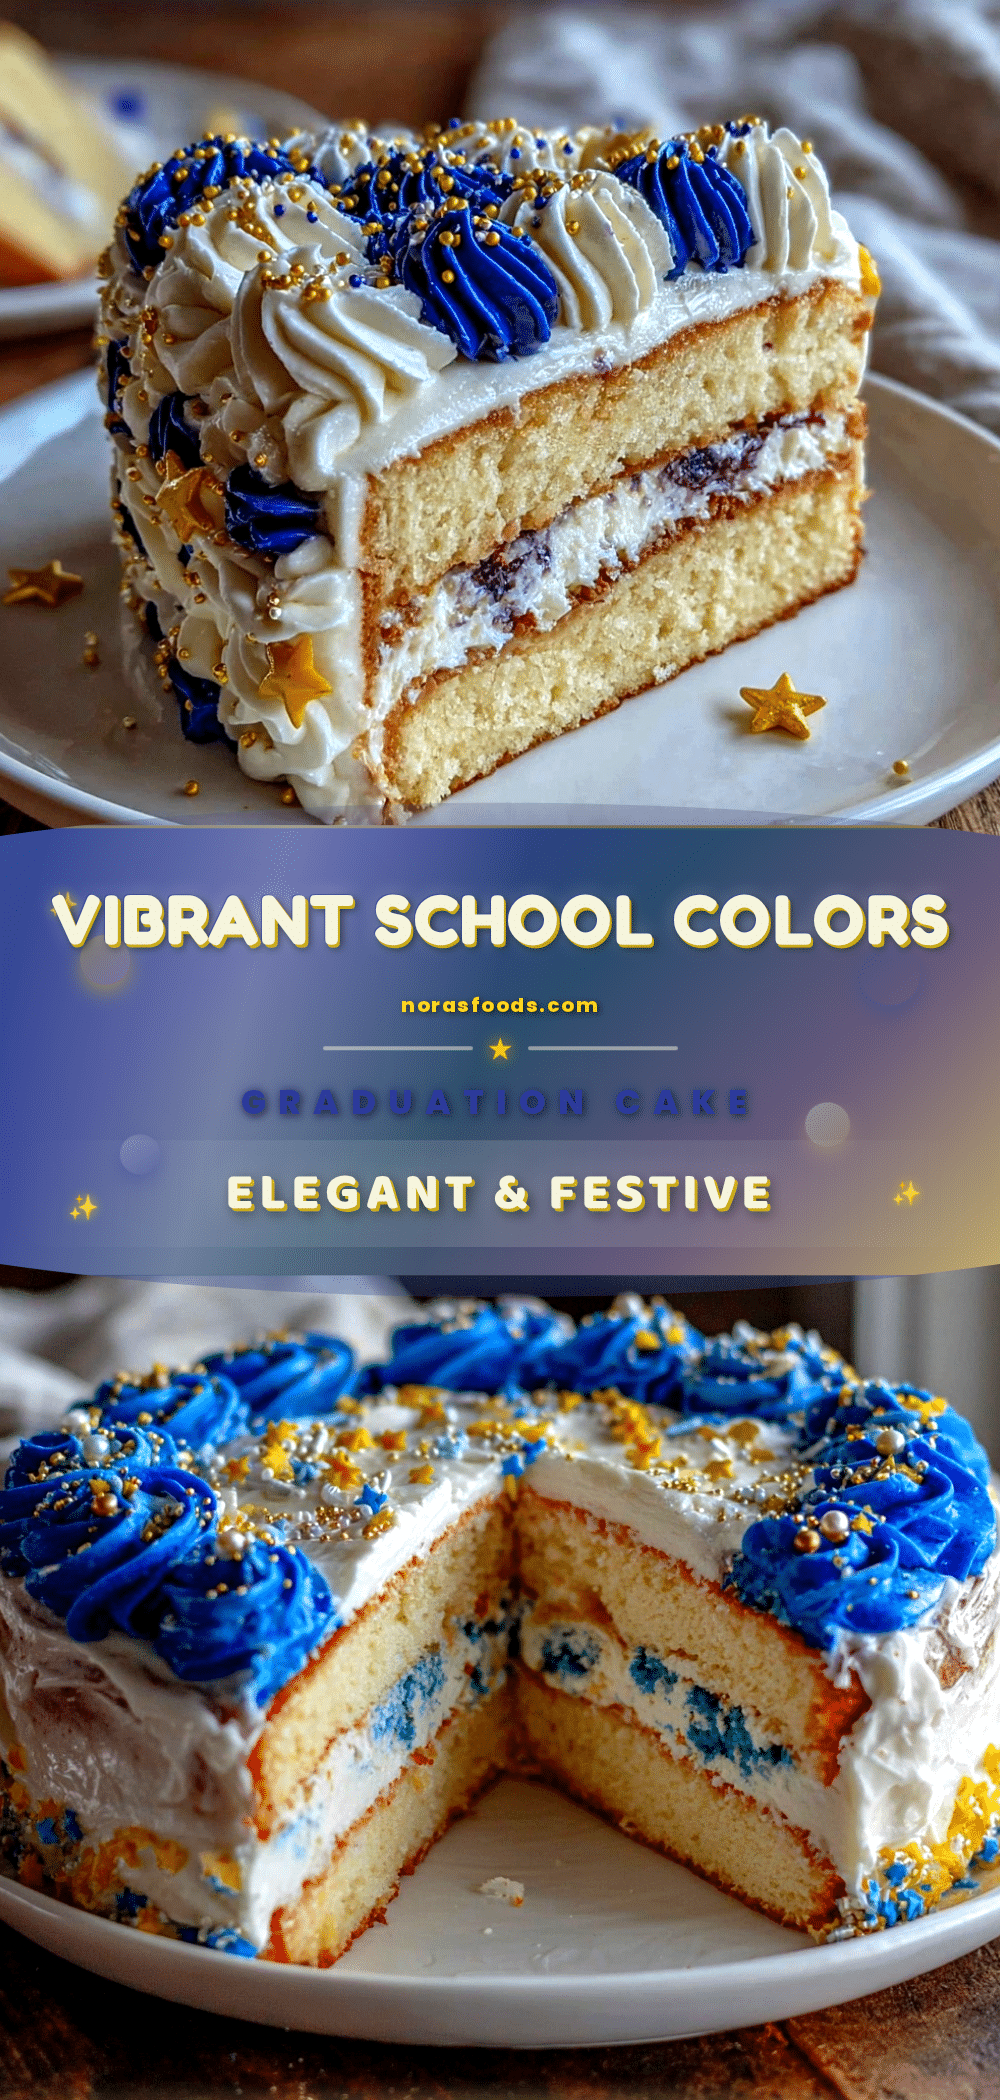
Perfect High School Graduation Cake Recipe with Easy School Colors Buttercream Tutorial
A moist vanilla sponge cake layered with vibrant, silky buttercream in school colors, perfect for celebrating graduation with a personalized and festive touch.
- Prep Time: 15 minutes
- Cook Time: 35 minutes
- Total Time: 50 minutes
- Yield: 12 servings
- Category: Dessert
- Cuisine: American
Ingredients
- All-purpose flour – 2 ½ cups (310 g), sifted
- Baking powder – 2 ½ teaspoons
- Salt – ½ teaspoon
- Unsalted butter – 1 cup (225 g), softened (for cake)
- Granulated sugar – 1 ¾ cups (350 g)
- Large eggs – 4, room temperature
- Pure vanilla extract – 2 teaspoons
- Whole milk – 1 cup (240 ml), warmed slightly (can swap with almond milk for dairy-free)
- Unsalted butter – 1 cup (225 g), softened (for buttercream)
- Powdered sugar – 4 cups (480 g), sifted
- Heavy cream – 2-4 tablespoons (30-60 ml)
- Pure vanilla extract – 1 teaspoon
- Gel food coloring in school colors (AmeriColor gels recommended)
Instructions
- Preheat oven to 350°F (175°C). Grease two 9-inch round pans and line bottoms with parchment paper.
- Whisk together flour, baking powder, and salt in a bowl; set aside.
- Beat 1 cup softened butter with 1 ¾ cups sugar on medium speed until pale and fluffy, about 3-4 minutes.
- Add eggs one at a time, beating well after each addition. Add 2 teaspoons vanilla extract with the last egg.
- With mixer on low, add dry ingredients in three parts alternating with warmed milk in two parts, starting and ending with flour. Mix just until combined.
- Divide batter evenly into prepared pans and smooth tops. Bake 30-35 minutes or until toothpick inserted in center comes out clean.
- Cool cakes in pans for 10 minutes, then invert onto cooling racks to cool completely.
- For buttercream: Beat 1 cup softened butter until creamy, about 2 minutes. Gradually add 4 cups powdered sugar on low speed until combined.
- Add 2-4 tablespoons heavy cream and 1 teaspoon vanilla extract, then beat on high for 3 minutes until fluffy and spreadable.
- Divide buttercream into bowls and tint with gel food coloring to desired school colors.
- Place one cake layer on serving plate. Spread a thick layer of one color buttercream evenly.
- Top with second cake layer and frost entire cake with remaining colored buttercream in chosen design using an offset spatula.
- Chill cake briefly to set frosting, then remove from fridge about 20 minutes before serving.
Notes
[‘Use gel food coloring for vibrant colors without thinning the frosting.’, ‘Keep butter at room temperature—soft but not too warm—for best buttercream texture.’, ‘Cool cakes completely before frosting to prevent melting.’, ‘Apply a crumb coat and chill before final frosting for smooth finish.’, ‘Add heavy cream slowly if buttercream is too stiff.’, ‘If no turntable, use a steady hand and rotate cake on countertop while frosting.’, ‘Can swap whole milk with plant-based milk for dairy-free version.’, ‘For gluten-free, use gluten-free all-purpose flour blend.’, ‘Optional: add lemon zest to cake batter for a fresh twist.’, ‘Store leftovers covered in fridge up to 4 days or freeze slices up to 3 months.’]
Nutrition
- Serving Size: 1 slice (1/12th of c
- Calories: 375
- Sugar: 35
- Sodium: 150
- Fat: 20
- Saturated Fat: 12
- Carbohydrates: 48
- Fiber: 1
- Protein: 5
Keywords: graduation cake, school colors buttercream, vanilla sponge cake, celebration cake, easy buttercream frosting, party cake