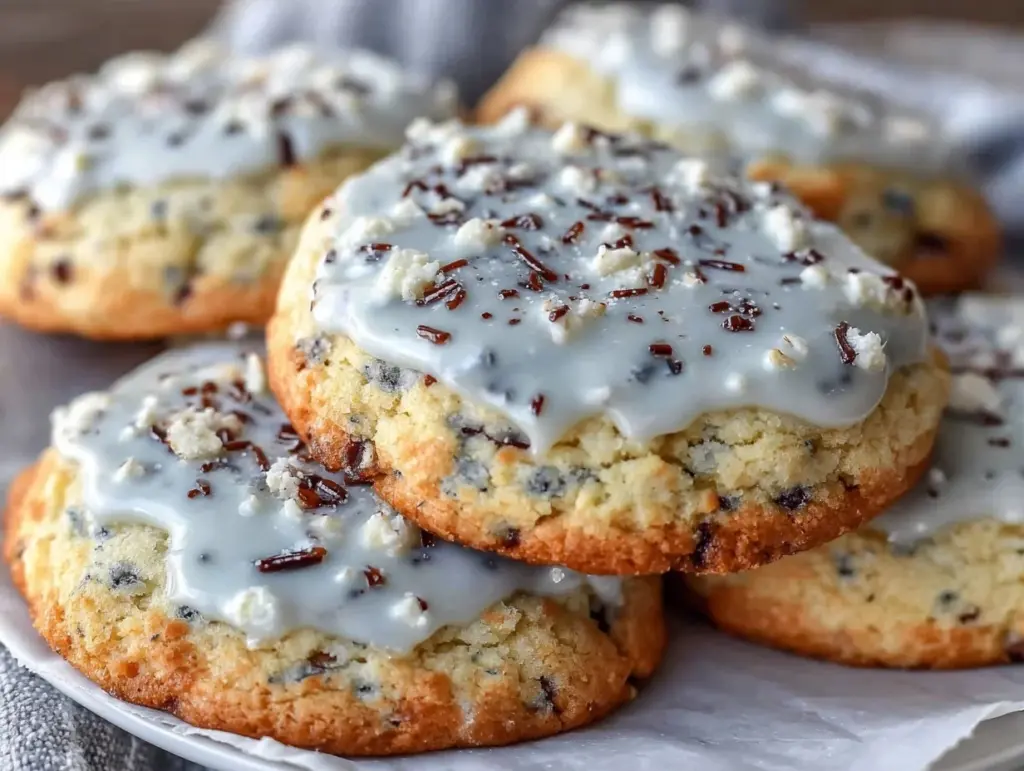
“Are you sure these are sugar cookies?” my friend asked, raising an eyebrow as she eyed the delicate robin egg speckles decorating the royal icing on these little treats. Honestly, I wasn’t sure myself the first time I made them. It started on a rainy Saturday afternoon when I had zero energy but a craving for something sweet and cheerful. I rummaged through the pantry, found some basic ingredients, and decided to try a shortcut with royal icing—something I’d always been a bit intimidated by.
As the cookies baked, the kitchen filled with that warm, buttery aroma I associate with comfort. But it was the frosting step that made me pause. Adding those tiny blue and green speckles to mimic robin eggshells felt oddly satisfying and, I’ll admit, a little whimsical. The end result? Perfect robin egg speckled sugar cookies that looked fancy but took surprisingly little effort. Since then, I’ve made these cookies multiple times—sometimes for Easter brunch, other times just because the mood struck—and they never fail to impress, even the skeptics.
What stuck with me was how approachable this recipe felt. Not too sweet, just right for dunking in tea or gifting without any fuss. If you’re after a homemade cookie recipe with a playful twist and a smooth royal icing finish, these might just become your go-to. The speckled effect adds that unexpected charm, and honestly, it’s become something of a signature in my kitchen. You might find yourself making them over and over, too.
Why You’ll Love This Recipe
- Quick & Easy: These cookies come together in about 30 minutes of hands-on time, perfect for busy afternoons when you want a rewarding baking project without hours in the kitchen.
- Simple Ingredients: No specialty items required—most are pantry staples, so you can whip them up spontaneously without a grocery run.
- Perfect for Spring & Easter: Their robin egg appearance fits beautifully with seasonal celebrations, brunches, or even as charming gifts.
- Crowd-Pleaser: Both kids and adults rave about the tender crumb and smooth icing, making these great for gatherings or school treats.
- Unbelievably Delicious: The sugar cookie base is buttery and soft but holds its shape beautifully, while the royal icing dries crisp with just the right sweetness.
This isn’t just your average sugar cookie recipe. What sets it apart is the speckled royal icing technique, which adds a delicate, artistic flair without needing fancy tools or skills. I personally prefer using Domino sugar and King Arthur flour for the best texture and flavor. Plus, the royal icing is whip-up friendly—no complicated meringue powders or stabilizers needed.
It’s the kind of recipe that brings a little joy into baking, whether you’re decorating with kids or making a batch for a casual afternoon treat. Once you get the hang of the speckling, it’s oddly addictive to see those tiny “egg spots” form. I promise, this recipe is both straightforward and rewarding—an easy way to add a touch of whimsy to your baking routine.
What Ingredients You Will Need
This recipe relies on straightforward, wholesome ingredients to produce a tender sugar cookie with a smooth, glossy royal icing that’s perfect for speckling. Most of these you probably already have within reach!
- For the Sugar Cookies:
- All-purpose flour (2 ¾ cups / 345 g) – I recommend King Arthur for consistent results
- Baking powder (1 teaspoon)
- Salt (½ teaspoon)
- Unsalted butter, softened (1 cup / 227 g) – room temperature for easy creaming
- Granulated sugar (1 ½ cups / 300 g) – Domino brand works great here
- Large eggs (2), room temperature
- Pure vanilla extract (2 teaspoons)
- Milk (2 tablespoons / 30 ml), whole or 2% (can substitute with almond milk)
- For the Royal Icing:
- Powdered sugar (4 cups / 480 g), sifted
- Egg whites (2 large) or 4 tablespoons of pasteurized meringue powder mixed with water (see notes below)
- Fresh lemon juice (1 tablespoon) – helps with drying and adds brightness
- Light corn syrup (1 tablespoon) – optional, for shine and smoothness
- Gel food coloring in robin egg blue and mint green (a few drops each)
- Pure vanilla extract (optional, ½ teaspoon)
- For the Speckles:
- Food-safe small paintbrush or clean toothbrush
- Additional gel food coloring diluted with a little water
If you want to make these gluten-free, swapping the all-purpose flour for a 1-to-1 gluten-free baking blend works well. For a dairy-free version, use vegan butter and plant-based milk. I’ve tried almond and oat milk with great results.
Equipment Needed
- Mixing bowls (medium and large) – glass or stainless steel preferred for ease of cleaning
- Electric hand mixer or stand mixer with paddle attachment – makes creaming butter and blending the icing much easier
- Baking sheets lined with parchment paper or silicone baking mats
- Rolling pin – a smooth, medium-sized one works best for even cookie thickness
- Cookie cutters in egg or circle shapes (about 2-3 inches in diameter)
- Cooling racks for cookies
- Small bowls or ramekins for mixing food coloring
- Food-safe paintbrush or old, clean toothbrush for speckling
I’ve found that a silicone baking mat helps prevent sticking and makes cleanup easier, though parchment paper is perfectly fine. When it comes to mixers, a stand mixer is a dream for the icing, but a good hand mixer does the job just fine. If you’re on a budget, even a sturdy whisk and some elbow grease can work for the cookie dough.
Preparation Method
- Preheat and prep: Set your oven to 350°F (175°C). Line baking sheets with parchment paper or silicone mats. This step ensures your cookies bake evenly without sticking.
- Mix dry ingredients: In a medium bowl, whisk together 2 ¾ cups (345 g) flour, 1 teaspoon baking powder, and ½ teaspoon salt. This blend gives the cookies their tender crumb and light rise.
- Cream butter and sugar: In a large bowl, use an electric mixer to beat 1 cup (227 g) softened unsalted butter and 1 ½ cups (300 g) granulated sugar until fluffy and pale—about 3 minutes. This aeration is key for soft cookies.
- Add eggs and vanilla: Beat in 2 large eggs one at a time, then mix in 2 teaspoons vanilla extract. The eggs bind everything and add richness.
- Alternate adding flour and milk: Gradually mix in the dry ingredients in three additions, alternating with 2 tablespoons milk, starting and ending with flour. Mix just until combined to avoid tough cookies.
- Chill the dough: Divide dough into two discs, wrap in plastic, and chill for at least 1 hour. This step makes rolling easier and prevents spreading in the oven.
- Roll and cut: On a lightly floured surface, roll dough to about ¼ inch (6 mm) thick. Cut out shapes using your cookie cutters and place them about 2 inches (5 cm) apart on baking sheets.
- Bake: Bake for 8-10 minutes until edges just begin to turn golden. The centers will look slightly underdone but will firm up as they cool.
- Cool: Let cookies cool on the baking sheet for 5 minutes, then transfer to wire racks to cool completely before decorating.
- Prepare royal icing: Beat 4 cups (480 g) powdered sugar with 2 large egg whites (or meringue powder mixture), 1 tablespoon lemon juice, and 1 tablespoon corn syrup until glossy and stiff peaks form—about 7-10 minutes. Adjust consistency with tiny amounts of water if needed.
- Color and decorate: Divide icing into portions. Tint most with robin egg blue gel color, a smaller portion with mint green, and leave some white. Flood the cookies with blue icing and let it set slightly for 10 minutes.
- Create speckles: Thin the mint green and blue icing with a few drops of water. Dip a small paintbrush or toothbrush and flick tiny droplets on the dried blue icing to mimic speckles. Allow to dry completely (4-6 hours or overnight).
A quick tip: chilling the dough makes it much easier to roll without sticking or tearing. Also, don’t skip the resting time for the royal icing—it’s what lets you get those crisp, beautiful finishes. Sometimes I add a few drops of vanilla to the icing for a subtle flavor twist.
Cooking Tips & Techniques
Royal icing can be intimidating, but breaking it down into simple steps makes it approachable. Use fresh egg whites or pasteurized meringue powder to avoid any safety concerns. If your icing feels too stiff, add water drop by drop; if it’s too runny, add more powdered sugar.
When rolling out the dough, dust your surface lightly with flour and roll from the center outward in all directions for even thickness. If the dough sticks, pop it back in the fridge for 10 minutes before continuing.
Don’t overbake the cookies. They should look soft and just set at the edges when you pull them out. Overbaking leads to dryness and cracking once decorated.
For the speckled effect, practice flicking icing on a scrap piece of parchment first. It’s easier than it sounds! Use your dominant hand and snap your wrist gently to control the splatter size.
I once forgot to chill the dough before rolling, and the cookies spread too much and lost shape. Lesson learned: that chill time is non-negotiable for clean edges and perfect shapes.
While waiting for your cookies to cool or icing to dry, multitask by prepping your next batch or cleaning up. It saves time and keeps the kitchen manageable.
Variations & Adaptations
- Flavor variations: Add a teaspoon of almond extract or lemon zest to the dough for a subtle twist that brightens the flavor.
- Color swaps: For holiday themes, swap the robin egg blue for pastel pinks, purples, or yellows. The speckling technique works beautifully with any light base color.
- Gluten-free adaptation: Use a 1-to-1 gluten-free baking blend and add a teaspoon of xanthan gum if your blend doesn’t include it to maintain cookie texture.
- Vegan version: Substitute butter with vegan margarine and use aquafaba (chickpea water) whipped with powdered sugar as a royal icing alternative. It won’t be exactly the same, but still tasty.
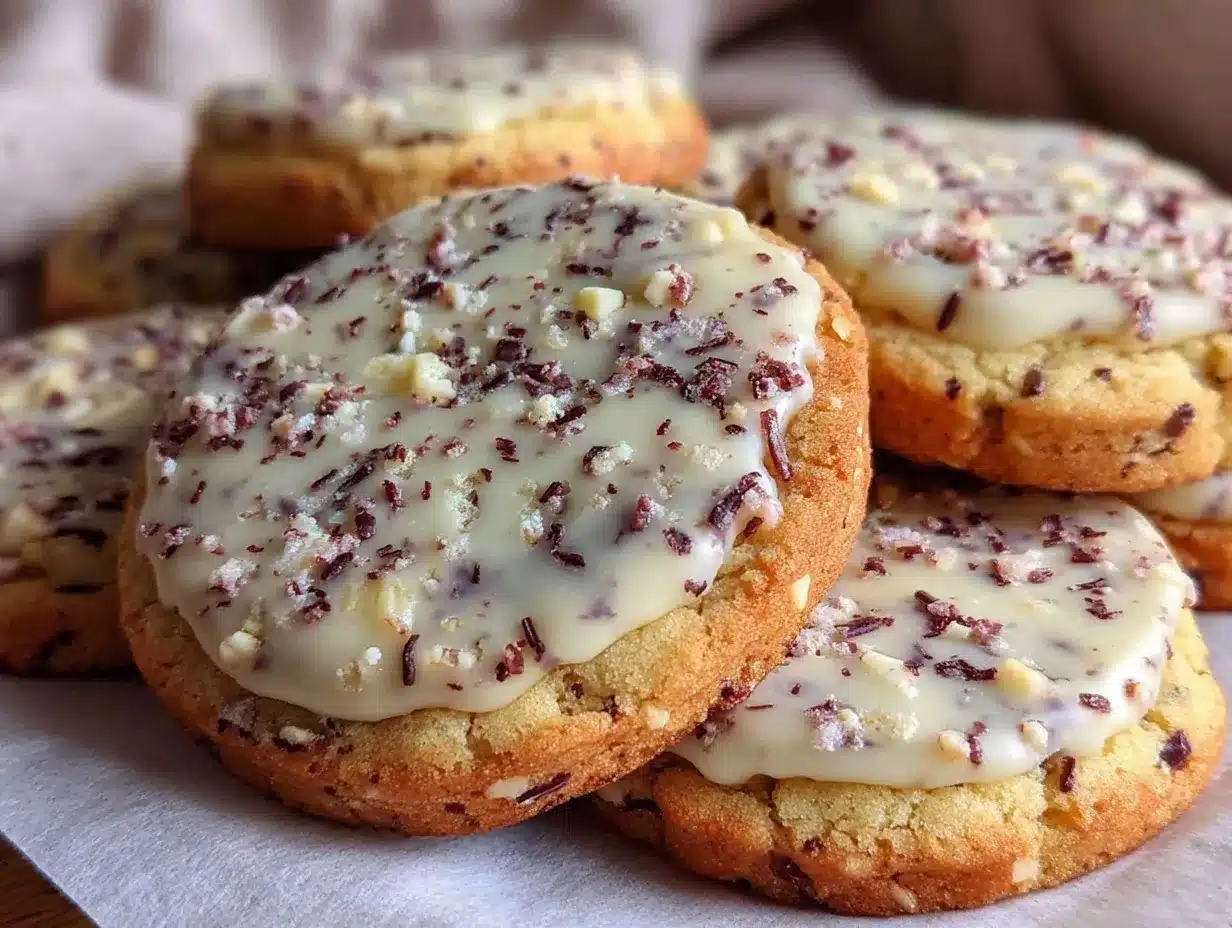
- Alternative decorating: Try sanding sugar or edible glitter instead of speckles for a simpler finish that still dazzles.
One time, I added crushed freeze-dried blueberries to the royal icing for a natural blue speckle—delicious and pretty, but a bit more rustic looking!
Serving & Storage Suggestions
Serve these cookies at room temperature with a warm cup of tea or coffee to balance the sweetness. They look especially charming arranged on a spring-themed platter or tied up as gifts in cellophane bags.
Store the cookies in an airtight container at room temperature for up to 4 days. If you want to keep them longer, freeze undecorated cookies in a single layer wrapped tightly for up to 3 months. Decorated cookies freeze best after the icing has fully dried—wrap individually in parchment and then place in an airtight container.
To reheat, let frozen cookies thaw completely at room temperature. Avoid microwaving decorated cookies to keep the royal icing intact.
Flavors mellow and improve slightly after a day, so if you can wait, letting them rest overnight is a treat in itself.
If you enjoy recipes with a touch of artistry, you might appreciate the easy techniques in my crispy Caprese panini recipe, which balances simple ingredients with bold flavor.
Nutritional Information & Benefits
Per cookie (based on 24 cookies per batch): approximately 150 calories, 7 g fat, 22 g carbohydrates, 1 g protein.
This recipe includes wholesome pantry staples without artificial additives. Butter provides a source of vitamin A, while eggs contribute protein and healthy fats.
The powdered sugar does add sweetness, so these cookies are best enjoyed as an occasional treat. For those monitoring gluten intake, the gluten-free option keeps the recipe accessible.
From my personal wellness perspective, baking at home with trusted ingredients helps me control sweetness and avoid preservatives found in store-bought cookies.
Conclusion
These perfect robin egg speckled sugar cookies with royal icing offer a playful, pretty twist on a classic favorite. They strike a balance between simple ingredients and fun decorating that anyone can tackle. I love how they bring a little extra joy to gatherings or quiet afternoons alike.
Feel free to tweak the colors, flavors, or even shapes to suit your mood or occasion. Baking should be as much about creativity as it is about flavor, and these cookies invite both.
If you try this recipe, I’d love to hear how your speckles turn out or what variations you experiment with. Sharing those moments makes baking even sweeter.
Remember, the best treats are the ones made with a little patience, a touch of whimsy, and plenty of love. Happy baking!
FAQs
- Can I use powdered egg substitute instead of fresh egg whites for royal icing? Yes, pasteurized meringue powder mixed with water works well and is safer for those concerned about raw eggs.
- How do I store decorated sugar cookies so the icing doesn’t get sticky? Keep them in an airtight container at room temperature once the icing is fully dry. Avoid refrigeration, which can cause moisture buildup.
- Can I make the dough ahead of time? Absolutely! The dough can be refrigerated for up to 3 days or frozen for up to 1 month before rolling and baking.
- What’s the best way to get the speckled effect with food coloring? Use a small paintbrush or toothbrush dipped in diluted gel food coloring, then flick the bristles gently over the icing for natural speckles.
- Are these cookies suitable for gluten-free diets? Yes, by substituting the all-purpose flour with a gluten-free blend, you can make a delicious gluten-free version.
Pin This Recipe!
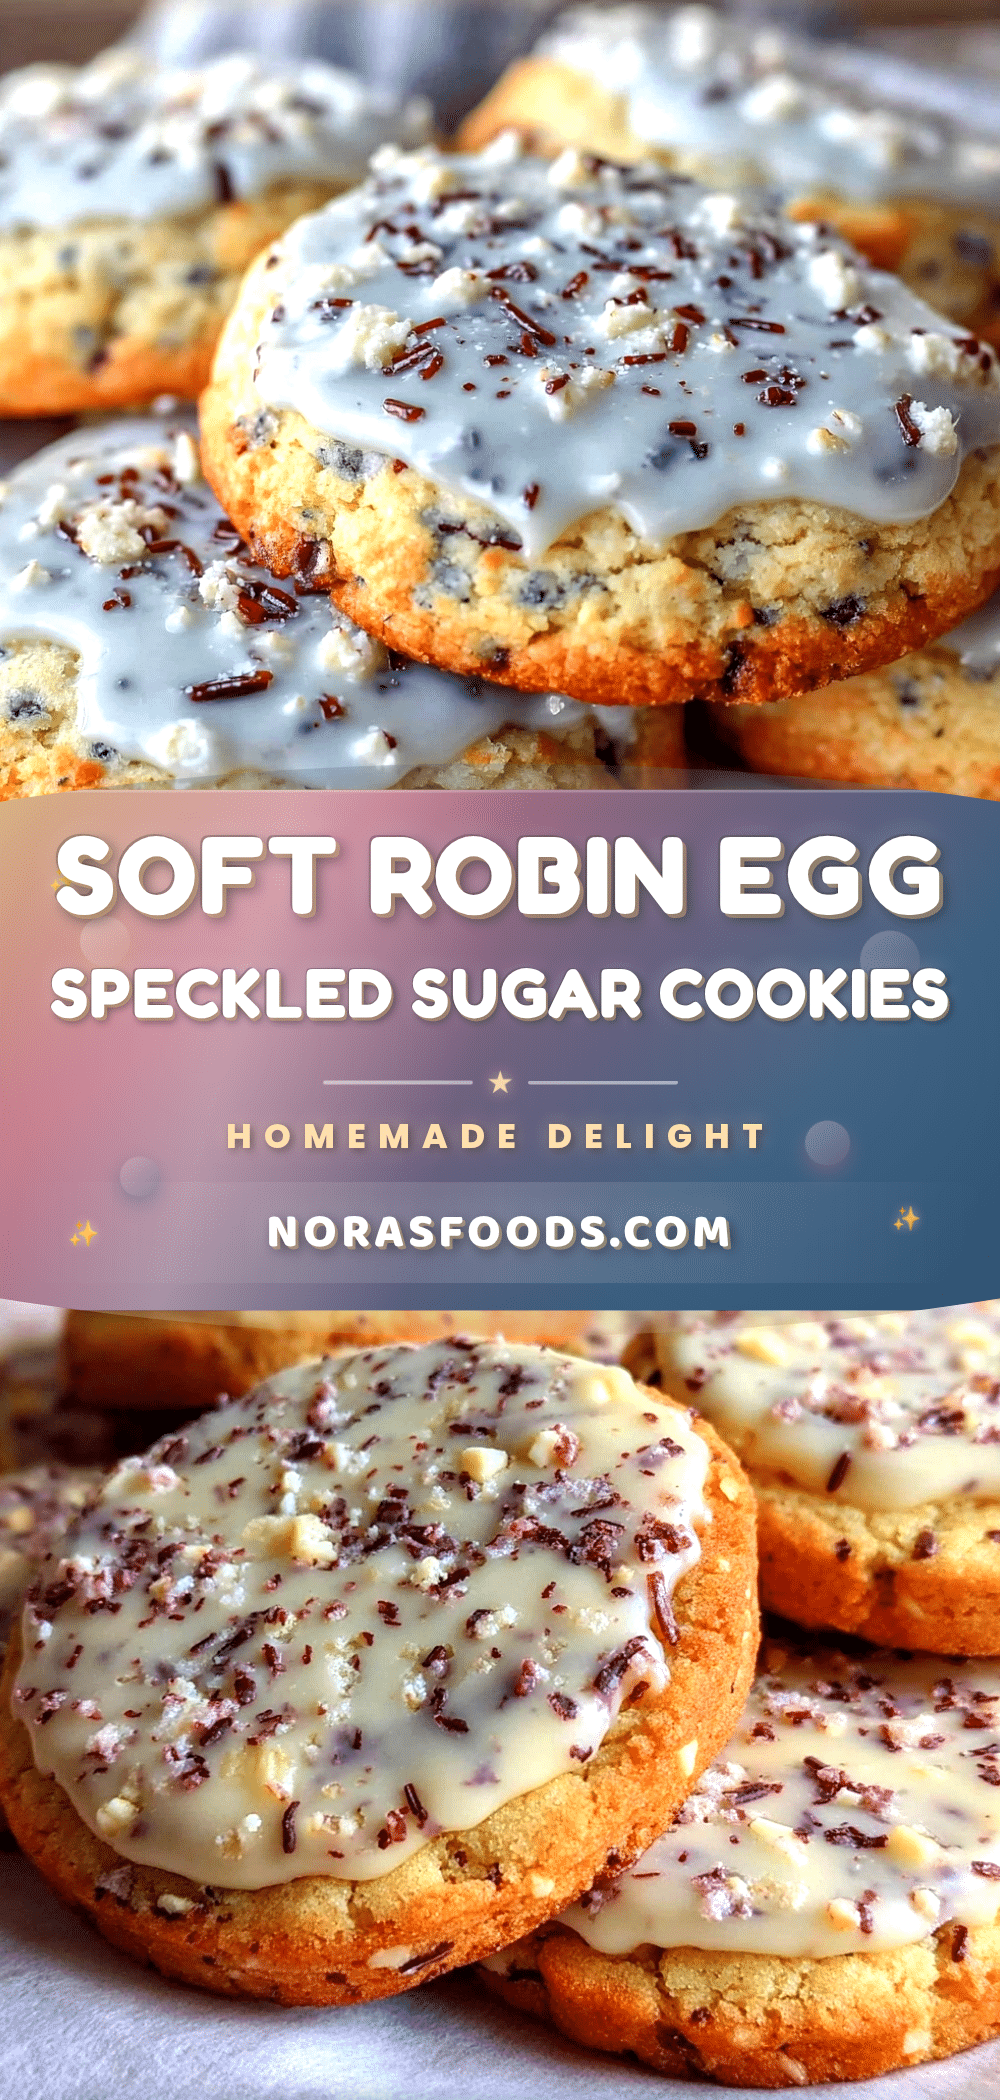
Perfect Robin Egg Speckled Sugar Cookies

Delicate sugar cookies decorated with whimsical robin egg speckled royal icing, perfect for spring celebrations or gifting. These cookies are buttery, soft, and topped with a smooth, crisp royal icing finish.
- Prep Time: 20 minutes
- Cook Time: 10 minutes
- Total Time: 1 hour 30 minutes
- Yield: 24 cookies 1x
- Category: Dessert
- Cuisine: American
Ingredients
- 2 ¾ cups (345 g) all-purpose flour (King Arthur recommended)
- 1 teaspoon baking powder
- ½ teaspoon salt
- 1 cup (227 g) unsalted butter, softened
- 1 ½ cups (300 g) granulated sugar (Domino brand recommended)
- 2 large eggs, room temperature
- 2 teaspoons pure vanilla extract
- 2 tablespoons (30 ml) milk, whole or 2% (can substitute almond milk)
- 4 cups (480 g) powdered sugar, sifted
- 2 large egg whites or 4 tablespoons pasteurized meringue powder mixed with water
- 1 tablespoon fresh lemon juice
- 1 tablespoon light corn syrup (optional)
- Gel food coloring in robin egg blue and mint green (a few drops each)
- ½ teaspoon pure vanilla extract (optional)
- Food-safe small paintbrush or clean toothbrush
- Additional gel food coloring diluted with a little water for speckles
Instructions
- Preheat oven to 350°F (175°C). Line baking sheets with parchment paper or silicone mats.
- In a medium bowl, whisk together flour, baking powder, and salt.
- In a large bowl, beat softened butter and granulated sugar with an electric mixer until fluffy and pale, about 3 minutes.
- Beat in eggs one at a time, then mix in vanilla extract.
- Gradually add dry ingredients in three additions, alternating with milk, starting and ending with flour. Mix just until combined.
- Divide dough into two discs, wrap in plastic, and chill for at least 1 hour.
- Roll dough on a lightly floured surface to about ¼ inch (6 mm) thick. Cut shapes with cookie cutters and place 2 inches apart on baking sheets.
- Bake for 8-10 minutes until edges just begin to turn golden. Centers will look slightly underdone but will firm as they cool.
- Cool cookies on baking sheet for 5 minutes, then transfer to wire racks to cool completely.
- Prepare royal icing by beating powdered sugar, egg whites (or meringue powder mixture), lemon juice, and corn syrup until glossy and stiff peaks form, about 7-10 minutes. Adjust consistency with water if needed.
- Divide icing into portions. Tint most with robin egg blue, a smaller portion with mint green, and leave some white.
- Flood cookies with blue icing and let set slightly for 10 minutes.
- Thin mint green and blue icing with water. Dip paintbrush or toothbrush and flick tiny droplets onto dried blue icing to create speckles.
- Allow decorated cookies to dry completely for 4-6 hours or overnight.
Notes
Chill dough for at least 1 hour to prevent spreading and make rolling easier. Use fresh egg whites or pasteurized meringue powder for royal icing safety. Adjust royal icing consistency with water or powdered sugar as needed. Practice speckling on parchment before decorating cookies. Avoid overbaking to keep cookies soft. Store decorated cookies in airtight container at room temperature for up to 4 days; freeze undecorated cookies for up to 3 months.
Nutrition
- Serving Size: 1 cookie
- Calories: 150
- Fat: 7
- Carbohydrates: 22
- Protein: 1
Keywords: sugar cookies, royal icing, robin egg speckled cookies, Easter cookies, spring baking, homemade cookies, easy sugar cookies, cookie decorating