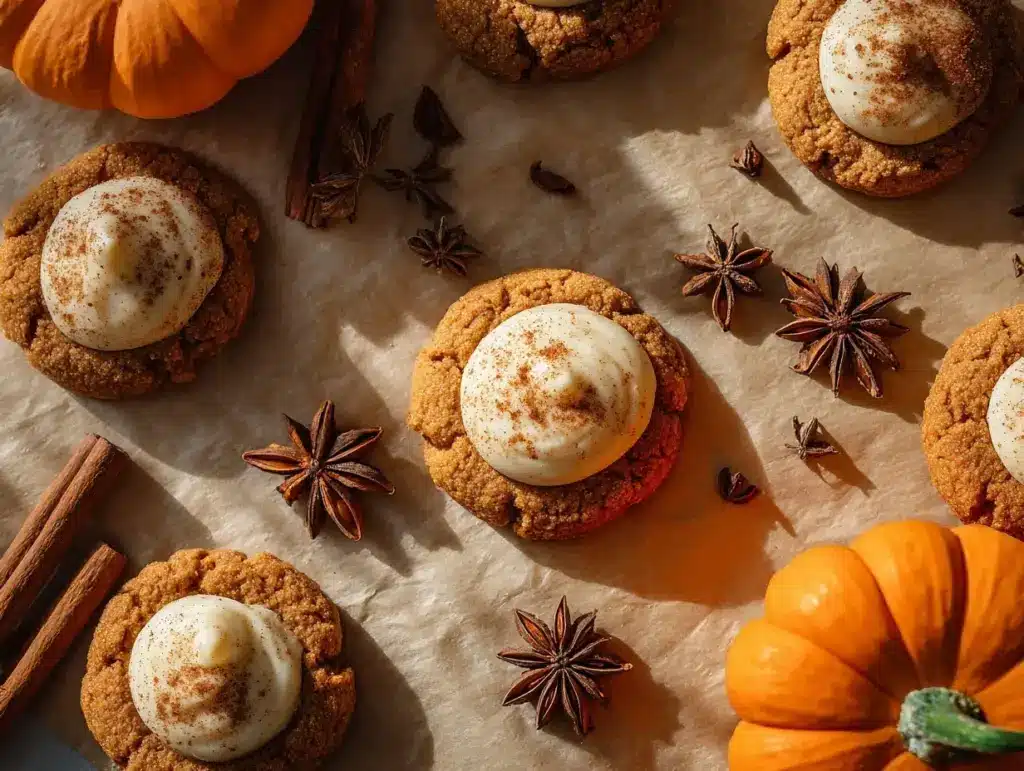
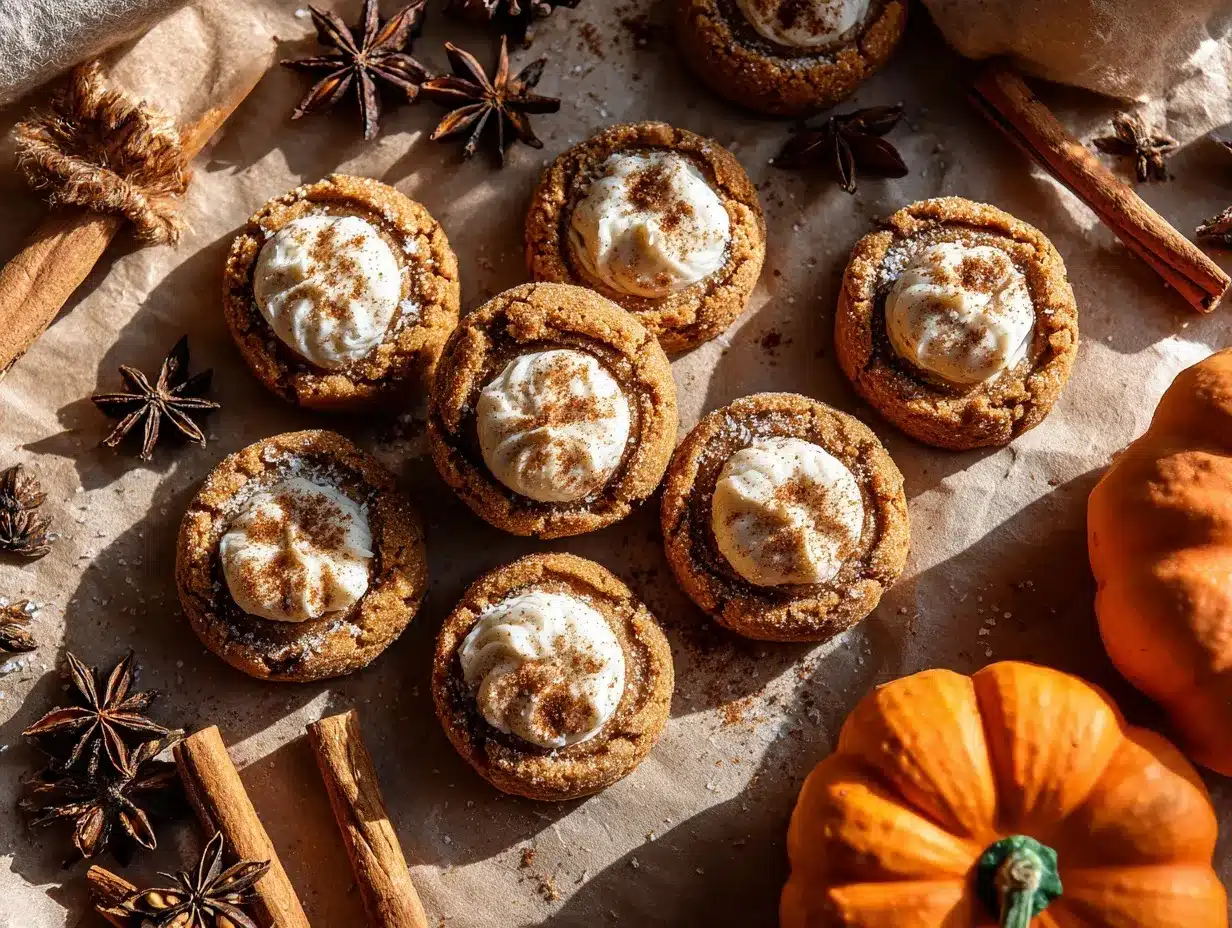
The first time I bit into a pumpkin cheesecake thumbprint cookie, it felt like fall had arrived in full force. Imagine a soft, spiced cookie cradling a velvety dollop of cheesecake filling—each bite is an explosion of pumpkin spice and creamy goodness. These cookies aren’t just tasty; they’re cozy, festive, and perfect for sharing with family or friends. Every year as the leaves turn, this recipe becomes my go-to for gatherings, gift boxes, and cozy evenings with a cup of tea.
If you’re obsessed with pumpkin spice like I am, these thumbprint cookies will quickly become a staple in your autumn baking lineup. The best part? They’re surprisingly simple to make, and the reward is a plateful of cookies that look (and taste) like they came straight from a bakery!
Why You’ll Love This Recipe
- Festive Fall Flavor: Pumpkin spice, cream cheese, and buttery cookies—all the flavors of fall in one bite.
- Easy to Make: No fancy techniques required. These cookies are beginner-friendly and forgiving.
- Perfect Texture: Soft and chewy cookies paired with smooth cheesecake filling make every bite irresistible.
- Make-Ahead Friendly: The dough chills beautifully, and the cookies can be stored for days without losing their charm.
- Versatile: Ideal for holiday gatherings, gifting, or just treating yourself.
What sets this recipe apart is the balance of flavor and texture. The pumpkin spice cookie base is perfectly spiced without being overwhelming, while the cheesecake filling adds a creamy, tangy contrast. Plus, their thumbprint design makes them look extra special—your friends and family will think you spent hours perfecting them!
What Ingredients You’ll Need
This recipe uses simple, wholesome ingredients to create a fall masterpiece. Here’s what you’ll need:
- For the cookie base:
- 2 1/4 cups (280g) all-purpose flour
- 1 tsp baking powder
- 1/2 tsp baking soda
- 1/2 tsp salt
- 1 tsp ground cinnamon
- 1/2 tsp ground nutmeg
- 1/2 tsp ground ginger
- 1/2 cup (115g) unsalted butter, softened
- 1/2 cup (100g) granulated sugar
- 1/2 cup (100g) light brown sugar, packed
- 1 large egg
- 1/2 cup (120g) canned pumpkin purée (not pumpkin pie filling)
- 1 tsp pure vanilla extract
- For the cheesecake filling:
- 8 oz (225g) cream cheese, softened
- 1/4 cup (50g) granulated sugar
- 1 tsp pure vanilla extract
- 1 large egg yolk
Pro tip: Use pure canned pumpkin for the best flavor and texture. Avoid pumpkin pie filling, as it contains added sugars and spices that could throw off the balance.
Equipment You’ll Need
- Mixing bowls (medium and large)
- Electric mixer or stand mixer
- Measuring cups and spoons
- Rubber spatula
- Baking sheets
- Parchment paper
- Small cookie scoop (optional but helpful!)
- Teaspoon or thumb for making indentations
If you don’t have parchment paper, you can use a silicone baking mat. And while a cookie scoop makes portioning easy, you can also use a tablespoon and roll the cookie dough by hand. These cookies are forgiving!
How to Make Pumpkin Cheesecake Thumbprint Cookies
- Prepare the dough: In a medium bowl, whisk together the flour, baking powder, baking soda, salt, cinnamon, nutmeg, and ginger. Set aside. In a large bowl, cream together the softened butter, granulated sugar, and brown sugar until light and fluffy (about 2 minutes). Beat in the egg, pumpkin purée, and vanilla extract until combined.
- Mix the dry ingredients: Gradually add the dry ingredients to the wet ingredients, mixing until just combined. Be careful not to overmix. Cover the dough with plastic wrap and refrigerate for at least 30 minutes (or up to 24 hours).
- Prepare the cheesecake filling: In a medium bowl, beat the cream cheese until smooth. Add the sugar, vanilla extract, and egg yolk, mixing until fully combined. Transfer the mixture to the refrigerator to chill while the dough rests.
- Preheat and prep: Preheat your oven to 350°F (175°C). Line your baking sheets with parchment paper or silicone mats.
- Shape the cookies: Using a cookie scoop or tablespoon, portion the dough into balls and place them on the prepared baking sheets, leaving about 2 inches between each cookie. Use your thumb or the back of a teaspoon to make an indentation in the center of each dough ball.
- Fill the cookies: Spoon a small amount of cheesecake filling into each thumbprint. Be careful not to overfill.
- Bake: Bake the cookies for 12-15 minutes, or until the edges are set and the filling is slightly puffed. Allow the cookies to cool on the baking sheets for 5 minutes before transferring them to a wire rack to cool completely.
These cookies are best enjoyed fully cooled when the flavors have had time to settle and the filling is creamy perfection.
Cooking Tips & Techniques
- Chill the dough: Don’t skip this step! Chilling the dough helps prevent spreading and ensures the cookies keep their shape.
- Use room-temperature ingredients: Softened butter and cream cheese mix more evenly, creating a smoother texture.
- Don’t overfill: A little cheesecake filling goes a long way. Too much can overflow during baking.
- Test one batch: If you’re unsure about baking time, start with a small batch and adjust based on results.
Trust me—taking these extra steps can make the difference between good cookies and show-stopping ones.
Variations & Adaptations
- Gluten-Free: Swap the all-purpose flour with a 1:1 gluten-free baking mix for a celiac-friendly version.
- Dairy-Free: Use dairy-free cream cheese and vegan butter for a lactose-free treat.
- Festive Twist: Add a sprinkle of crushed pecans or a drizzle of caramel over the cheesecake filling for extra flair.
Personally, I’ve tried adding a pinch of cardamom to the cookie dough for a slightly different spice profile—it’s subtle but magical!
Serving & Storage Suggestions
These cookies are best served at room temperature with a cup of coffee or tea. For a festive touch, arrange them on a platter lined with parchment paper and garnish with a few cinnamon sticks or mini pumpkins.
To store, place the cookies in an airtight container and refrigerate for up to 5 days. You can also freeze them for longer storage—just layer them between sheets of parchment paper to prevent sticking. To reheat, let them thaw at room temperature or warm them gently in the microwave for 10-15 seconds.
Nutritional Information & Benefits
Each cookie has approximately:
- Calories: 140
- Carbohydrates: 18g
- Protein: 2g
- Fat: 6g
With pumpkin purée as a main ingredient, these cookies offer a dose of vitamin A and fiber. While they’re still a treat, it’s nice to know they have a little nutritional value hidden in their deliciousness!
Conclusion
If you’re looking for a cookie that embodies the essence of fall, pumpkin cheesecake thumbprint cookies are it. They’re festive, flavorful, and surprisingly easy to make. Whether you’re baking for a crowd or just indulging your own pumpkin spice cravings, these cookies are guaranteed to be a hit.
I love how customizable this recipe is—you can tweak the spices, fillings, or toppings to make it truly your own. Let me know how yours turn out in the comments below! And don’t forget to share this recipe with your friends; everyone deserves a little taste of autumn magic.
FAQs
Can I make these cookies ahead of time?
Absolutely! Both the dough and the cheesecake filling can be made a day in advance and stored in the fridge until ready to bake.
What if I don’t have canned pumpkin?
You can use homemade pumpkin purée—just make sure it’s thick and not watery.
Can I freeze these cookies?
Yes! Freeze them in an airtight container with parchment paper between layers for up to 3 months.
How do I prevent the filling from bubbling over?
Make sure not to overfill the thumbprints and chill the filling before baking.
Can I double the recipe?
Yes, this recipe doubles beautifully if you’re baking for a crowd!
Pin This Recipe!
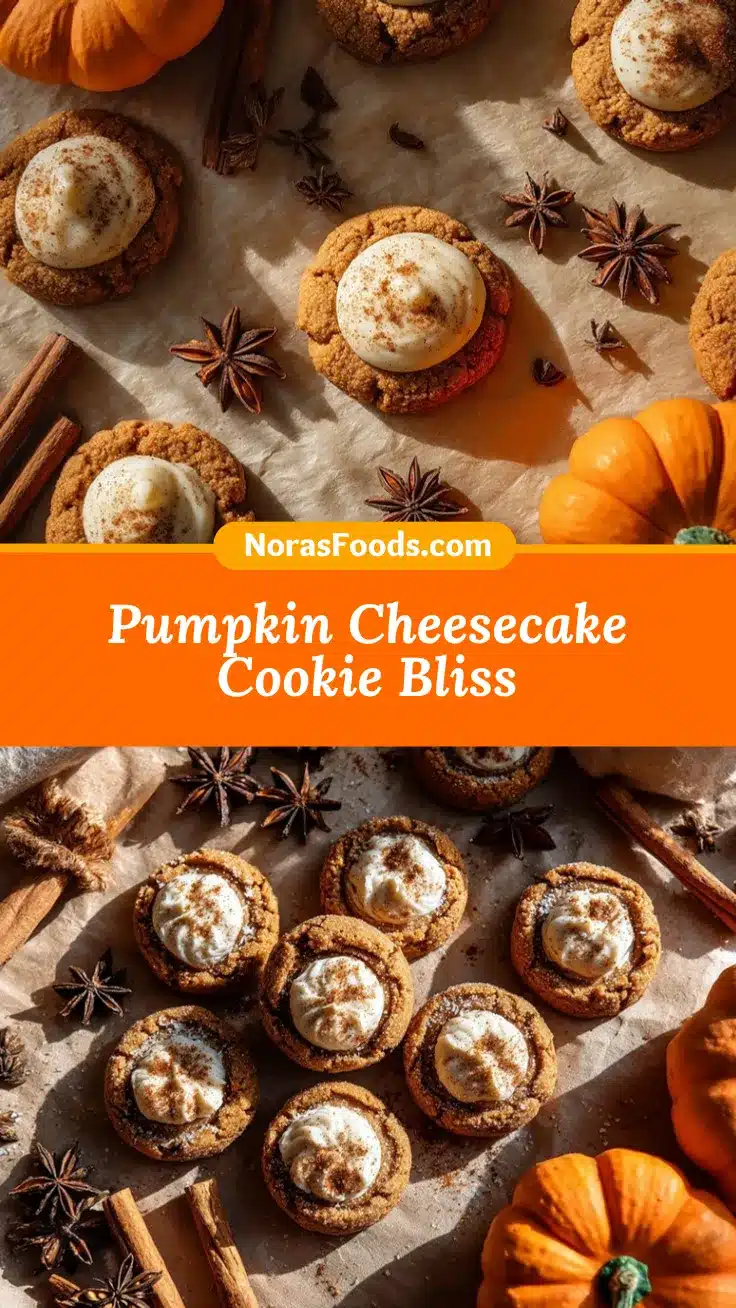
Pumpkin Cheesecake Thumbprint Cookies
Soft, spiced cookies cradling a velvety dollop of cheesecake filling—perfect for fall gatherings and cozy evenings.
- Prep Time: 30 minutes
- Cook Time: 15 minutes
- Total Time: 45 minutes
- Yield: 24 cookies 1x
- Category: Dessert
- Cuisine: American
Ingredients
- 2 1/4 cups (280g) all-purpose flour
- 1 tsp baking powder
- 1/2 tsp baking soda
- 1/2 tsp salt
- 1 tsp ground cinnamon
- 1/2 tsp ground nutmeg
- 1/2 tsp ground ginger
- 1/2 cup (115g) unsalted butter, softened
- 1/2 cup (100g) granulated sugar
- 1/2 cup (100g) light brown sugar, packed
- 1 large egg
- 1/2 cup (120g) canned pumpkin purée
- 1 tsp pure vanilla extract
- 8 oz (225g) cream cheese, softened
- 1/4 cup (50g) granulated sugar
- 1 tsp pure vanilla extract
- 1 large egg yolk
Instructions
- In a medium bowl, whisk together the flour, baking powder, baking soda, salt, cinnamon, nutmeg, and ginger. Set aside.
- In a large bowl, cream together the softened butter, granulated sugar, and brown sugar until light and fluffy (about 2 minutes). Beat in the egg, pumpkin purée, and vanilla extract until combined.
- Gradually add the dry ingredients to the wet ingredients, mixing until just combined. Cover the dough with plastic wrap and refrigerate for at least 30 minutes (or up to 24 hours).
- In a medium bowl, beat the cream cheese until smooth. Add the sugar, vanilla extract, and egg yolk, mixing until fully combined. Transfer the mixture to the refrigerator to chill while the dough rests.
- Preheat your oven to 350°F (175°C). Line your baking sheets with parchment paper or silicone mats.
- Using a cookie scoop or tablespoon, portion the dough into balls and place them on the prepared baking sheets, leaving about 2 inches between each cookie. Use your thumb or the back of a teaspoon to make an indentation in the center of each dough ball.
- Spoon a small amount of cheesecake filling into each thumbprint. Be careful not to overfill.
- Bake the cookies for 12-15 minutes, or until the edges are set and the filling is slightly puffed. Allow the cookies to cool on the baking sheets for 5 minutes before transferring them to a wire rack to cool completely.
Notes
[‘Chill the dough to prevent spreading and ensure the cookies keep their shape.’, ‘Use room-temperature ingredients for smoother mixing.’, ‘Don’t overfill the thumbprints to avoid overflow during baking.’, ‘Test one batch first to adjust baking time if needed.’]
Nutrition
- Serving Size: 1 cookie
- Calories: 140
- Fat: 6
- Carbohydrates: 18
- Protein: 2
Keywords: Pumpkin, Cheesecake, Thumbprint Cookies, Fall Dessert, Autumn Baking


