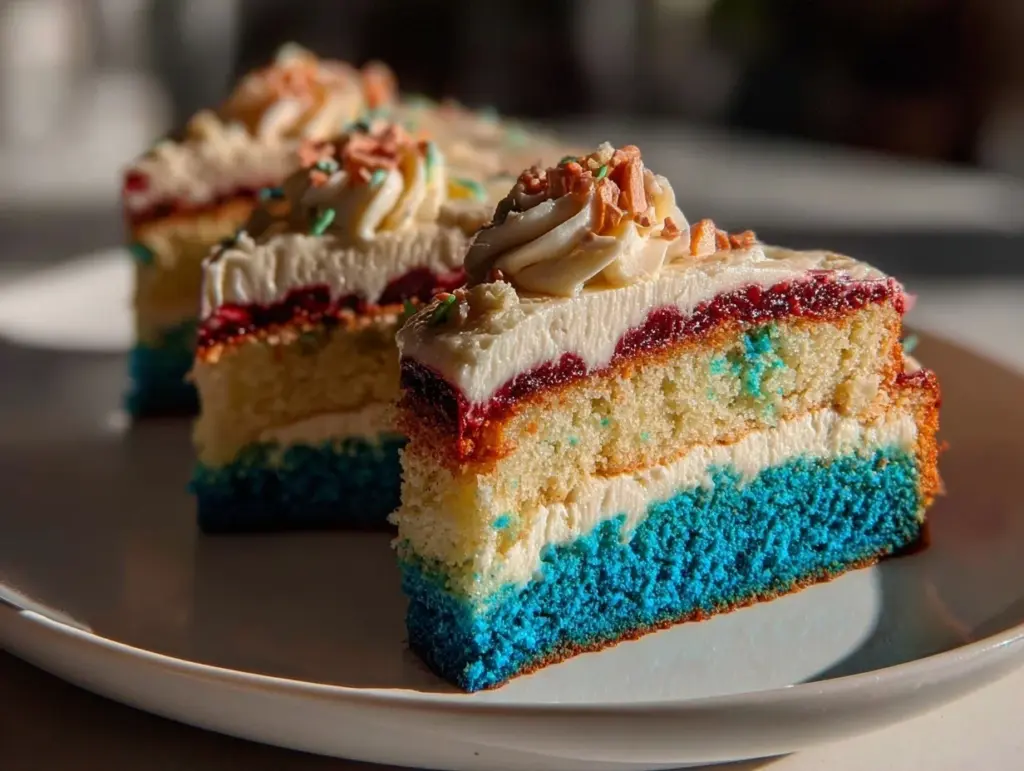
“Hold up, are you sure that’s homemade?” My cousin’s words caught me mid-slice as I handed over a piece of the Perfect School Colors Ombre Layer Cake with Diploma Topper. Honestly, I was just winging it that afternoon, scrambling to put together something special for a surprise graduation party. The clock was ticking, the kitchen was a mess, and I had zero time for a fancy bakery run. But somehow, this cake—stacked in graduating hues—came together like a little miracle.
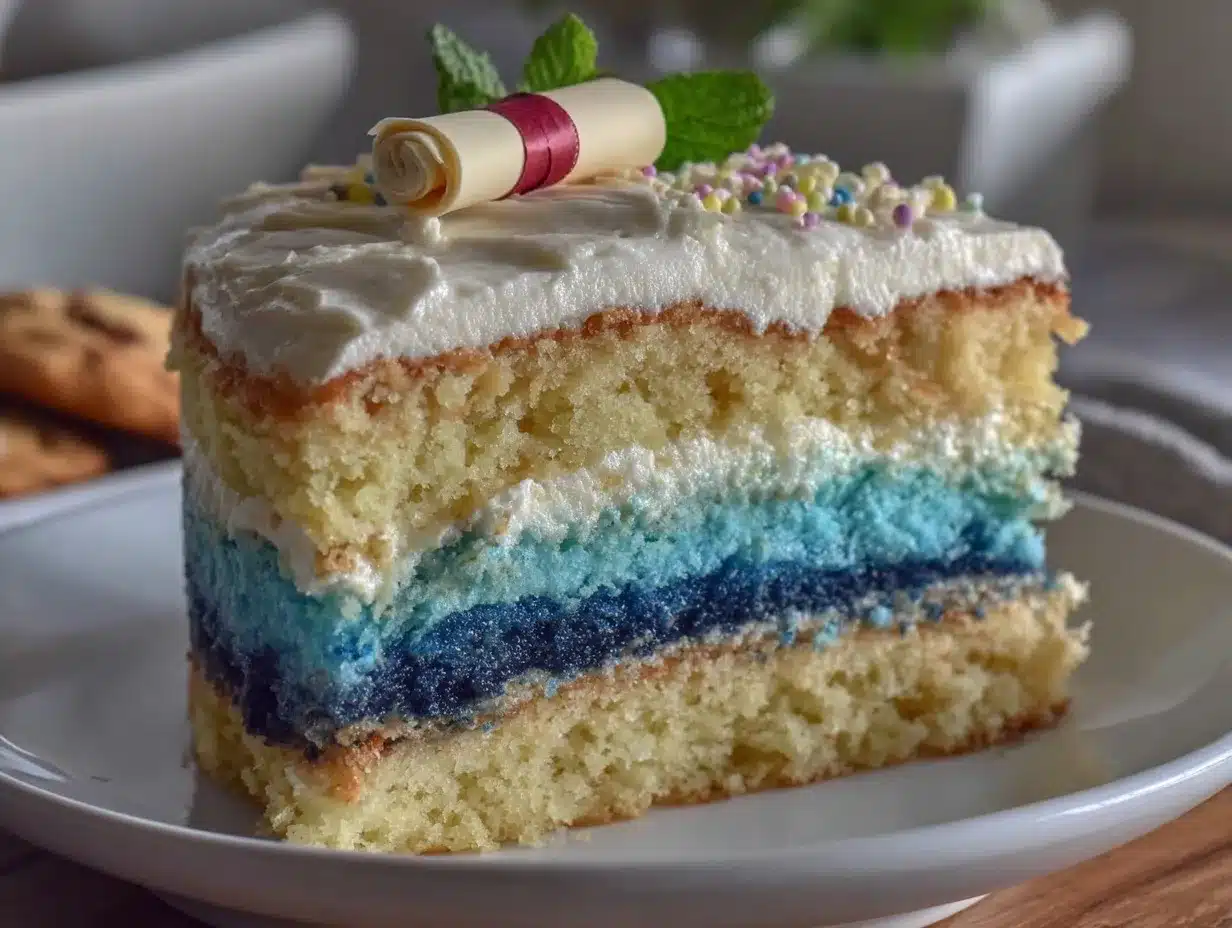
It wasn’t until the frosting swirls and that tiny diploma topper were in place that I stopped to really look at it: layers fading from light to dark in the school’s colors, each bite as moist and tender as the last. You know how sometimes a recipe sticks because it just fits perfectly into a life moment? This cake did exactly that for me. It’s now my go-to for celebrating milestones, especially when I want something that looks impressive but won’t have me pulling an all-nighter.
What I love most is how this recipe balances fuss and flair. It’s not one of those intimidating cakes that require a professional pastry degree. No, this one is a friendly, approachable cake that lets the colors do the talking—while still tasting like a dream. And that diploma topper? The little detail that brings a whole story to the table, making it feel personal and meaningful without much extra effort. It’s funny how a simple cake can turn a gathering into a moment that feels truly special. That’s why this recipe stuck with me—it’s honest, heartfelt, and just right.
Why You’ll Love This Recipe
Having baked this Perfect School Colors Ombre Layer Cake more times than I can count, I’ve learned a few things that make it stand out from the crowd. Whether you’re a seasoned baker or just someone who likes to impress without stress, this recipe hits all the right notes:
- Quick & Easy: The batter comes together in under 30 minutes, perfect for last-minute celebrations or those days when you want a showstopper without the headache.
- Simple Ingredients: No need for exotic or hard-to-find items—most are pantry staples like flour, sugar, eggs, and food coloring.
- Perfect for Graduations & Celebrations: The ombre effect in school colors adds a festive vibe that feels custom-made for graduation parties or any milestone event.
- Crowd-Pleaser: Every time I bring this cake, it disappears fast. Kids and adults alike rave about its moist crumb and balanced sweetness.
- Unbelievably Delicious: The texture is tender and fluffy, with just the right crumb that holds up beautifully under the smooth cream cheese frosting.
What really sets this recipe apart is the way the layers blend seamlessly from light to dark, creating that gorgeous ombre look without complicated techniques. I use a special trick of gradually adding food coloring to the batter in measured increments, which not only gives consistency but also prevents any harsh color lines. Plus, the homemade cream cheese frosting has just enough tang to cut through the sweetness, making every slice feel like a perfect bite.
It’s the kind of cake that makes you close your eyes after the first bite and think, “Yep, this is exactly what a celebration cake should taste like.” And honestly, it’s a relief to have a recipe that delivers both beauty and flavor—without the usual stress. If you’re celebrating a graduation or a milestone, this cake brings a little extra joy to the table.
What Ingredients You Will Need
This recipe uses simple, wholesome ingredients to deliver bold flavor and satisfying texture without the fuss. Most of these are pantry staples, and the color variations come from easy-to-find food coloring gels. Feel free to swap out some items based on your preferences or dietary needs.
- For the Cake Batter:
- All-purpose flour (2 ½ cups / 315g) – I prefer King Arthur for consistent results
- Baking powder (2 ½ teaspoons) – fresh is key for rise
- Salt (½ teaspoon)
- Unsalted butter (1 cup / 227g), softened – for richness and moisture
- Granulated sugar (2 cups / 400g) – balances the tang of frosting
- Large eggs (4), room temperature – helps with structure and fluffiness
- Whole milk (1 cup / 240ml), room temperature – keeps the batter tender
- Vanilla extract (2 teaspoons) – classic flavor enhancer
- Gel food coloring in school colors (amount varies) – gel colors give vibrant hues without thinning batter
- For the Cream Cheese Frosting:
- Cream cheese (8 oz / 227g), softened – use Philadelphia brand for smooth texture
- Unsalted butter (½ cup / 113g), softened
- Powdered sugar (4 cups / 480g), sifted – for creamy sweetness
- Vanilla extract (1 teaspoon)
- Pinch of salt – balances the sweetness
- For the Diploma Topper:
- White fondant or modeling chocolate
- Black edible marker or food-safe pen
- Thin ribbon or edible gold dust (optional)
If you need to make this gluten-free, almond flour works well but expect a slightly denser crumb. For a dairy-free version, swap cream cheese and butter with vegan alternatives like cashew cream and vegan margarine, similar to the creamy texture found in vegan mac and cheese recipes. For a lighter touch, you can replace whole milk with oat or almond milk.
Equipment Needed
- Three 8-inch (20 cm) round cake pans – using the same size keeps layers even; if you don’t have three, baking one layer at a time works too
- Mixing bowls – one large for the batter, smaller ones if you want to divide and color the batter separately
- Electric mixer or stand mixer – I’ve tried mixing by hand, but the electric mixer saves time and ensures a smooth batter
- Rubber spatula – essential for scraping bowls and folding ingredients gently
- Cooling racks – so your layers cool evenly without sogginess
- Offset spatula and bench scraper – for smooth frosting application and clean edges
- Measuring cups and spoons – precise measurements are key for consistent layers
- Food coloring gels – liquid food coloring can be used but may thin the batter and affect texture
- Small rolling pin or smooth surface – for shaping the diploma topper out of fondant
If you don’t have a stand mixer, a handheld mixer works perfectly fine. I remember once making this cake with just a whisk and some elbow grease, and while it took longer, the result was still delicious! For budget-friendly pans, non-stick aluminum ones do the trick well, but be sure to grease and flour them properly to avoid sticking. Keeping your equipment clean and dry, especially the pans, helps prevent uneven baking.
Preparation Method
- Preheat & Prep Pans: Set your oven to 350°F (177°C). Grease three 8-inch cake pans with butter and lightly dust with flour, tapping out excess. Line the bottoms with parchment paper circles for extra insurance against sticking. This step took me a while to get right—trust me, parchment saves you from tragic cake bottoms.
- Mix Dry Ingredients: In a medium bowl, whisk together 2 ½ cups (315g) all-purpose flour, 2 ½ teaspoons baking powder, and ½ teaspoon salt. Set aside.
- Cream Butter & Sugar: In a large bowl, beat 1 cup (227g) softened unsalted butter with 2 cups (400g) granulated sugar on medium speed until pale and fluffy—about 3-5 minutes. This is where patience pays off; you want it light and airy for a tender crumb.
- Add Eggs & Vanilla: Add 4 large eggs one at a time, beating well after each addition. Stir in 2 teaspoons vanilla extract.
- Alternate Adding Dry Ingredients & Milk: Reduce mixer speed to low. Add flour mixture in three parts, alternating with 1 cup (240ml) whole milk. Start and end with flour. Mix until just combined—overmixing will toughen the cake.
- Divide & Color Batter: Divide batter evenly into three bowls (about 2 cups / 475ml each). Add gel food coloring gradually to each bowl to create light, medium, and dark shades of your school colors. Mix gently but thoroughly. For example, start with a tiny drop for the lightest layer and increase the amount for the darker layers. Remember, gel colors are concentrated—go slow to avoid over-coloring.
- Bake Layers: Pour each colored batter evenly into the prepared pans. Bake for 25-28 minutes or until a toothpick inserted in the center comes out clean. Rotate pans halfway through baking for even cooking.
- Cool Cakes: Let cakes rest in pans for 10 minutes, then invert onto cooling racks. Cool completely before frosting; this prevents frosting from melting and sliding off.
- Prepare Cream Cheese Frosting: Beat 8 oz (227g) softened cream cheese with ½ cup (113g) softened butter until smooth. Gradually add 4 cups (480g) sifted powdered sugar, mixing on low speed to avoid a sugar cloud. Add 1 teaspoon vanilla extract and a pinch of salt. Beat until fluffy.
- Assemble Cake: Level each cake layer with a serrated knife if needed. Place the darkest layer on a cake board or plate. Spread an even layer of frosting (about ½ cup / 120ml) on top. Add the medium shade layer and repeat. Finish with the lightest layer on top. Cover the entire cake with a thin crumb coat of frosting and chill for 15 minutes.
- Final Frosting & Smooth: Apply a thicker layer of frosting all over the cake. Use an offset spatula and a bench scraper to smooth the sides and top. Chill again if needed.
- Create Diploma Topper: Roll out white fondant thinly. Cut a rectangle approx. 3 x 1.5 inches (7.5 x 4cm). Use a black edible marker to draw the diploma details and tie a miniature ribbon around it or brush with edible gold dust for shine. Place gently on top of the cake.
Tip: If you find the layers doming too much in the oven, try lowering the temperature by 10°F (about 5°C) and bake a bit longer. Also, when mixing batter colors, avoid overmixing to keep that tender crumb intact. The first time I made this, I rushed the coloring step and the batter got a bit heavy—lesson learned!
Cooking Tips & Techniques
Perfecting an ombre layer cake might seem tricky, but a few tricks make a big difference. First, always use gel food coloring instead of liquid. The liquid colors can thin your batter, causing the layers to bake unevenly or become dense. I’ve also found measuring the batter into each bowl by volume helps keep layers uniform—no one wants uneven slices!
When it comes to frosting, chilling the crumb coat before the final layer is a game-changer. It traps crumbs so they don’t sneak into your smooth outer finish. Using an offset spatula and bench scraper together makes smoothing the frosting easier, especially on the sides. I remember my first attempt was a bit messy, but those tools really help get a professional look.
Another tip: always bring your eggs and milk to room temperature before mixing. Cold ingredients can cause the batter to curdle or bake unevenly. Also, don’t skimp on sifting your powdered sugar for the frosting—it keeps it silky and lump-free.
Timing-wise, baking all three layers simultaneously saves time but requires enough oven space and patience for even heat distribution. If you only have one pan, bake layers one at a time but remember to keep completed layers wrapped tightly in plastic wrap to stay moist.
Variations & Adaptations
This cake is as versatile as it is beautiful. Here are a few ways you can make it your own:
- Flavor Variations: Swap vanilla extract with almond or lemon extract for a fresh twist. Adding a tablespoon of cocoa powder to the darkest layer creates a subtle chocolate ombre effect.
- Dietary Adaptations: Use gluten-free flour blends to make it safe for celiac diets. For dairy-free, substitute cream cheese and butter with vegan cream cheese and plant-based margarine, similar to the approach used in my vegan mac and cheese recipe.
- Decor Style: Instead of a diploma topper, try a small bouquet of fresh edible flowers or piped buttercream rosettes in complementary colors for a softer look.
- Seasonal Twist: Add fresh berries between layers or a light lemon curd spread for spring graduations.
- Alternative Toppings: Use chocolate ganache drip around the edges for a richer finish or sprinkle edible glitter for extra sparkle.
Personally, I once swapped the cream cheese frosting for a whipped vanilla buttercream when I was short on time. While it was lighter, I missed the tangy balance cream cheese brings. So, my advice: stick with the cream cheese if you want that perfect harmony of sweet and tang.
Serving & Storage Suggestions
This cake is best served at room temperature, about 30 minutes after removing it from the fridge. The layers soften slightly, and the flavors meld beautifully. Presentation-wise, placing the cake on a simple white or pastel cake stand lets the ombre colors pop, making the diploma topper stand out as a charming focal point.
Pair this cake with a light, refreshing beverage like iced tea or sparkling water with lemon slices. For a richer celebration, a cup of freshly brewed coffee or a mild black tea complements the sweetness nicely.
For storage, keep the cake covered in the refrigerator for up to 4 days. To maintain moisture, wrap it loosely with plastic wrap or store in an airtight container. If you want to freeze, wrap individual layers tightly in plastic wrap and foil, then freeze for up to 2 months. Thaw overnight in the fridge before assembling and frosting.
Reheating isn’t necessary—just let the cake come back to room temperature for the best texture and flavor. Over time, the frosting’s tang deepens slightly, adding even more character to the cake.
Nutritional Information & Benefits
Each slice (1/12th of the cake) roughly contains:
| Calories | 350 kcal |
|---|---|
| Fat | 18g |
| Saturated Fat | 10g |
| Carbohydrates | 45g |
| Sugar | 30g |
| Protein | 4g |
While this is definitely a treat, there are some nutritional perks hidden here. Eggs provide good-quality protein and essential nutrients, and cream cheese adds a dose of calcium. Using real butter and cream cheese instead of processed alternatives means you’re working with natural fats, which can be more satisfying and less processed.
For those mindful of allergens, this recipe contains gluten, dairy, and eggs. But with the adaptations mentioned, it can be adjusted for gluten-free and dairy-free diets. It’s a balanced way to enjoy a celebratory cake without overcomplicating ingredients, similar to the wholesome approach in my fresh mason jar salads.
Conclusion
The Perfect School Colors Ombre Layer Cake with Diploma Topper has become a quiet staple in my celebration repertoire. It’s a recipe that proves you don’t need hours or fancy tools to create something memorable and meaningful. Whether you’re marking a graduation, a job promotion, or simply honoring a hard-fought achievement, this cake brings the right mix of charm, flavor, and ease.
Feel free to tweak the colors, flavors, or decoration to fit your occasion. After all, the best cakes are the ones that tell your story. I hope this recipe brings a bit of sweet joy to your celebrations, just like it has for mine. If you try it, I’d love to hear how it turns out or what creative spins you put on it!
And if you want a savory meal to pair with this dessert for the celebration feast, my easy tender slow cooker teriyaki chicken is the perfect match—comfort food that’s just as effortless but totally satisfying.
FAQs
Can I make this cake ahead of time?
Absolutely! You can bake and frost the cake up to two days in advance. Just keep it refrigerated and covered. Bring it to room temperature before serving for the best flavor and texture.
What if I don’t have gel food coloring?
You can use liquid food coloring, but be cautious—the batter might thin out slightly. Add colors sparingly to avoid affecting texture.
How do I prevent the cake layers from doming in the oven?
Try lowering the oven temperature by 10°F (5°C) and bake a bit longer. Also, avoid overmixing the batter, which can cause excessive rise and doming.
Can I use this recipe for cupcakes?
Yes! The batter works great for cupcakes. Fill liners about two-thirds full and bake for 18-22 minutes at 350°F (177°C).
How do I store leftover frosted cake?
Store leftover cake in an airtight container or cover tightly with plastic wrap in the fridge for up to 4 days. Let it warm to room temperature before eating for the best experience.
Pin This Recipe!
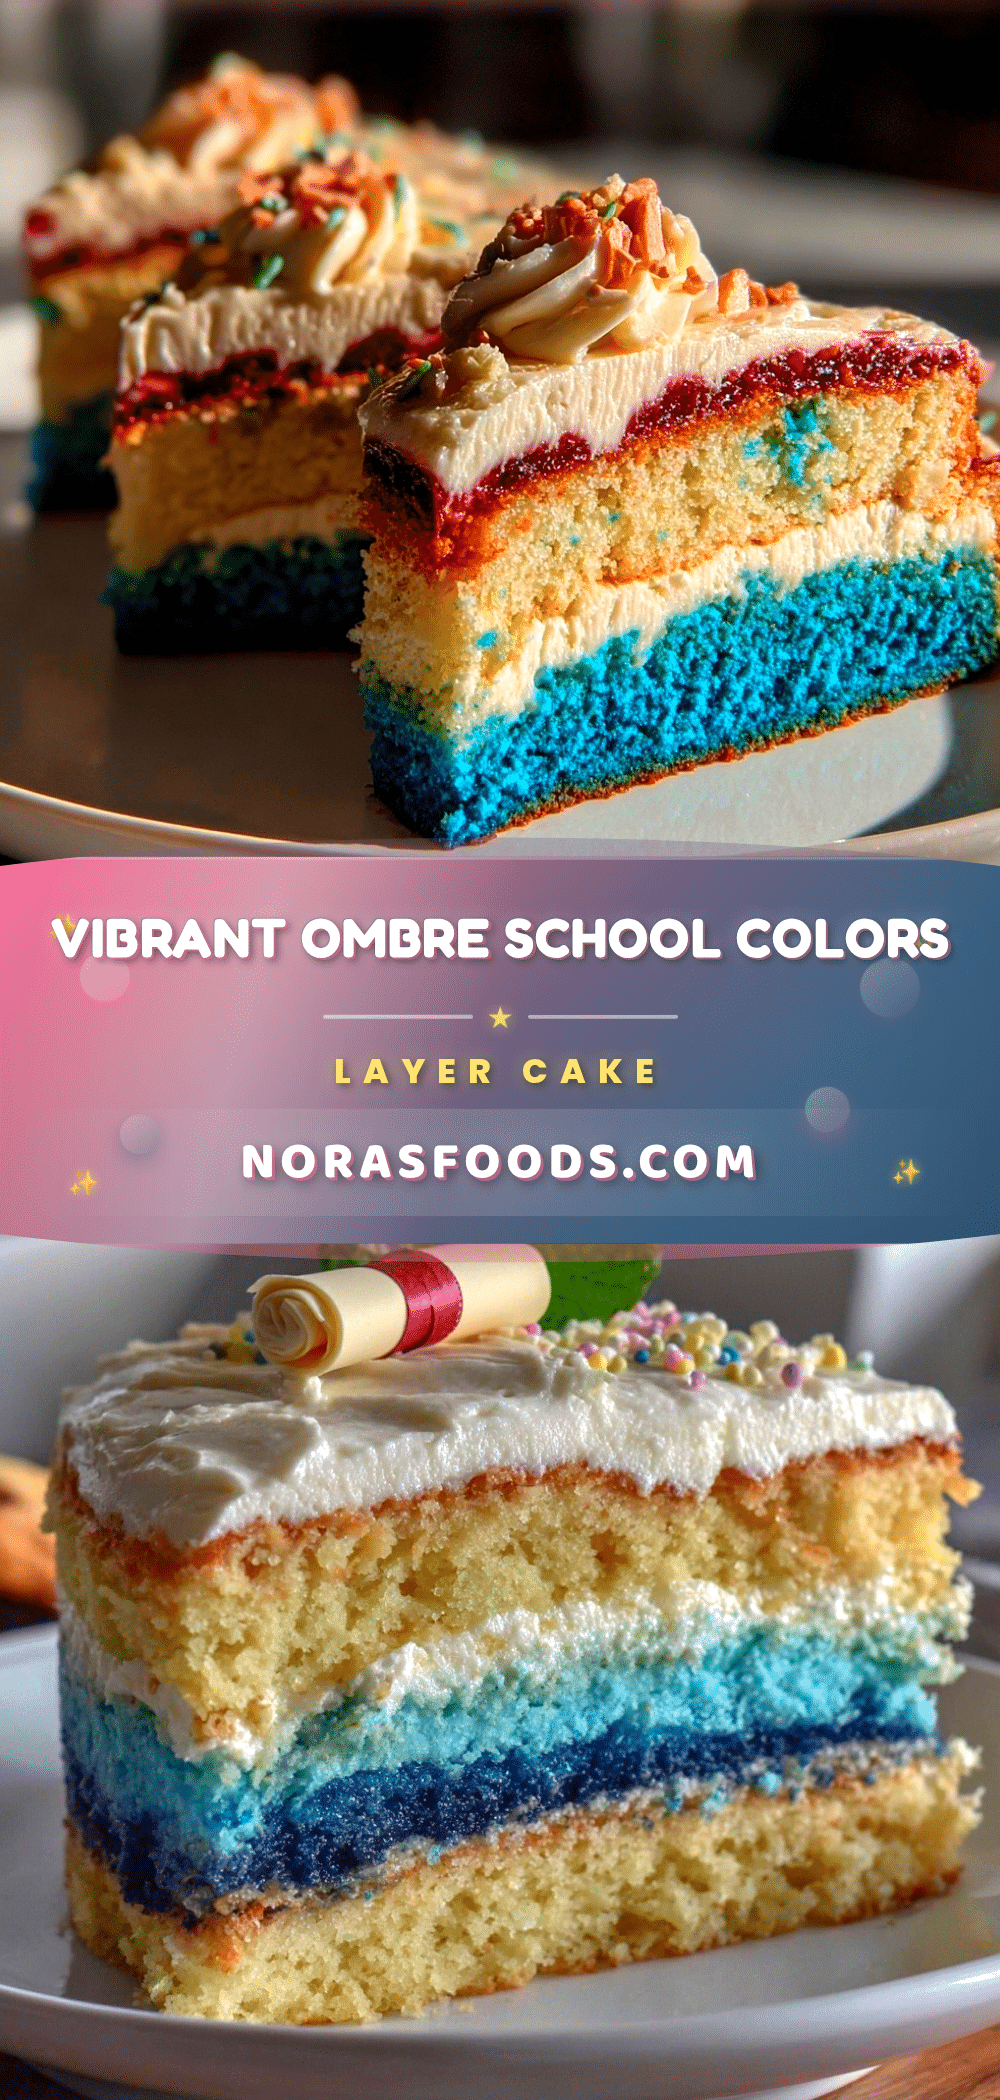
Perfect School Colors Ombre Layer Cake
A quick and easy ombre layer cake in school colors, perfect for graduations and celebrations, featuring moist layers and tangy cream cheese frosting with a charming diploma topper.
- Prep Time: 30 minutes
- Cook Time: 28 minutes
- Total Time: 1 hour 10 minutes
- Yield: 12 servings 1x
- Category: Dessert
- Cuisine: American
Ingredients
- 2 ½ cups (315g) all-purpose flour
- 2 ½ teaspoons baking powder
- ½ teaspoon salt
- 1 cup (227g) unsalted butter, softened
- 2 cups (400g) granulated sugar
- 4 large eggs, room temperature
- 1 cup (240ml) whole milk, room temperature
- 2 teaspoons vanilla extract
- Gel food coloring in school colors (amount varies)
- 8 oz (227g) cream cheese, softened
- ½ cup (113g) unsalted butter, softened
- 4 cups (480g) powdered sugar, sifted
- 1 teaspoon vanilla extract
- Pinch of salt
- White fondant or modeling chocolate (for diploma topper)
- Black edible marker or food-safe pen
- Thin ribbon or edible gold dust (optional)
Instructions
- Preheat oven to 350°F (177°C). Grease three 8-inch cake pans with butter and dust with flour; line bottoms with parchment paper.
- Whisk together flour, baking powder, and salt in a medium bowl; set aside.
- Beat softened butter and granulated sugar on medium speed until pale and fluffy, about 3-5 minutes.
- Add eggs one at a time, beating well after each addition; stir in vanilla extract.
- Reduce mixer speed to low; alternately add flour mixture and milk in three parts, starting and ending with flour. Mix until just combined.
- Divide batter evenly into three bowls. Gradually add gel food coloring to create light, medium, and dark shades of school colors; mix gently.
- Pour each colored batter into prepared pans. Bake 25-28 minutes or until toothpick inserted comes out clean. Rotate pans halfway through baking.
- Let cakes rest in pans 10 minutes; invert onto cooling racks and cool completely.
- Beat cream cheese and softened butter until smooth. Gradually add powdered sugar on low speed. Add vanilla extract and salt; beat until fluffy.
- Level cake layers if needed. Place darkest layer on plate; spread about ½ cup frosting on top. Add medium layer and repeat. Finish with lightest layer on top.
- Apply thin crumb coat of frosting; chill 15 minutes.
- Apply thicker frosting layer all over cake; smooth with offset spatula and bench scraper. Chill if needed.
- Roll out white fondant thinly; cut 3 x 1.5 inch rectangle. Draw diploma details with edible marker; tie ribbon or brush with edible gold dust. Place on cake.
Notes
Use gel food coloring to avoid thinning batter. Chill crumb coat before final frosting for smooth finish. Bring eggs and milk to room temperature before mixing. If layers dome, lower oven temperature by 10°F and bake longer. For gluten-free, use almond flour; for dairy-free, use vegan cream cheese and margarine.
Nutrition
- Serving Size: 1 slice (1/12th of c
- Calories: 350
- Sugar: 30
- Fat: 18
- Saturated Fat: 10
- Carbohydrates: 45
- Protein: 4
Keywords: ombre cake, graduation cake, layer cake, cream cheese frosting, school colors cake, celebration cake, easy cake recipe


