
There’s something magical about biting into a homemade peppermint candy during the holidays. The cool, refreshing burst of mint, paired with a touch of sweetness, instantly transports me to cozy evenings by the fireplace with twinkling lights overhead. Whether you’re looking for a festive treat to share with loved ones or a fun project to do with the kids, these irresistible Christmas peppermints are a holiday must-have!
I first made these little gems years ago when I wanted a unique and personal touch for my holiday dessert table. They were such a hit that they’ve become an annual tradition in my house. Trust me, the joy of crafting your own peppermint candies—not to mention the compliments you’ll get—is well worth the effort. Plus, they’re perfect for gifting, party platters, or even sneaking a few for yourself with a cup of hot cocoa.
Why You’ll Love This Recipe
- Quick and Easy: You can whip up a batch of these festive treats in under an hour, making them perfect for busy holiday schedules.
- Minimal Ingredients: No fancy ingredients required—just simple staples you probably already have in your pantry.
- Fun to Make: Rolling and shaping the peppermints is like a grown-up version of playing with playdough. Kids love helping too!
- Customizable: You can make these in any color or shape to suit your holiday theme. Think candy canes, snowflakes, or even little hearts!
- Perfect for Gifting: Pack them into pretty tins or cellophane bags and you’ve got a homemade gift that everyone will adore.
- Deliciously Minty: The refreshing peppermint flavor is exactly what holiday dreams are made of—cool, sweet, and oh-so-satisfying.
What truly sets this recipe apart is its simplicity paired with charm. There’s no need for fancy molds or complicated techniques, yet the end result looks like something you’d find in a boutique candy shop. Plus, they’re naturally gluten-free, making them a crowd-pleaser for all your guests!
What Ingredients You Will Need
This recipe uses just a handful of ingredients, most of which are pantry staples. Here’s what you’ll need to create these irresistible Christmas peppermints:
- Powdered Sugar: The base of the candies, giving them a smooth and sweet texture.
- Sweetened Condensed Milk: Helps bind everything together while adding a creamy richness.
- Peppermint Extract: The star of the show! A few drops add that refreshing minty flavor.
- Food Coloring: Optional but fun! Use red, green, or any color that matches your holiday theme.
- Granulated Sugar: For rolling the finished candies and giving them a sparkly finish.
If you’re feeling adventurous, you can swap out peppermint extract for other flavors like vanilla or almond. I’ve tried orange extract for a citrusy twist, and it’s delightful!
Equipment Needed
You don’t need fancy tools to make these Christmas peppermints. Here’s what you’ll need:
- Mixing Bowls: A medium-sized bowl for combining ingredients.
- Rubber Spatula: Perfect for mixing and scraping down the sides of the bowl.
- Plastic Wrap: For resting the dough and keeping it from drying out.
- Rolling Pin: Optional, but useful for flattening the dough evenly.
- Cookie Cutters: If you want to make fun shapes, these are great. Otherwise, you can simply roll the dough into small balls.
Pro tip: If you don’t have cookie cutters, the rim of a small glass works just as well for creating uniform shapes!
Preparation Method

- Combine Ingredients: In a medium-sized mixing bowl, sift 2 cups (240g) of powdered sugar. Add 1/3 cup (80ml) of sweetened condensed milk and 1/2 teaspoon (2.5ml) of peppermint extract. Mix until a soft dough forms.
- Knead the Dough: Dust your work surface with powdered sugar and transfer the dough onto it. Knead gently for 2-3 minutes until smooth and pliable. If it feels sticky, add a little more powdered sugar.
- Add Color: Divide the dough into sections if you want multiple colors. Add a drop or two of food coloring to each section and knead until the color is evenly distributed.
- Shape the Candies: Roll the dough into small balls or flatten it with a rolling pin and use cookie cutters to create shapes. For a festive look, twist two colors together into a candy cane shape.
- Coat with Sugar: Roll each candy in granulated sugar for a sparkly finish.
- Let Set: Place the candies on a parchment-lined tray and let them air dry for at least 12 hours. This helps them firm up and develop their signature texture.
Once they’re dry, your peppermints are ready to enjoy! Store them in an airtight container or package them for gifting.
Cooking Tips & Techniques
- Keep It Cool: If your dough starts to feel too soft or sticky, pop it in the fridge for 10-15 minutes to firm up.
- Don’t Overdo the Peppermint: Peppermint extract is strong, so start with a small amount and add more if needed. Too much can make the candies overpowering.
- Use Powdered Sugar Generously: Dust your hands and work surface liberally to prevent sticking.
- Experiment with Shapes: Get creative with your cookie cutters or try hand-shaping into stars, trees, or even snowmen.
- Plan for Drying Time: These candies need time to set, so make them a day ahead if you’re planning to gift or serve them.
These little tricks will help ensure your peppermints turn out perfectly every time!
Variations & Adaptations
- Flavor Swaps: Replace peppermint extract with vanilla, almond, or even orange for a unique twist.
- Color Fun: Skip the traditional red and green and try pastel shades for a winter wonderland vibe.
- Dietary Adaptations: Use condensed coconut milk for a dairy-free option—it works beautifully!
- Texture Tweaks: Roll the dough thinner for crispier candies or leave them thicker for a chewier texture.
- Holiday Shapes: Make themed candies like stars, bells, or mini wreaths to match your Christmas decor.
One year, I made peppermint hearts for Valentine’s Day using this same recipe—it was a huge hit!
Serving & Storage Suggestions
Christmas peppermints are best enjoyed at room temperature. Arrange them on a festive platter or in a decorative tin for serving. Pair them with hot cocoa, coffee, or even a glass of eggnog for the ultimate holiday experience.
For storage:
- Room Temperature: Store in an airtight container for up to 2 weeks.
- Freezer: Freeze for up to 3 months. Let thaw at room temperature before serving.
Tip: The flavors deepen slightly over time, so they taste even better after a day or two!
Nutritional Information & Benefits
Here’s the approximate breakdown per candy (assuming a batch of 50 pieces):
- Calories: 40
- Fat: 1g
- Carbohydrates: 8g
- Sugar: 7g
- Protein: 0g
Peppermint extract is known for its digestive benefits and refreshing taste, making these candies a light and satisfying treat. Plus, they’re naturally gluten-free!
Conclusion
If you’re looking for a festive, fun, and downright delicious holiday treat, these irresistible Christmas peppermints are the answer. They’re easy to make, customizable, and guaranteed to bring smiles to everyone’s faces. Whether you’re gifting them or enjoying them with your family, they’re bound to be a holiday favorite.
So, grab your mixing bowl and get ready to make memories—one peppermint at a time. I’d love to hear how yours turn out, so leave a comment below or tag me on social media with your creations. Wishing you a sweet and joyful holiday season!
FAQs
Can I use fresh mint instead of peppermint extract?
Fresh mint won’t provide the concentrated flavor needed for this recipe. Stick to peppermint extract for the best results.
How long do these candies need to dry?
They should dry for at least 12 hours to firm up properly.
Can I make these ahead of time?
Absolutely! They store beautifully and can be made several days in advance.
Do I need to refrigerate the candies?
No, they’re best stored at room temperature in an airtight container.
Can I double the recipe?
Yes! Just make sure to knead the dough in smaller batches to keep it manageable.
Pin This Recipe!
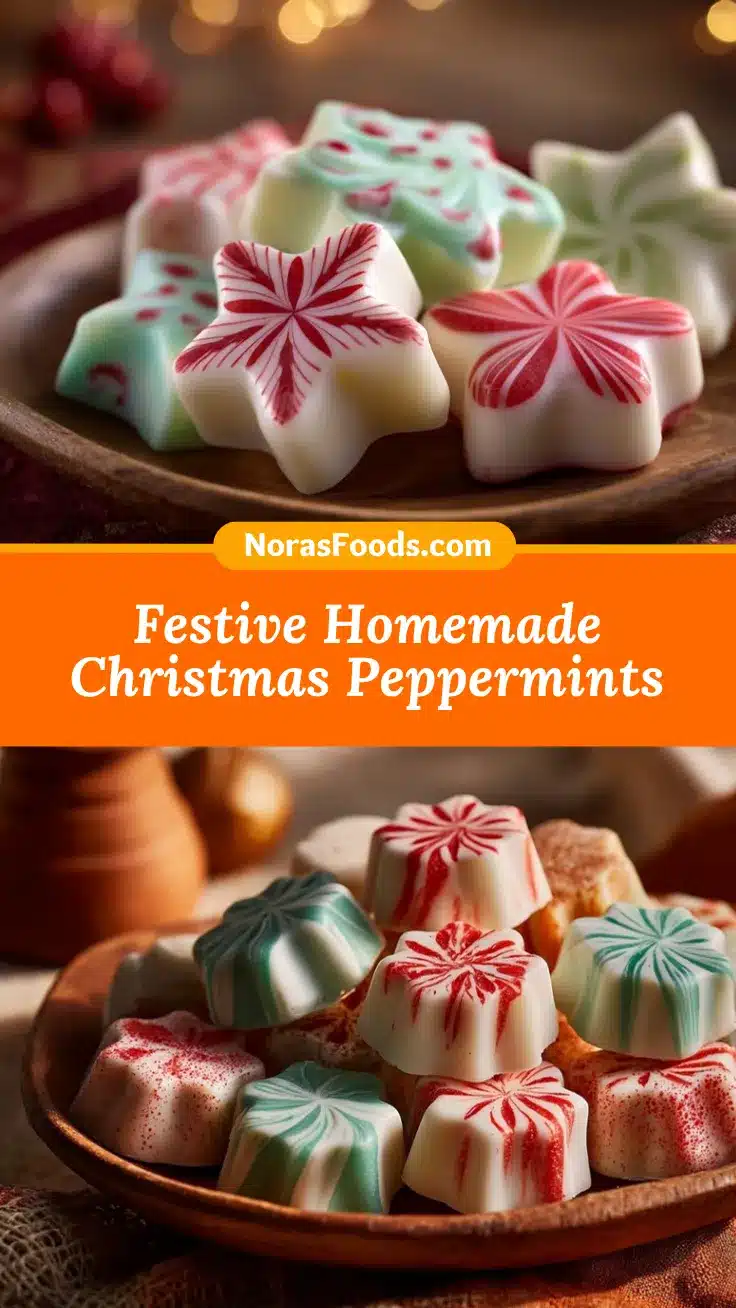
Irresistible Christmas Peppermints
These homemade peppermint candies are a festive treat perfect for gifting, party platters, or enjoying with a cup of hot cocoa during the holidays.
- Prep Time: 15 minutes
- Cook Time: 12 hours (drying time)
- Total Time: 12 hours 15 minutes
- Yield: 50 candies 1x
- Category: Dessert
- Cuisine: American
Ingredients
- 2 cups (240g) powdered sugar
- 1/3 cup (80ml) sweetened condensed milk
- 1/2 teaspoon (2.5ml) peppermint extract
- Food coloring (optional)
- Granulated sugar for rolling
Instructions
- In a medium-sized mixing bowl, sift 2 cups (240g) of powdered sugar. Add 1/3 cup (80ml) of sweetened condensed milk and 1/2 teaspoon (2.5ml) of peppermint extract. Mix until a soft dough forms.
- Dust your work surface with powdered sugar and transfer the dough onto it. Knead gently for 2-3 minutes until smooth and pliable. If it feels sticky, add a little more powdered sugar.
- Divide the dough into sections if you want multiple colors. Add a drop or two of food coloring to each section and knead until the color is evenly distributed.
- Roll the dough into small balls or flatten it with a rolling pin and use cookie cutters to create shapes. For a festive look, twist two colors together into a candy cane shape.
- Roll each candy in granulated sugar for a sparkly finish.
- Place the candies on a parchment-lined tray and let them air dry for at least 12 hours.
Notes
[‘If the dough feels too soft or sticky, refrigerate it for 10-15 minutes to firm up.’, ‘Start with a small amount of peppermint extract and add more if needed.’, ‘Dust your hands and work surface with powdered sugar to prevent sticking.’, ‘Plan for drying time; make the candies a day ahead if gifting or serving.’]
Nutrition
- Serving Size: 1 candy
- Calories: 40
- Sugar: 7
- Fat: 1
- Carbohydrates: 8
Keywords: Christmas, Peppermints, Holiday Treats, Gluten-Free, Homemade Candy


