The lunchbox came home empty. Not just empty—clean. My kid didn’t even leave the obligatory crust. That never happens. I actually checked the bottom of the backpack thinking maybe it fell out, but nope. He ate every single bite of the sunflower seed butter and jelly pocket I’d packed that morning. Then he asked if I could make two tomorrow.
Honestly, I wasn’t trying to reinvent the wheel. I just needed something that wouldn’t turn into a sad, soggy mess by noon. Classic sandwiches get gross when they sit, and store-bought frozen things are full of stuff I can’t pronounce. So I started messing around in the kitchen one Sunday afternoon, determined to make a lunchbox-friendly pocket that actually stays good for hours. These Easy Sunbutter & Jelly Lunchbox Pockets were born out of pure necessity—and maybe a little stubbornness.
They’re not fancy. They’re not complicated. But they solve a real problem for anyone packing lunches. The dough is soft and sturdy, the filling stays put, and the whole thing tastes like a warm hug you can eat with your hands. I’ve been making them every week since that first clean lunchbox came home.
Why You’ll Love This Recipe
Let me tell you why these pockets have become a staple in our house. I’ve tested them at least a dozen times to get the texture right, and they’ve passed the ultimate test—my kid’s picky friends.
- No Soggy Sandwiches : The sealed edges keep the jelly exactly where it belongs. No more bread that’s wet by lunchtime.
- Nut-Free Friendly : Sunbutter makes these safe for school lunch policies. Every kid can enjoy them without worry.
- Make-Ahead Magic : You can prep a batch on Sunday and grab them all week. They freeze beautifully too.
- Simple Pantry Ingredients : Nothing weird here. Flour, butter, sunbutter, jelly—stuff you probably already have.
- Kid-Approved Texture : The outside is golden and slightly crisp, the inside is soft and gooey. It’s basically a portable pie.
What makes these different from every other lunchbox pocket recipe out there? It’s the dough. I spent three batches trying different fat ratios until I landed on one that stays tender even when cold. Most recipes use too much butter and they get greasy. Too little and they’re tough. This version hits that sweet spot where the pastry is flaky but sturdy enough to survive a backpack. Trust me, I learned this the hard way after one too many crumbled pockets.
These pockets are the kind of thing that makes you feel like you’ve got your act together. When you pull one out of the freezer and pop it into a lunchbox, you know you’ve won the morning.
What Ingredients You Will Need
This recipe keeps things simple. You don’t need a specialty grocery store or a dozen obscure ingredients. Everything here is easy to find and easy to work with.
- All-purpose flour (2 ½ cups, plus more for dusting): The backbone of the dough. I use Gold Medal or King Arthur for consistent results. Spoon and level your flour—don’t scoop straight from the bag or you’ll end up with dry dough.
- Unsalted butter (1 cup, cold and cubed): This gives the pockets their flaky layers. Keep it cold. If your kitchen is warm, pop the cubed butter in the freezer for 10 minutes before you start.
- Ice water (about ½ cup, plus 1 tablespoon): You might need a little more or less depending on humidity. Add it slowly, one tablespoon at a time.
- Salt (½ teaspoon): Balances the sweetness and enhances the flavor of the pastry.
- Sunflower seed butter (¾ cup): I use SunButter brand because it’s widely available and has a smooth, creamy texture. No sugar added works fine, but the creamy version spreads better.
- Your favorite jelly or jam (½ cup): Strawberry, grape, raspberry—use whatever you love. Seedless jam works best because it spreads evenly and doesn’t make the pockets lumpy.
- Egg (1 large, beaten): For the egg wash that gives the pockets that beautiful golden shine.
- Sanding sugar (optional, for sprinkling): Adds a little crunch and makes them look bakery-worthy. Regular granulated sugar works too.
Ingredient Selection Tips: If you’re using natural sunflower seed butter, give it a good stir before measuring. The oil separates when it sits, and you want it evenly mixed. For the jelly, go with something you genuinely enjoy eating by the spoonful—because that flavor concentrates when it bakes. I’m partial to a good raspberry jam with seeds, but my kid prefers smooth grape jelly. Both work great.
Substitution Guidance: Need a dairy-free option? Use cold coconut oil or vegan butter in place of regular butter. The texture will be slightly different—a bit more tender, less flaky—but still delicious. For gluten-free, substitute a 1:1 gluten-free baking flour blend. I’ve tested this with Bob’s Red Mill and it worked, though the dough is a little more delicate to handle. Just be gentle when crimping the edges.
Equipment Needed
You don’t need a fancy kitchen to make these pockets. Here’s what I use:
- Large mixing bowl : Any bowl works. I use a ceramic one because it stays cool longer.
- Pastry cutter or two forks : For cutting the butter into the flour. A food processor works too, but I prefer doing it by hand—I can feel when the butter pieces are the right size.
- Rolling pin : A standard rolling pin is fine. No rolling pin? A clean wine bottle works in a pinch.
- Parchment paper : Lines your baking sheet and makes cleanup a breeze.
- Baking sheet : Any rimmed baking sheet will do.
- Small bowl : For the egg wash.
- Pastry brush : For brushing on the egg wash. A silicone one is easiest to clean.
- Fork : For crimping the edges and poking steam vents.
- Bench scraper or knife : For cutting the dough into squares.
- Measuring cups and spoons : Standard set is all you need.
Budget-Friendly Options: If you don’t have a pastry cutter, two forks work exactly the same way. No pastry brush? Use a paper towel dipped in egg wash. I’ve done both when my kitchen was still being set up after a move. The pockets turned out just as good.
Preparation Method
Let me walk you through this step by step. I’ve included all the little details that make the difference between good pockets and great ones.
- Make the dough. In your large mixing bowl, whisk together the 2 ½ cups of flour and ½ teaspoon of salt. Add your cold, cubed butter. Using a pastry cutter or two forks, cut the butter into the flour until the mixture looks like coarse meal with some pea-sized butter pieces still visible. Don’t overwork it—those little butter chunks create flaky layers.
- Add the water. Drizzle in ½ cup of ice water, one tablespoon at a time, tossing with a fork after each addition. The dough should start coming together when you squeeze a handful. If it’s too dry, add the extra tablespoon of water. If it feels sticky, add a tiny sprinkle of flour. Turn the dough out onto a lightly floured surface and bring it together into a disk. Wrap it in plastic wrap and refrigerate for at least 30 minutes. This rest is crucial—it lets the gluten relax and keeps the butter cold.
- Preheat your oven. Set it to 375°F. Line a baking sheet with parchment paper.
- Roll out the dough. On a floured surface, roll the chilled dough to about ⅛-inch thickness. Don’t rush this. If the dough starts sticking, add a little more flour underneath. I like to rotate the dough as I roll to keep it even.
- Cut your squares. Using a bench scraper or knife, cut the dough into 3×3-inch squares. You should get about 12 to 14 squares, depending on how thinly you rolled. Gather the scraps, gently press them together, and re-roll to cut more squares. Don’t knead the scraps—just press them gently.
- Assemble the pockets. Place about 1 tablespoon of sunflower seed butter in the center of half the squares. Top with about 1 teaspoon of jelly. Be careful not to overfill—too much filling will leak out during baking. Leave a clean border around the edges.
- Seal them up. Place the remaining squares on top of the filled ones. Press the edges firmly to seal. Dip a fork in flour and crimp the edges all around. This creates a decorative seal and helps prevent leaks. Poke 3 small steam vents on top of each pocket with the fork tines.
- Egg wash and sugar. Brush the tops of each pocket with the beaten egg. Sprinkle with sanding sugar if you’re using it. This step is optional but makes them look so pretty.
- Bake. Place the pockets on the prepared baking sheet, spacing them about 2 inches apart. Bake for 18 to 22 minutes, until the tops are golden brown and the filling is bubbling slightly through the vents. Your kitchen will smell incredible.
- Cool completely. Transfer the pockets to a wire rack. Let them cool for at least 20 minutes before serving or packing. The filling is lava-hot straight out of the oven. Trust me on this—I’ve burned my tongue more than once.
Sensory Cues: When you’re cutting the butter into the flour, the mixture should look like damp sand with visible butter bits. When you roll the dough, it should feel smooth and cool, not sticky. The finished pockets should be golden brown with a few darker spots on the edges—that’s where the butter caramelized. If you tap one gently, it should sound hollow.
Troubleshooting Tip: If your dough cracks when you try to roll it, let it sit at room temperature for 5 minutes. It’s too cold. If your pockets leak during baking, you either overfilled them or didn’t seal the edges well enough. Next time, use a little less jelly and press those edges firmly.
Cooking Tips & Techniques
I’ve made these pockets enough times to know exactly where things can go wrong. Here’s what I’ve learned the hard way so you don’t have to.
Keep everything cold. This is the number one rule for flaky pastry. If your butter melts before the pockets hit the oven, you’ll get dense, greasy pockets instead of light, flaky ones. Work quickly and pop the dough back in the fridge if it starts feeling soft. I once made the mistake of letting the dough sit out while I answered the phone. The pockets were fine, but they weren’t nearly as flaky.
Don’t overfill. I know it’s tempting to add extra jelly, but less is truly more here. Too much filling creates steam pockets that burst through the seams. A generous tablespoon of sunbutter and a teaspoon of jelly is the sweet spot. If you want more jelly flavor, serve extra on the side for dipping.
Use a hot oven. 375°F is the magic number. A hot oven creates steam quickly, which lifts the layers and gives you that beautiful flaky texture. If your oven runs cool, these pockets will turn out pale and dense. Invest in an oven thermometer if you don’t have one—they’re cheap and worth every penny.
Double batch strategy. These freeze so well that I always make a double batch. Bake them all, let them cool completely, then layer them in a freezer bag with parchment paper between each layer. They keep for up to three months. Grab one straight from the freezer and pop it into a lunchbox—it’ll thaw by lunchtime and taste just as good as fresh.
Common Mistake to Avoid: Don’t skip the chilling step. I know it adds time, but that 30-minute rest is non-negotiable. The gluten needs to relax so the dough doesn’t shrink while baking. And the butter needs to firm up again after you’ve handled it. Your patience will be rewarded with perfectly shaped pockets.
Variations & Adaptations
One of the best things about this recipe is how flexible it is. Here are some ways I’ve changed it up depending on what I have on hand or who I’m feeding.
Nut Butter Swap: If your household isn’t nut-free, try these with creamy peanut butter or almond butter. The flavor changes completely, and honestly, peanut butter and jelly pockets are a classic for a reason. Just make sure your nut butter is well-stirred so it doesn’t separate during baking.
Seasonal Fruit Fillings: In summer, I swap the jelly for fresh berries that I’ve lightly mashed with a little sugar. Strawberries, blueberries, or chopped peaches all work beautifully. In fall, try apple butter or pumpkin butter for a cozy twist. The cooking time stays the same, but fresh fruit fillings might be a little juicier, so make sure those edges are well-sealed.
Savory Version: These pockets aren’t just for sweet fillings. Leave out the sugar and try filling them with shredded cheese and a little ham or leftover rotisserie chicken. They make amazing lunchbox options for grown-ups too. Bake them the same way—the cheese gets all melty and delicious.
Chocolate Sunbutter: My personal favorite variation uses chocolate sunflower seed butter instead of regular. I found it at a natural foods store and now I can’t go back. The chocolate pairs perfectly with raspberry jam. It tastes like a fancy dessert, but it’s still totally school-safe.
Dietary Adaptations: For a lower-sugar version, use sugar-free jelly and skip the sanding sugar on top. The dough itself isn’t very sweet, so the pockets will still taste great. For vegan pockets, use cold coconut oil instead of butter and skip the egg wash (brush with a little plant-based milk instead).
Serving & Storage Suggestions
These pockets are incredibly versatile when it comes to serving. Here’s how I handle them.
Serving Temperature: They’re fantastic warm, right out of the oven, when the sunbutter is still slightly gooey and the pastry is at its flakiest. But honestly, they’re just as good at room temperature, which is why they work so well in lunchboxes. If you’re serving them at home, let them cool for about 10 minutes before digging in.
What to Serve With: A handful of fresh apple slices or carrot sticks balances out the sweetness. For a fun lunchbox combo, pack a pocket alongside some creamy classic macaroni salad for a complete meal that kids actually eat. If you’re serving them for breakfast (yes, they work for that too), a glass of cold milk is all you need.
Storage Instructions: Baked pockets keep in an airtight container at room temperature for up to 3 days. Don’t refrigerate them—the fridge dries out the pastry and makes it tough. For longer storage, freeze them in a single layer on a baking sheet, then transfer to a freezer bag. They’ll keep for up to 3 months.
Reheating Methods: To reheat, pop a frozen pocket in a 350°F oven for 8 to 10 minutes, or in an air fryer at 325°F for 5 minutes. The microwave works in a pinch (about 30 seconds), but the pastry won’t be as crisp. If you’re packing them for lunch, just let them thaw naturally—they’ll be perfect by noon.
Flavor Development: Here’s something interesting—these pockets actually taste better the next day. The flavors meld together overnight, and the pastry softens just slightly, making them even more tender. I always try to save a couple for the next day just to enjoy that difference.
Nutritional Information & Benefits
Here’s a rough estimate per pocket (based on 12 pockets using standard ingredients):
| Nutrient | Amount per Pocket |
|---|---|
| Calories | 245 |
| Total Fat | 14g |
| Saturated Fat | 6g |
| Carbohydrates | 27g |
| Fiber | 2g |
| Sugar | 8g |
| Protein | 5g |
Health Benefits: Sunflower seed butter is packed with vitamin E, healthy fats, and magnesium. It’s a great source of plant-based protein, making these pockets more satisfying than a plain jelly sandwich. The butter in the pastry provides a little calcium and vitamin A. And honestly, the biggest benefit is that your kid is eating something homemade with real ingredients—no preservatives, no weird additives, no high-fructose corn syrup.
Dietary Considerations: These pockets are naturally nut-free, egg-free (if you skip the egg wash), and can be made dairy-free with a simple swap. They’re not low-carb, but they’re made with whole-food ingredients that provide sustained energy—perfect for active kids. If you’re watching sugar intake, use a no-sugar-added jam and skip the sanding sugar.
Allergen Note: While sunflower seeds are not one of the top allergens, some people with seed allergies may react. Always check labels if you’re serving these in a classroom or group setting. The flour contains gluten, so these aren’t suitable for celiac diets unless you use a gluten-free blend.
Conclusion
These Easy Sunbutter & Jelly Lunchbox Pockets have genuinely changed our morning routine. Instead of scrambling to make a sandwich that’ll be soggy by noon, I grab a pocket from the freezer, pack it up, and move on with my day. No stress, no mess, no complaints from the kid. That’s a win in my book.
I love that this recipe is so forgiving. You can swap fillings, adjust the sweetness, make them ahead, freeze them—they just work. And they make you look like a superhero parent without actually having to do much. If you’re tired of sad, soggy lunchbox sandwiches, give these a try. Customize them however you want. Make them your own.
If you make these pockets, I’d love to hear how they turned out. Drop a comment below and tell me what fillings you used. Did your kids love them? Did you sneak one for yourself? (I won’t tell.) And if you’re looking for another easy homemade treat that travels well, you’ve got to try these cozy oatmeal cream pies—they’re the perfect lunchbox dessert.
Happy baking, and here’s to more clean lunchboxes coming home!
Frequently Asked Questions
Can I use a different seed butter?
Absolutely. Tahini works in a pinch, though it has a stronger flavor. Pumpkin seed butter is another great option. Just make sure whatever you use is well-stirred and spreadable. If it’s too thick, microwave it for 10 seconds to loosen it up.
Why did my pockets leak in the oven?
This usually happens for two reasons. Either you overfilled them (use less jelly next time) or the edges weren’t sealed properly. Make sure you press those fork tines all the way through both layers of dough. A little flour on the fork helps prevent sticking.
Can I make the dough ahead of time?
Yes! The dough keeps in the fridge for up to 3 days, wrapped tightly in plastic. Let it sit at room temperature for about 10 minutes before rolling so it’s not rock hard. You can also freeze the dough disk for up to 3 months. Thaw it overnight in the fridge before using.
How do I keep the pockets from getting soggy in the lunchbox?
Let them cool completely before packing. Any residual heat creates condensation, which softens the pastry. If you’re packing them the night before, store them in a paper bag instead of plastic—it lets air circulate and keeps the pastry crisp. I’ve also started wrapping mine in a paper towel inside the lunchbox, and it helps absorb any moisture.
Can I make these in an air fryer?
You bet. Preheat your air fryer to 350°F. Place the pockets in a single layer in the basket (don’t overcrowd). Cook for 10 to 12 minutes, flipping halfway through, until golden brown. The air fryer actually makes them extra crispy on the outside. Just keep an eye on them toward the end—air fryers vary, and you don’t want burnt pockets.
Pin This Recipe!
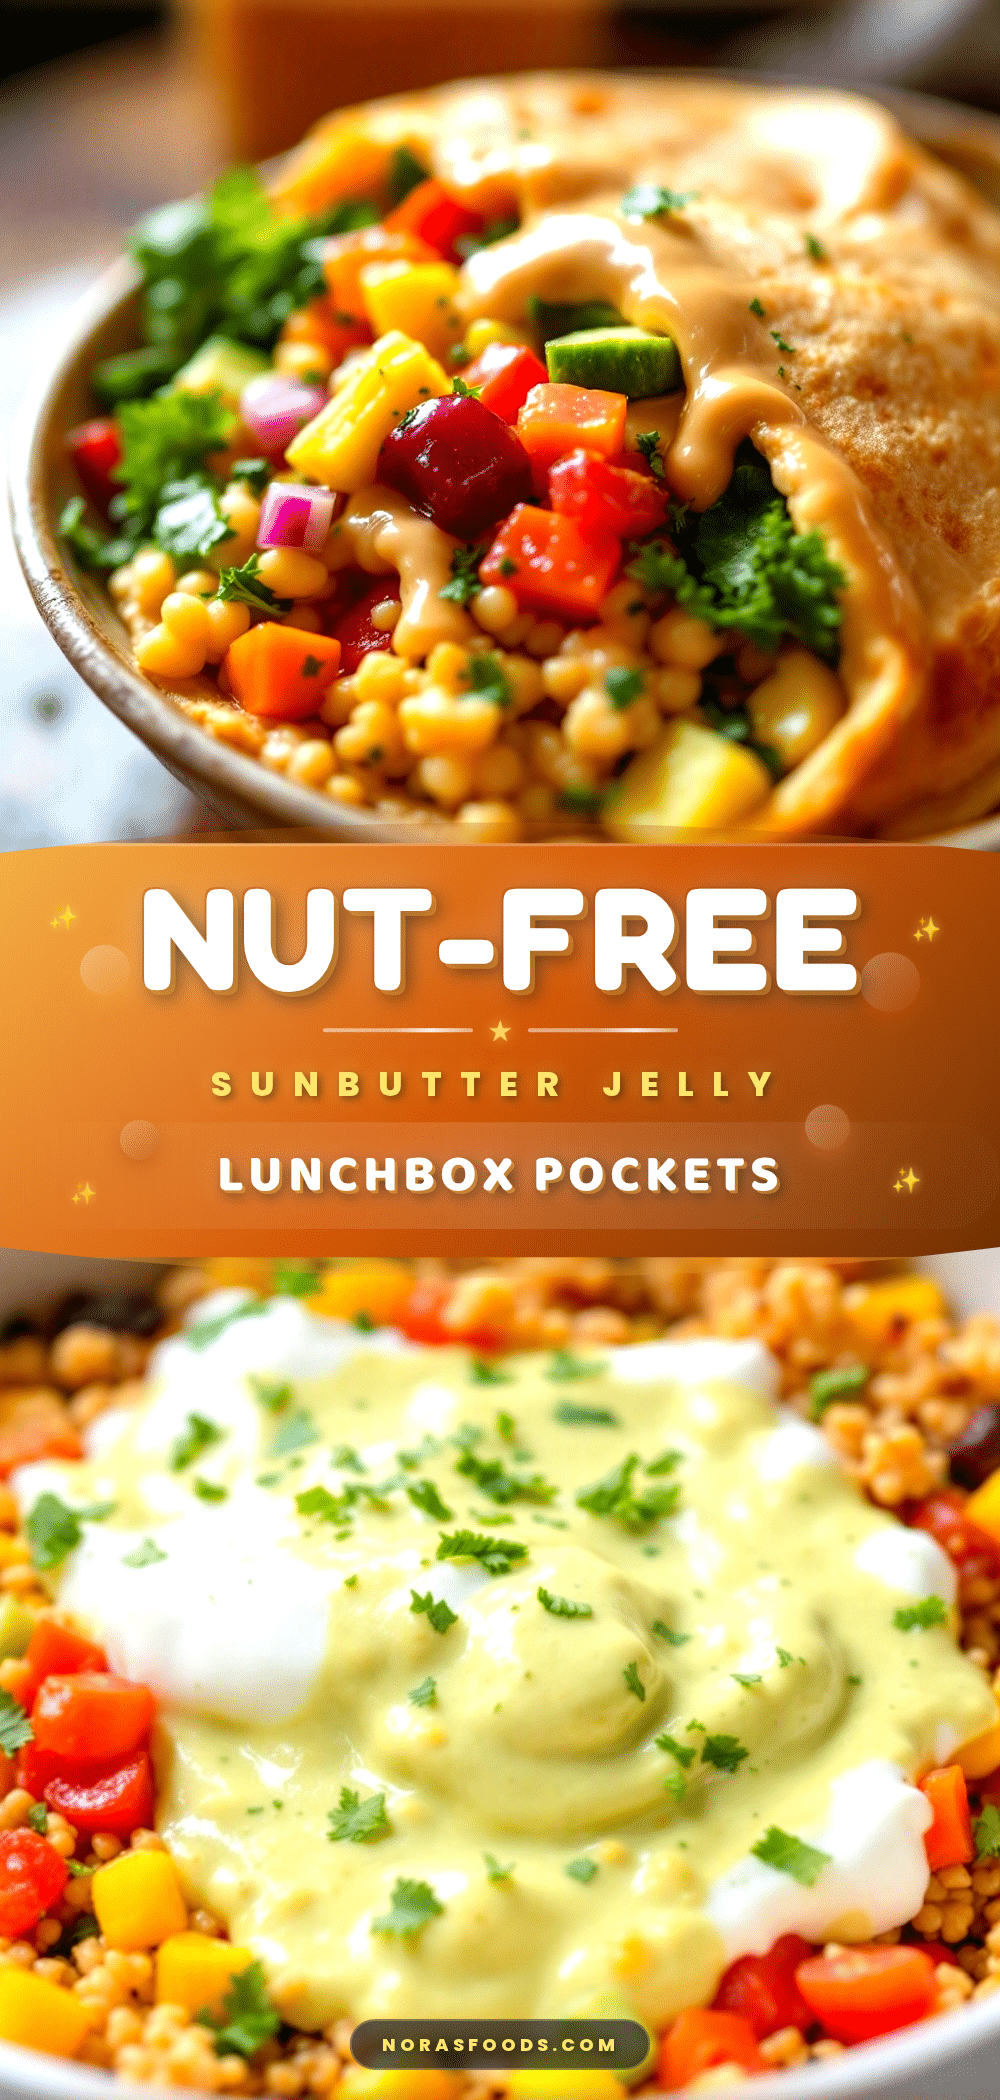
Easy Sunbutter & Jelly Lunchbox Pockets

These nut-free, homemade lunchbox pockets feature a flaky pastry filled with sunflower seed butter and jelly. They stay fresh for hours, freeze beautifully, and are a kid-approved solution to soggy sandwiches.
- Prep Time: 30 minutes
- Cook Time: 20 minutes
- Total Time: 1 hour 20 minutes (includes 30 minutes chilling)
- Yield: 12 pockets 1x
- Category: Lunch
- Cuisine: American
Ingredients
- 2 ½ cups all-purpose flour, plus more for dusting
- 1 cup unsalted butter, cold and cubed
- ½ cup ice water, plus 1 tablespoon if needed
- ½ teaspoon salt
- ¾ cup sunflower seed butter
- ½ cup jelly or jam (seedless recommended)
- 1 large egg, beaten
- Sanding sugar (optional, for sprinkling)
Instructions
- Make the dough: In a large mixing bowl, whisk together flour and salt. Add cold, cubed butter. Using a pastry cutter or two forks, cut the butter into the flour until the mixture looks like coarse meal with some pea-sized butter pieces still visible.
- Add the water: Drizzle in ½ cup ice water, one tablespoon at a time, tossing with a fork after each addition. The dough should start coming together when squeezed. If too dry, add the extra tablespoon of water. Turn dough onto a floured surface, bring together into a disk, wrap in plastic wrap, and refrigerate for at least 30 minutes.
- Preheat oven to 375°F. Line a baking sheet with parchment paper.
- Roll out the dough: On a floured surface, roll the chilled dough to about ⅛-inch thickness.
- Cut into 3×3-inch squares. You should get about 12 to 14 squares. Gather scraps, gently press together, and re-roll to cut more squares.
- Assemble the pockets: Place about 1 tablespoon of sunflower seed butter in the center of half the squares. Top with about 1 teaspoon of jelly. Leave a clean border around the edges.
- Seal: Place remaining squares on top. Press edges firmly to seal. Dip a fork in flour and crimp the edges all around. Poke 3 small steam vents on top of each pocket with fork tines.
- Brush tops with beaten egg. Sprinkle with sanding sugar if desired.
- Bake: Place pockets on prepared baking sheet, spacing about 2 inches apart. Bake for 18 to 22 minutes, until golden brown and filling is bubbling slightly through vents.
- Cool completely on a wire rack for at least 20 minutes before serving or packing.
Notes
Keep all ingredients cold for flaky pastry. Do not overfill to prevent leaks. Pockets can be frozen for up to 3 months. For dairy-free, use cold coconut oil or vegan butter. For gluten-free, use a 1:1 gluten-free baking flour blend.
Nutrition
- Serving Size: 1 pocket
- Calories: 245
- Sugar: 8
- Sodium: 150
- Fat: 14
- Saturated Fat: 6
- Carbohydrates: 27
- Fiber: 2
- Protein: 5
Keywords: sunbutter and jelly pockets, lunchbox pockets, nut-free lunch, homemade pop tarts, sunflower seed butter recipe, kid-friendly lunch, freezer-friendly lunch