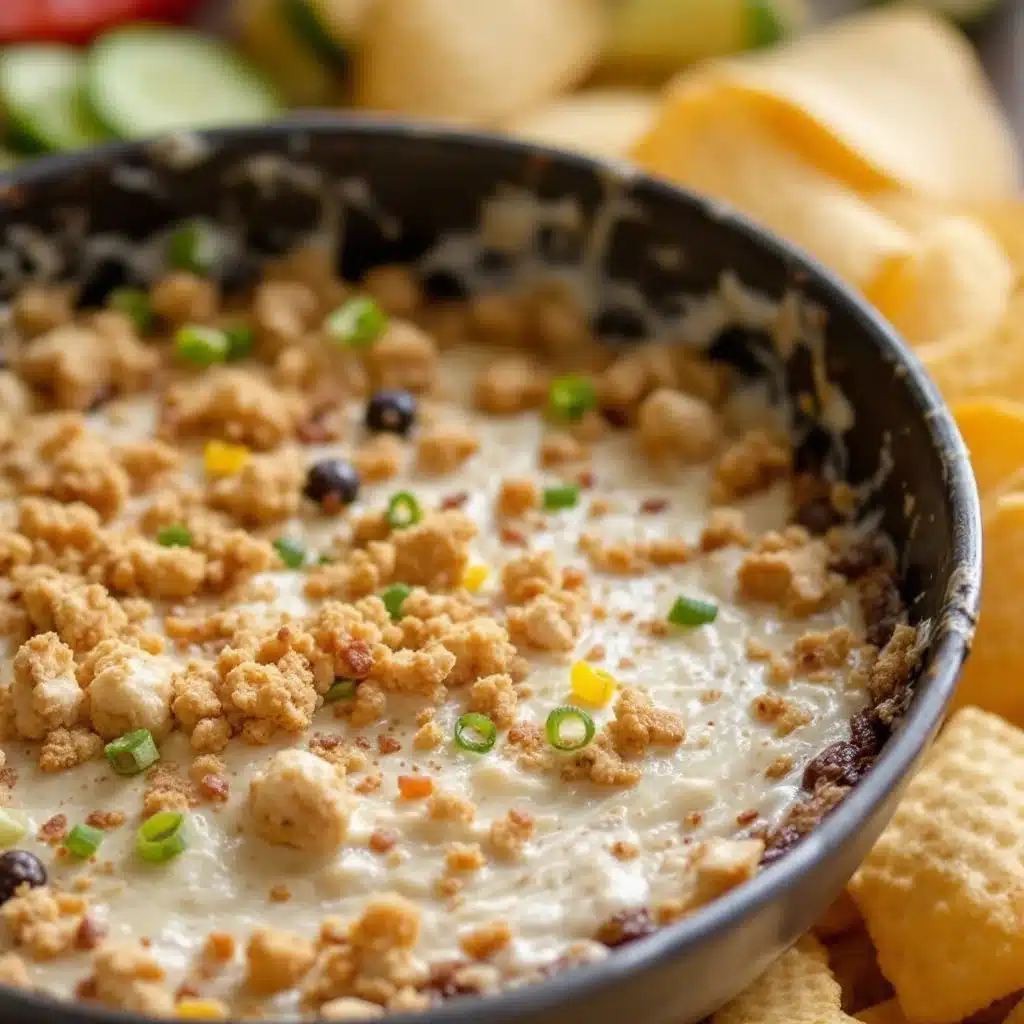
My brother-in-law, Mark, stood at the edge of the picnic table holding a single tortilla chip, staring at the empty dish where the dip used to be. “Wait,” he said, looking around like someone had played a trick on him. “Did I miss the whole thing?” He had been on grill duty for the burgers, and in those twenty minutes, a full 9×13 pan of my Easy 7-Layer Labor Day Dip for a Crowd had vanished. I watched him scrape the last smear of refried beans and melted cheese off the bottom with his chip, and honestly, I felt a weird mix of pride and panic. Pride because, well, look at that reaction. Panic because I realized I hadn’t even saved myself a proper scoop.
That’s the thing about this dip. It doesn’t announce itself. It doesn’t need a fancy presentation or a dramatic reveal. It just sits there, looking all colorful and harmless, and then suddenly it’s gone and people are asking you for the recipe before you’ve even sat down. I’ve been making this for summer cookouts and game days for years, and it’s become the dish I’m actually expected to bring. Not asked to bring — expected. There’s a difference, you know?
What makes this version different from every other seven-layer dip you’ve seen is the balance. I’m not trying to reinvent the wheel here, but I have spent a lot of time figuring out the exact ratio of creamy to crunchy, of spicy to cool, of hearty to fresh. It’s not just a pile of ingredients thrown together. It’s a layered experience. And when you bring it to a Labor Day gathering, you’re not just bringing a snack. You’re bringing the first thing that disappears.
Why You’ll Love This Recipe
Let me tell you why this particular dip has earned its spot at every single one of my family gatherings. I’ve tested it at barbecues, potlucks, and even a few Super Bowl parties, and it never fails to deliver. Here’s what makes it stand out:
- Feeds a Crowd with Zero Stress : This recipe makes a generous amount that easily serves 12-16 people. No doubling, no fussing, no running out halfway through the party.
- Simple Ingredients, Big Flavor : Everything comes from your regular grocery store. No specialty items, no obscure spices, no trips to three different stores.
- Perfect for Labor Day : It’s a cold dip (well, mostly cold) that holds up beautifully in the summer heat. No worrying about it sitting out on the picnic table.
- Make-Ahead Magic : You can assemble this the night before and just pull it out when guests arrive. That’s the kind of hosting I can get behind.
- Totally Customizable : Spicy, mild, extra cheesy, loaded with veggies — you can tweak every layer to match your crowd.
- Always the First Thing Gone : I’m not exaggerating. I’ve watched people skip the main course just to keep eating this dip. It’s that good.
This isn’t just another dip recipe you’ll find online. What makes mine different is the attention to texture. I’ve tested the bean layer to make sure it’s seasoned just right, not bland like some versions. The sour cream layer gets a little lift from lime juice and seasoning, so it’s not just a boring white layer. And the cheese? I use a good quality Mexican blend that melts into everything beautifully. It’s the little details that turn a good dip into the one everyone asks for by name.
Honestly, the first time I made this, I was just trying to use up some leftover ingredients from a taco night. I layered everything in a random order, crossed my fingers, and brought it to a neighbor’s cookout. People went nuts. They asked for the recipe before they even finished eating. I scribbled it on a napkin for three different people that day. That’s when I knew I had stumbled onto something special.
What Ingredients You Will Need
This recipe uses simple, everyday ingredients that come together to create something truly special. I’ve tested each layer individually to make sure every component pulls its weight. Here’s what you’ll need:
For the Bean Layer
- 2 cans (16 oz each) refried beans (I prefer Rosarita brand for the smoothest texture and best flavor)
- 1/2 cup salsa (medium heat works best, but use mild if serving a crowd with sensitive palates)
- 1 teaspoon ground cumin
- 1/2 teaspoon garlic powder
- 1/4 teaspoon chili powder
For the Creamy Layers
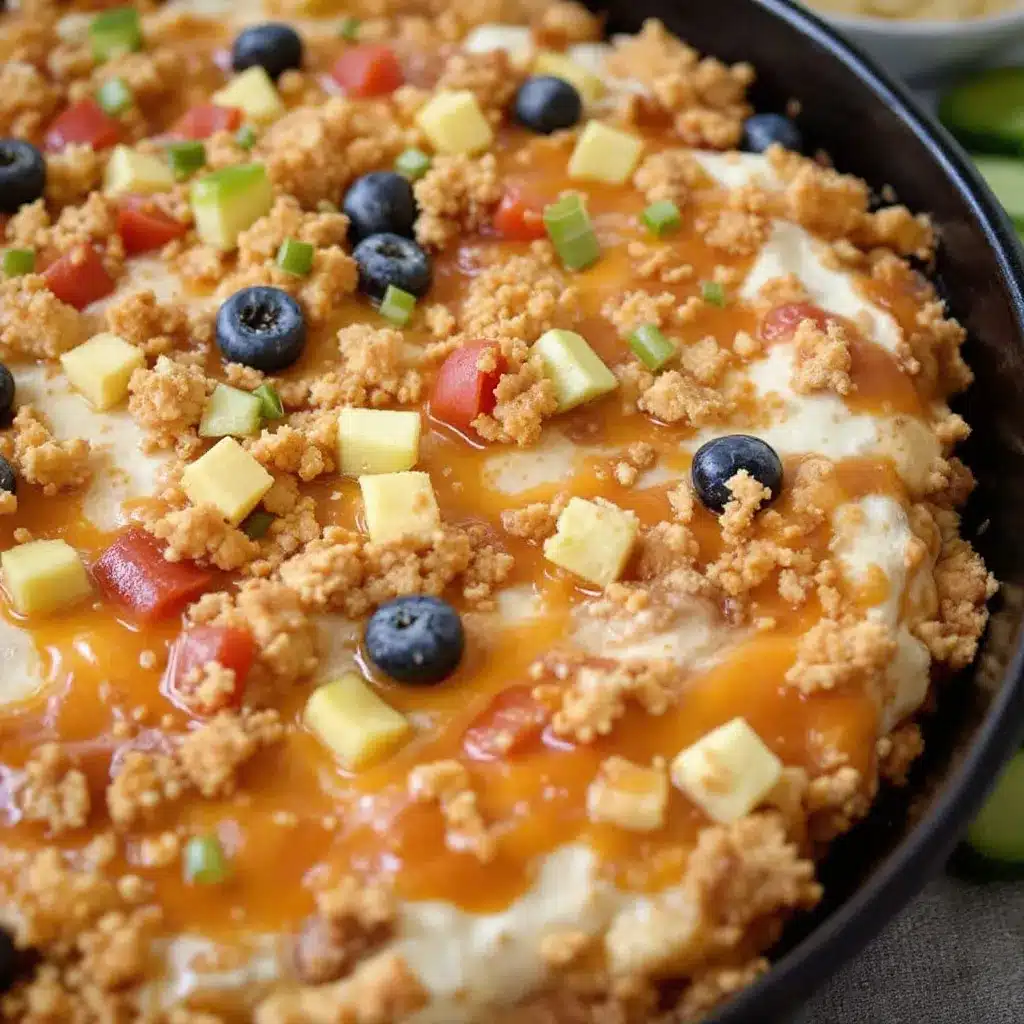
- 2 cups sour cream (full-fat gives the best texture, but light works in a pinch)
- 1 packet (1 oz) taco seasoning (I use Ortega or Old El Paso)
- Juice of 1/2 lime (fresh is important here, don’t use bottled)
- 2 cups guacamole (store-bought in the refrigerated section is fine, or use my quick homemade version: 3 mashed avocados, 1/4 cup diced onion, 1 diced tomato, juice of 1 lime, salt to taste)
For the Toppings
- 2 cups shredded Mexican blend cheese (or a mix of cheddar and Monterey Jack)
- 1 cup diced tomatoes (seeded and drained to prevent sogginess)
- 1/2 cup sliced black olives (drained well)
- 1/2 cup sliced green onions (both white and green parts)
- 1/4 cup chopped fresh cilantro (optional, but highly recommended)
- 1 jalapeño, thinly sliced (optional, for heat lovers)
For Serving
- Tortilla chips (I recommend scoop-shaped chips for maximum dip retrieval — Tostitos Scoops are my go-to)
A few notes on ingredient selection. For the refried beans, I’ve tried making my own from scratch, and honestly, for this recipe, the canned version works better. It’s smoother and spreads more evenly. Just make sure you’re getting the traditional refried beans, not the black bean version, unless that’s your preference. The texture is different.
For the guacamole, you have options. If you’re short on time, the pre-made guacamole in the refrigerated section of most grocery stores works perfectly. I’ve used Wholly Guacamole brand many times with great results. If you want to make your own, just mash three ripe avocados with some diced onion, tomato, lime juice, and salt. Don’t overthink it.
The cheese matters more than you think. Pre-shredded cheese has anti-caking agents that prevent it from melting as smoothly. If you have the time, buy a block of good Mexican blend cheese and shred it yourself. The difference is subtle but noticeable, especially in the top layer where the cheese is the star.
Equipment Needed
You don’t need a fancy kitchen to make this dip. Here’s what you’ll need:
- 9×13 inch baking dish or serving platter (a glass dish works great for both making and serving)
- Medium mixing bowl (for the sour cream mixture)
- Small mixing bowl (for mixing the bean layer)
- Spatula or rubber scraper (for spreading layers evenly)
- Chef’s knife and cutting board (for chopping tomatoes, onions, and cilantro)
- Can opener
- Measuring cups and spoons
- Plastic wrap (if making ahead)
If you don’t have a 9×13 dish, you can use a large pie plate or even a rimmed serving platter. The layers will just be a bit thicker or thinner depending on the surface area. I’ve even made this in a 9×9 square dish for a smaller gathering, and it works fine — just reduce the ingredient amounts by about a third.
One tip I learned the hard way: use a dish with straight sides, not sloped ones. It makes layering so much easier and keeps everything neat. My favorite is a Pyrex glass baking dish because I can see the layers from the side, which looks pretty when serving.
Preparation Method
Making this dip is straightforward, but there are a few tricks to getting perfect layers that hold their shape. Follow these steps and you’ll have a dip that looks as good as it tastes.
Step 1: Prepare the Bean Layer
In a small mixing bowl, combine the two cans of refried beans with the salsa, cumin, garlic powder, and chili powder. Stir until everything is well combined and smooth. The salsa adds moisture and flavor, so don’t skip it. Spread this mixture evenly across the bottom of your 9×13 dish. Use a spatula to get it as flat and even as possible. This is your foundation, so take your time here. A smooth base makes every other layer easier. Set the dish aside.
Step 2: Make the Seasoned Sour Cream
In a medium mixing bowl, combine the sour cream, taco seasoning packet, and fresh lime juice. Whisk until the seasoning is fully incorporated and the mixture is smooth and pale orange in color. Taste it — you should get a nice tangy, slightly spicy flavor. If it tastes too mild, add another squeeze of lime. Spread this mixture evenly over the bean layer. Use the back of a spoon or a spatula to smooth it out. Be gentle so you don’t disturb the bean layer underneath.
Step 3: Add the Guacamole Layer
If using store-bought guacamole, give it a good stir first to make sure it’s smooth. If making your own, now is the time to mash those avocados. Spread the guacamole gently over the sour cream layer. This layer can be a bit trickier to spread because guacamole is thicker. Drop spoonfuls across the surface first, then use a spatula to carefully spread them together. Try not to drag the sour cream up into the guacamole — you want clean layers.
Step 4: Sprinkle the Cheese
Evenly sprinkle the shredded Mexican blend cheese over the guacamole layer. Cover every bit of green so you have a solid blanket of cheese. This acts as a barrier that helps keep the toppings from sinking into the softer layers below. Press the cheese down very gently with your hand or a spatula to help it adhere.
Step 5: Add the Toppings
Now for the colorful part. Sprinkle the diced tomatoes evenly over the cheese. Follow with the sliced black olives, then the green onions. If you’re using cilantro and jalapeño, add those last. The order matters a little here — you want the heavier toppings like tomatoes on the bottom of this layer so the lighter ones like cilantro don’t get buried.
Step 6: Chill and Serve
Cover the dish with plastic wrap and refrigerate for at least 2 hours before serving. This resting time is crucial — it lets the flavors meld together and helps the layers set so they don’t slide around when people scoop. If you’re making this for a party, I actually prefer making it the night before. The flavors get even better overnight.
When you’re ready to serve, remove the plastic wrap and let the dip sit at room temperature for about 15 minutes. This takes the chill off and makes the flavors more pronounced. Serve with a big bowl of tortilla chips and watch it disappear.
Cooking Tips & Techniques
After making this dip more times than I can count, I’ve picked up a few tricks that make a real difference. Here’s what I’ve learned:
Drain your tomatoes. This is probably the most important tip I can give you. Diced tomatoes hold a lot of liquid, and if you dump them straight onto the dip, that liquid will seep into the layers and make everything watery. After you dice them, put them in a fine-mesh strainer or a paper towel and let them drain for at least 10 minutes. Your dip will stay firm and beautiful.
Warm the refried beans slightly. Cold refried beans straight from the can are stiff and hard to spread. Microwave them for about 30 seconds, just until they’re slightly warm and pliable. They’ll spread like a dream. Just don’t make them hot — you want them spreadable, not cooked.
Use a offset spatula. If you have one, it makes spreading each layer so much easier. The angled handle lets you keep your hand above the dish while you smooth things out. A regular rubber spatula works fine too, but an offset one is worth the small investment if you make layered dishes often.
Don’t skip the lime juice. That little bit of acid in the sour cream layer brightens up the whole dip. Without it, the sour cream tastes flat and heavy. The lime cuts through the richness and makes every bite feel fresh.
Let it rest. I know I said this already, but it bears repeating. The resting time is not optional. If you serve this immediately after assembling, the layers will be messy and the flavors won’t have had time to come together. Two hours minimum, overnight is better.
I once made this for a last-minute gathering and skipped the resting time. The first person to scoop into it got a messy pile of separated layers. It still tasted fine, but it looked like a disaster. Learn from my mistake.
Variations & Adaptations
This recipe is incredibly flexible. Here are some of my favorite variations:
Spicy Southwest Version
Add 1/2 cup of fire-roasted corn to the bean layer. Use pepper jack cheese instead of Mexican blend. Add a layer of pickled jalapeños between the cheese and the tomatoes. This version has a nice smoky heat that’s perfect for adventurous eaters.
Vegetarian Protein Boost
Add a layer of seasoned black beans (drained, rinsed, and mixed with cumin and chili powder) between the refried beans and the sour cream. You can also add a layer of seasoned lentils for extra fiber and protein. This makes the dip even heartier and more filling.
Lightened-Up Version
Use Greek yogurt instead of sour cream for a protein boost and fewer calories. Use reduced-fat cheese and light refried beans. Load up on extra veggies like diced bell peppers and shredded lettuce. It’s still delicious but a bit more waistline-friendly.
Breakfast Dip
Yes, really. Skip the guacamole and add a layer of scrambled eggs. Use breakfast sausage crumbles instead of the taco seasoning in the sour cream. Top with shredded hash browns and serve with tortilla chips or even crispy breakfast potatoes. It’s weirdly amazing.
Individual Servings
For parties where you want to avoid double-dipping (we all know that one person), make individual servings in small mason jars or clear plastic cups. Layer everything the same way, but in smaller portions. They look adorable and everyone gets their own personal dip.
I’ve tried the spicy version for a game day party and it was a huge hit. My brother-in-law, the same guy from the beginning of this story, actually asked for the recipe for that version specifically. He’s not a spice fan usually, but something about that smoky heat won him over.
Serving & Storage Suggestions
This dip is best served cold or at room temperature. If you’ve chilled it overnight, let it sit out for about 15-20 minutes before serving. The flavors are more pronounced when it’s not straight-from-the-fridge cold.
For presentation, I like to garnish the top with a few extra cilantro leaves and a sprinkle of smoked paprika right before serving. It adds a pop of color and makes the dip look intentional and beautiful. If you’re feeling fancy, you can also add a few pickled jalapeño slices in a little pattern on top.
This dip pairs beautifully with so many things. Obviously, tortilla chips are the classic choice, but I also love serving it with:
- Fresh vegetable sticks (carrots, celery, bell peppers, cucumber)
- Pita chips or bagel chips
- Pretzel chips (the salty-savory combo is incredible)
- Mini tostadas or scoops of any kind
For drinks, this dip loves a cold beer (a light lager or a Mexican beer like Corona or Modelo is perfect), a margarita on the rocks, or even a crisp white wine like Sauvignon Blanc. For non-alcoholic options, an iced tea with lemon or a lime sparkling water works beautifully.
Storage: Leftover dip keeps in the refrigerator for up to 3 days, covered tightly with plastic wrap. The texture does change a bit — the tomatoes release some liquid and the guacamole may brown slightly on top. Just stir everything together before serving leftovers, and it’s still delicious. I actually think the flavors get even better on day two.
I don’t recommend freezing this dip. The sour cream and guacamole don’t thaw well, and the texture becomes watery and grainy. Make it fresh or a day ahead, but don’t try to freeze it.
For reheating, I actually prefer this dip cold or at room temperature. If you want to serve it warm, you can pop it in a 350°F oven for about 10-15 minutes, just until the cheese melts and the edges are bubbly. But honestly, it’s designed to be a cold dip, and that’s where it shines.
Nutritional Information & Benefits
Here’s the thing about this dip — it’s not health food, but it’s not terrible for you either. The portion sizes are small (most people eat about 1/4 cup of dip with chips), so the nutritional impact is manageable. Here’s a rough estimate per serving (based on 16 servings):
- Calories: 180-220
- Protein: 7-9g
- Fat: 12-15g
- Carbohydrates: 14-18g
- Fiber: 4-6g
- Sugar: 3-5g
- Sodium: 450-550mg
The good news is that this dip has some real nutritional benefits hidden in all that deliciousness. The refried beans are packed with fiber and plant-based protein. The avocado in the guacamole provides healthy monounsaturated fats and potassium. The tomatoes are rich in lycopene, an antioxidant that supports heart health. And the olives offer healthy fats and a touch of iron.
If you’re watching your sodium, you can use low-sodium refried beans and reduce the taco seasoning by half. You can also use a low-sodium cheese or skip the olives (which are surprisingly high in sodium).
For those with dietary restrictions, this recipe can be made gluten-free easily (just check your taco seasoning label, some brands contain wheat). It’s naturally nut-free and egg-free. For a dairy-free version, use dairy-free sour cream and cheese alternatives, or skip the cheese layer entirely and add extra guacamole.
I’m not a nutritionist, but I do pay attention to what goes into my body. This dip, in moderation, is a pretty balanced snack. You’ve got protein, healthy fats, fiber, and veggies all in one scoop. Pair it with veggie sticks instead of chips and you’ve got a genuinely healthy snack.
Conclusion
This Easy 7-Layer Labor Day Dip for a Crowd has become more than just a recipe in my house. It’s the dish that shows up at every barbecue, every game day, every summer gathering. It’s the one people ask for by name, the one that makes me feel like I actually know what I’m doing in the kitchen. And honestly, it’s so simple that anyone can make it.
The beauty of this recipe is that it’s forgiving. You can tweak the layers, swap ingredients, adjust the spice level, and it always works. It’s the kind of recipe that builds confidence in the kitchen because it’s hard to mess up. And when you bring it to a party and watch people go back for seconds and thirds, you’ll feel like a rockstar.
I’d love to hear how this dip turns out for you. Did you add your own twist? Did your family love it? Did it disappear as fast as mine always does? Drop a comment below and let me know. And if you’re looking for another crowd-pleaser, you might enjoy this gooey campfire s’mores dip for dessert, or this creamy classic macaroni salad for the perfect side dish. For another party favorite, try this creamy jalapeño corn dip that’s always a hit.
Happy Labor Day, friends. Go make some dip and enjoy the people around you. That’s what it’s all about.
Frequently Asked Questions
Can I make this dip ahead of time?
Absolutely! In fact, I recommend it. Make the dip up to 24 hours in advance, cover it tightly with plastic wrap, and keep it refrigerated. The flavors meld together beautifully overnight. Just add any fresh garnishes like cilantro right before serving.
How do I keep the guacamole from turning brown?
The layers above the guacamole — the cheese and toppings — create a barrier that prevents air from reaching the avocado. This naturally slows down browning. If you’re making it more than 24 hours ahead, you can also press a layer of plastic wrap directly onto the guacamole before adding the cheese.
What if I don’t like refried beans?
No problem! You can substitute the refried beans with a layer of seasoned black beans (drained and rinsed, then mashed slightly with a fork). Or try a layer of seasoned ground beef or turkey for a heartier dip. You can even use a layer of hummus for a different flavor profile.
Can I serve this dip warm?
This recipe is designed to be served cold, but you can absolutely warm it up if you prefer. Bake it at 350°F for 10-15 minutes until the cheese is melted and bubbly. Just know that the guacamole will warm up too, which changes the texture slightly. Some people love it that way!
How long can this dip sit out at a party?
Because this dip contains dairy and avocado, it shouldn’t sit out at room temperature for more than 2 hours. If you’re serving it outdoors on a hot day, that time drops to about 1 hour. I recommend setting the dish on a bed of ice or serving smaller portions and refreshing the dish as needed.
Pin This Recipe!
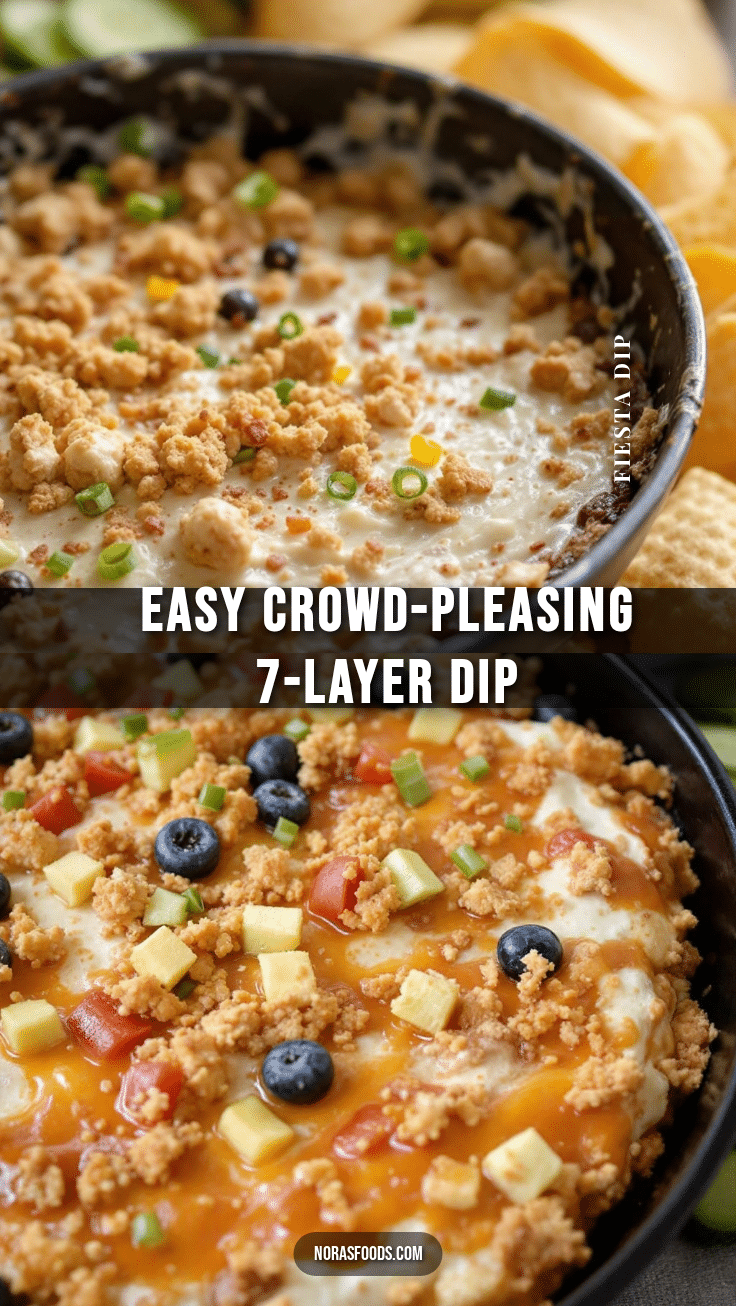
Easy 7-Layer Labor Day Dip: Best Crowd-Pleaser Recipe

This Easy 7-Layer Labor Day Dip is the ultimate crowd-pleaser, featuring layers of seasoned refried beans, tangy sour cream, fresh guacamole, melted cheese, and colorful toppings. Perfect for summer cookouts and game days, it’s always the first thing to disappear.
- Prep Time: 20 minutes
- Cook Time: 0 minutes
- Total Time: 2 hours 20 minutes (includes chilling)
- Yield: 12-16 servings 1x
- Category: Appetizer
- Cuisine: Mexican-American
Ingredients
- 2 cans (16 oz each) refried beans
- 1/2 cup salsa
- 1 teaspoon ground cumin
- 1/2 teaspoon garlic powder
- 1/4 teaspoon chili powder
- 2 cups sour cream
- 1 packet (1 oz) taco seasoning
- Juice of 1/2 lime
- 2 cups guacamole (store-bought or homemade: 3 mashed avocados, 1/4 cup diced onion, 1 diced tomato, juice of 1 lime, salt to taste)
- 2 cups shredded Mexican blend cheese
- 1 cup diced tomatoes (seeded and drained)
- 1/2 cup sliced black olives (drained)
- 1/2 cup sliced green onions
- 1/4 cup chopped fresh cilantro (optional)
- 1 jalapeño, thinly sliced (optional)
- Tortilla chips for serving
Instructions
- In a small mixing bowl, combine the refried beans, salsa, cumin, garlic powder, and chili powder. Stir until smooth. Spread evenly across the bottom of a 9×13 inch dish.
- In a medium mixing bowl, combine the sour cream, taco seasoning, and lime juice. Whisk until smooth. Spread evenly over the bean layer.
- Spread the guacamole gently over the sour cream layer.
- Sprinkle the shredded cheese evenly over the guacamole layer.
- Top with diced tomatoes, sliced black olives, green onions, cilantro, and jalapeño (if using).
- Cover with plastic wrap and refrigerate for at least 2 hours, or overnight.
- Before serving, let sit at room temperature for 15 minutes. Serve with tortilla chips.
Notes
Drain tomatoes well to prevent sogginess. Warm refried beans slightly for easier spreading. Resting time is crucial for flavors to meld. Can be made up to 24 hours ahead. For a lighter version, use Greek yogurt instead of sour cream and reduced-fat cheese.
Nutrition
- Serving Size: 1/4 cup dip (with ch
- Calories: 200
- Sugar: 4
- Sodium: 500
- Fat: 13.5
- Saturated Fat: 6
- Carbohydrates: 16
- Fiber: 5
- Protein: 8
Keywords: 7-layer dip, labor day dip, crowd-pleaser, easy appetizer, party dip, Mexican dip, game day dip