Introduction
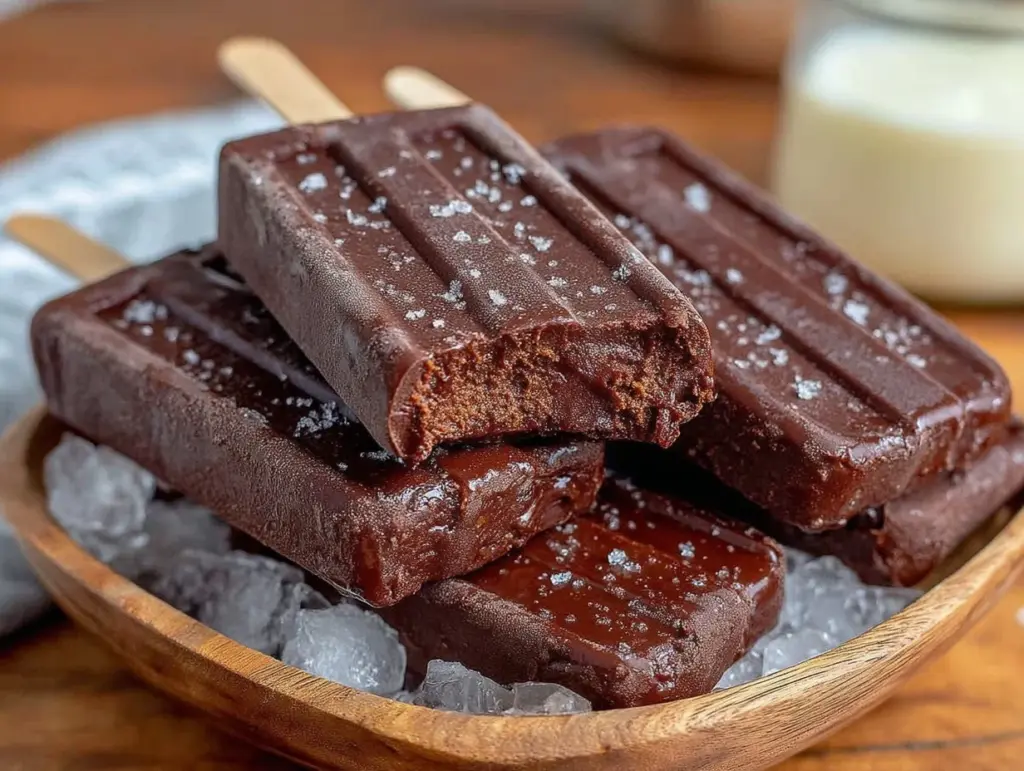
“I swear, if you open that freezer one more time, the fudge pops will disappear!” My roommate’s half-joking warning came after the third day in a row someone raided the freezer. Honestly, I can’t blame anyone. These creamy freezer-door fudge pops with real chocolate have a way of sneaking up on you – smooth, rich, and just the right amount of chocolatey goodness. It started as a quick fix on a sweltering afternoon when I was too lazy to make anything complicated, but I had a craving for something cold and chocolatey. I figured, why not mix real melted chocolate with some cream and freeze it in popsicle molds? What I got was better than I expected.
At first, I was skeptical about how these would turn out without all the usual sugar-laden, artificial ingredients. But honestly, the velvety texture and genuine chocolate flavor made me believe in simple homemade treats again. Plus, no sticky mess or fuss – just pure, creamy indulgence straight from the freezer door. It’s become a little ritual now, pulling one out for a quick pick-me-up on hectic days or after a long run. If you love chocolate but want something easier than homemade brownies or ice cream, these fudge pops will feel like a tiny, satisfying celebration every time.
They’ve even sparked some fun kitchen experiments, like tossing in a pinch of sea salt or swapping in almond milk for a lighter twist. But the base recipe? It’s reliable, comforting, and honestly, kind of addictive. If you’ve been hesitant about making frozen treats at home, this one’s worth the dip into your freezer door.
Why You’ll Love This Recipe
After making these creamy freezer-door fudge pops with real chocolate more times than I can count (seriously, I lost track after week two), I can say they’re a definite keeper for a few reasons:
- Quick & Easy: Whip up the fudge mixture in under 15 minutes. No long chilling or tempering needed—just melt, mix, and freeze.
- Simple Ingredients: No weird additives or obscure ingredients. You probably have everything right in your pantry or fridge.
- Perfect for Hot Days or Last-Minute Treats: Whether it’s a spontaneous craving or a backyard hangout, these pops deliver instant refreshment.
- Crowd-Pleaser: Kids, adults, chocoholics, and casual snackers alike keep asking for more. They’ve even won over a few fudge skeptics.
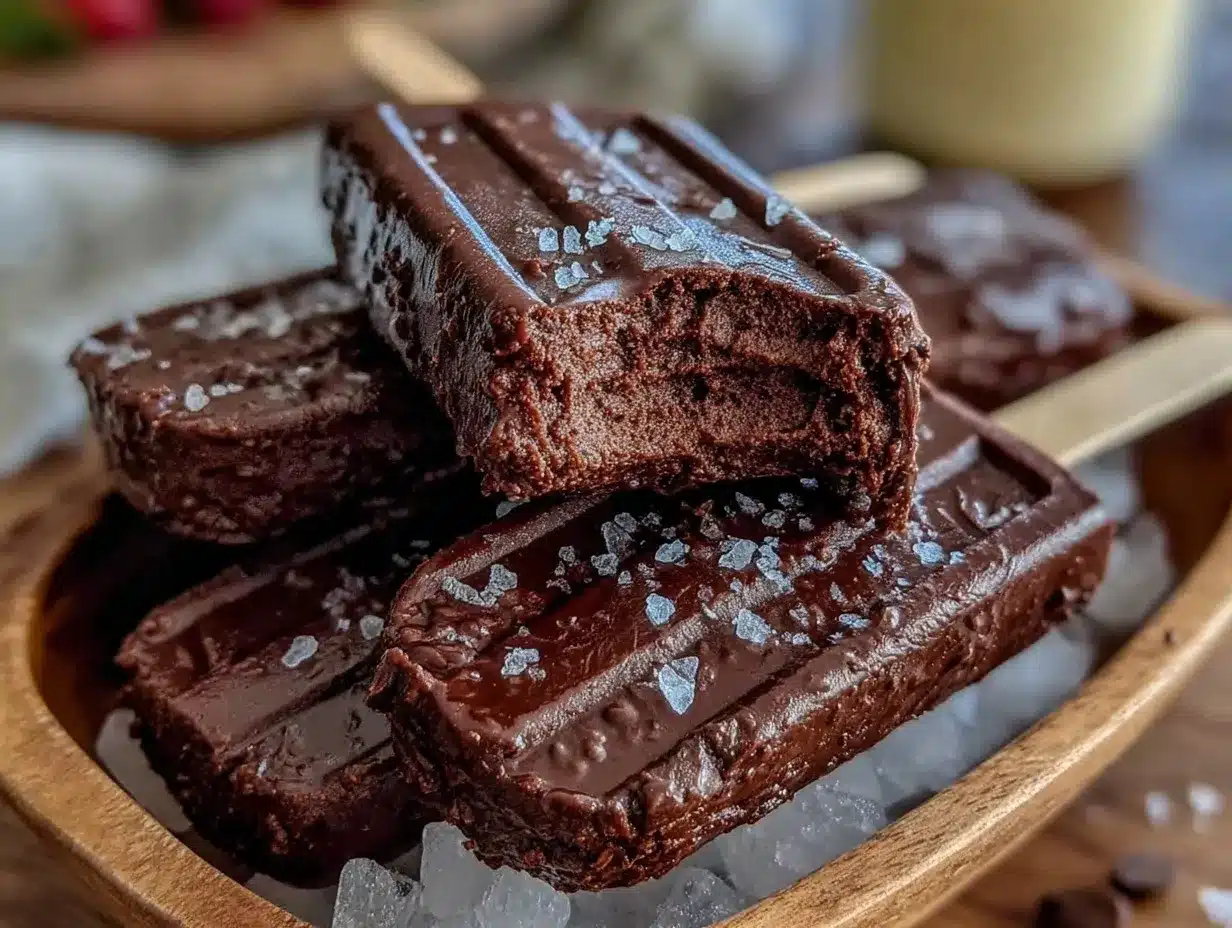
- Unbelievably Delicious: The creamy texture combined with real chocolate (not just cocoa powder) offers a richness that feels indulgent but never heavy.
What really sets this recipe apart is how the chocolate is handled. Instead of just mixing cocoa powder, real melted chocolate brings depth and silkiness that you don’t usually get in freezer pops. The balance of cream and a touch of vanilla makes each bite smooth and luscious without being overly sweet.
Honestly, this recipe has become my go-to when I want a fuss-free dessert that doesn’t demand ice cream machines or fancy ingredients. It’s a tiny joy you can pull from the freezer anytime, and it somehow feels like a little secret treat just for you.
What Ingredients You Will Need
This recipe uses simple, wholesome ingredients to deliver bold flavor and a satisfying creamy texture without fuss. Most are pantry staples, and you can easily swap a few for dietary needs or preferences.
- Whole milk or heavy cream (1 cup / 240 ml): For that rich, creamy base. Heavy cream makes it extra indulgent, but whole milk works if you want a lighter pop.
- Real dark or semi-sweet chocolate (6 ounces / 170 g): Use a good-quality bar or chips. I prefer Ghirardelli 60% cacao for smooth melting and balanced flavor.
- Granulated sugar (¼ cup / 50 g): Just enough to cut the bitterness of the chocolate without overpowering it.
- Vanilla extract (1 teaspoon): Adds warmth and rounds out the chocolate’s richness.
- Pinch of salt: Enhances chocolate flavor and balances sweetness.
Optional add-ins or swaps:
- Use almond milk or oat milk for a dairy-free option; add a tablespoon of coconut oil to mimic creaminess.
- Sprinkle in chopped nuts or mini chocolate chips before freezing for texture.
- Swap sugar for maple syrup or honey if you prefer natural sweeteners, adjusting quantity to taste.
Look for firm chocolate bars that melt evenly—avoid chocolate with added fillings or nuts unless you want surprises in your fudge pops. If you’re curious about a lighter version, try half-and-half instead of all heavy cream. The ingredients are forgiving, so feel free to experiment a bit.
Equipment Needed
To make these creamy freezer-door fudge pops, you don’t need anything fancy, just some basic kitchen tools and a few handy extras:
- Small saucepan: For gently melting the chocolate with cream and sugar. A heavy-bottomed pan helps prevent scorching.
- Heatproof bowl: If you prefer a double boiler method to melt chocolate without direct heat.
- Whisk or silicone spatula: To combine and smooth out the mixture.
- Popsicle molds: Essential for shaping the fudge pops. If you don’t have molds, small paper cups with wooden sticks work fine too.
- Measuring cups and spoons: For accurate ingredient portions.
If you’re on a budget, simple plastic popsicle molds or even reusable silicone molds are great options. I’ve found that silicone molds make popping the fudge out easier and reduce breakage. When using stainless steel pans for melting, keep the heat low and stir often to avoid burning the chocolate.
Preparation Method
- Chop the chocolate: Finely chop 6 ounces (170 g) of real dark or semi-sweet chocolate into small pieces. This helps it melt evenly and quickly. (5 minutes)
- Heat the cream and sugar: In a small saucepan over medium-low heat, combine 1 cup (240 ml) of whole milk or heavy cream with ¼ cup (50 g) granulated sugar and a pinch of salt. Stir gently until the sugar dissolves and the mixture is hot but not boiling—small bubbles should form around the edges. (3-5 minutes)
- Remove from heat and add chocolate: Immediately pour the hot cream mixture over the chopped chocolate in a heatproof bowl or keep it in the pan off the heat. Let it sit for a minute to soften the chocolate.
- Whisk until smooth: Using a whisk or spatula, stir gently in circles until the chocolate melts completely and the mixture is glossy and lump-free. Add 1 teaspoon vanilla extract and mix briefly. The mixture should be thick but pourable. (2-3 minutes)
- Pour into molds: Carefully pour the fudge mixture into your prepared popsicle molds, leaving a small gap at the top for expansion. Insert sticks. (5 minutes)
- Freeze: Place molds in the freezer for at least 4 hours or overnight for best results. The fudge pops should be firm and creamy when done.
- Unmold and enjoy: To release the fudge pops, briefly run warm water on the outside of the molds for a few seconds (don’t submerge), then gently pull the sticks. (1-2 minutes)
Pro tip: If the fudge seems grainy or separated, it usually means the chocolate overheated or the cream was too hot. To fix this, whisk in a splash of warm milk slowly to smooth it out before freezing.
Cooking Tips & Techniques
Making fudge pops at home sounds simple, but a few insider tips can make the difference between silky and disappointing:
- Low and slow melting: Chocolate is sensitive. Melting it over low heat or using a double boiler prevents burning and keeps the texture smooth.
- Don’t rush cooling: Letting the cream and sugar mixture heat just until sugar dissolves avoids a gritty texture.
- Whisk gently: Vigorous whisking can introduce air bubbles that freeze into icy pockets. Stir slowly for a denser, creamier pop.
- Freeze flat: Place molds on a level surface in the freezer to avoid uneven shapes.
- Stick placement: Insert sticks after pouring, so they stay centered and stable.
- Storage sanity: Wrap pops individually in parchment paper if you plan to keep a batch for weeks to avoid freezer burn.
From personal experience, I once impatiently unmolded pops after just two hours, and they crumbled right away. Waiting the full freeze time really pays off. Also, a pinch of salt in the recipe changes the game—trust me, it makes the chocolate flavor pop in a way I didn’t expect.
Variations & Adaptations
While the classic creamy freezer-door fudge pops with real chocolate are fantastic on their own, I love mixing things up to keep it exciting:
- Dairy-Free Version: Swap heavy cream for canned coconut milk or almond milk, adding 1 tablespoon of coconut oil for richness.
- Mint Chocolate: Add ½ teaspoon peppermint extract instead of vanilla for a refreshing twist.
- Nutty Crunch: Stir in ¼ cup finely chopped toasted almonds or pecans right before freezing for texture contrast.
- Mocha Pops: Dissolve 1 teaspoon instant espresso powder in the cream before mixing in chocolate for a coffee kick.
If you want to experiment with cooking methods, you can try freezing the mixture in small silicone muffin cups with toothpicks, then dipping frozen pops in melted chocolate for a double layer. I’ve done this for special occasions, and it’s a hit.
One of my favorite personal adaptations is adding a swirl of peanut butter before freezing. The salty-sweet combo with real chocolate is seriously addictive.
Serving & Storage Suggestions
These fudge pops are best served straight from the freezer door – perfectly firm but creamy enough to bite into easily. They make a great afternoon pick-me-up or a cool finish to warm-weather meals.
For a fun party idea, serve alongside fresh fruit skewers or homemade trail mix for a mix of textures and flavors. (If you like assembling snacks, check out my easy team snack box recipe with homemade trail mix and fresh fruit skewers for inspiration.)
Store leftover fudge pops in an airtight container or sealed popsicle box in the freezer for up to 2 weeks. If storing longer, wrap individually in parchment to prevent freezer burn.
When reheating pops isn’t really an option, but if they get too hard, let them sit at room temperature for 5 minutes to soften slightly before enjoying.
Flavors tend to mellow over time, so if you make a batch ahead, expect a slightly smoother chocolate taste after a day or two frozen.
Nutritional Information & Benefits
These homemade fudge pops offer a treat with fewer additives and more wholesome ingredients than many store-bought frozen desserts. Each pop (assuming 6 pops from the recipe) roughly contains:
| Nutrient | Approximate Amount per Pop |
|---|---|
| Calories | 120-150 kcal |
| Fat | 8-10 g (mostly from cream and chocolate) |
| Sugar | 10-12 g |
| Protein | 2-3 g |
The real dark chocolate contributes antioxidants and minerals like iron and magnesium. Using whole dairy adds calcium and vitamin D. For those avoiding gluten or artificial additives, this recipe is naturally gluten-free and clean-label.
From a wellness standpoint, making your own fudge pops means you control the sweetness and ingredients, avoiding preservatives and artificial flavors common in commercial popsicles.
Conclusion
If you’re looking for a simple, satisfying chocolate treat that feels homemade but requires minimal effort, these creamy freezer-door fudge pops with real chocolate are just the ticket. They’ve become one of my favorite go-to recipes for both quick desserts and cooling snacks.
Feel free to tweak the recipe to suit your taste—whether that means making it dairy-free, adding a hint of mint, or mixing in crunchy nuts, the base is forgiving and delicious no matter what.
Personally, I love how these fudge pops combine comfort and refreshment without any complicated steps or ingredients. They remind me that sometimes the best treats come from the simplest ideas.
If you try making these, I’d love to hear how you customize them or what moments you enjoy them most. Sharing recipes and stories makes the kitchen feel even cozier, don’t you think?
Frequently Asked Questions
Can I use milk chocolate instead of dark chocolate?
Yes! Milk chocolate will make the fudge pops sweeter and creamier but less intense in chocolate flavor. Adjust sugar accordingly if desired.
How long do these fudge pops last in the freezer?
Stored in an airtight container or wrapped well, they keep their best texture and flavor for up to 2 weeks.
Can I make these without popsicle molds?
Absolutely! Small paper cups or silicone muffin cups work well. Just insert wooden sticks or toothpicks before freezing.
Is there a vegan or dairy-free version?
Yes. Swap cream with canned coconut milk or almond milk plus a tablespoon of coconut oil for richness. Use dairy-free dark chocolate to keep it vegan.
Why is my fudge pop grainy after freezing?
This usually happens if the chocolate overheated or the sugar didn’t dissolve fully. Melting chocolate gently and stirring slowly helps prevent this. Adding a bit of warm milk can smooth it out before freezing.
For a cozy breakfast idea that pairs well with a chocolate treat, you might enjoy this creamy ballerina cappuccino overnight oats recipe or indulge in a creamy hidden veggie mac and cheese recipe for a comforting meal any time of day.
Pin This Recipe!
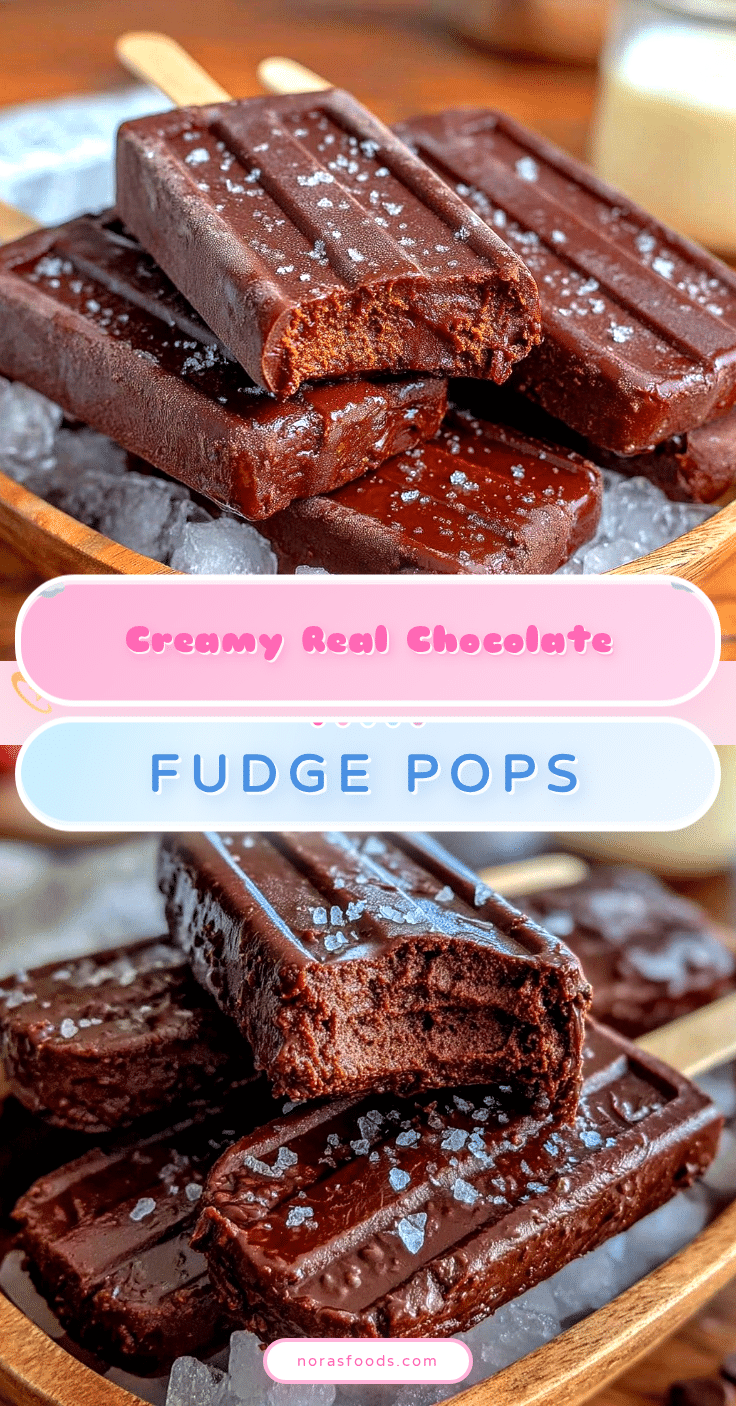
Creamy Freezer-Door Fudge Pops
These creamy freezer-door fudge pops with real chocolate are a quick, easy, and indulgent homemade chocolate treat perfect for hot days or last-minute cravings.
- Prep Time: 10 minutes
- Cook Time: 5 minutes
- Total Time: 4 hours 15 minutes
- Yield: 6 pops 1x
- Category: Dessert
- Cuisine: American
Ingredients
- 1 cup (240 ml) whole milk or heavy cream
- 6 ounces (170 g) real dark or semi-sweet chocolate
- 1/4 cup (50 g) granulated sugar
- 1 teaspoon vanilla extract
- Pinch of salt
Instructions
- Finely chop 6 ounces (170 g) of real dark or semi-sweet chocolate into small pieces.
- In a small saucepan over medium-low heat, combine 1 cup (240 ml) of whole milk or heavy cream with 1/4 cup (50 g) granulated sugar and a pinch of salt. Stir gently until the sugar dissolves and the mixture is hot but not boiling, with small bubbles forming around the edges.
- Remove from heat and immediately pour the hot cream mixture over the chopped chocolate in a heatproof bowl or keep it in the pan off the heat. Let it sit for a minute to soften the chocolate.
- Whisk gently in circles until the chocolate melts completely and the mixture is glossy and lump-free. Add 1 teaspoon vanilla extract and mix briefly. The mixture should be thick but pourable.
- Carefully pour the fudge mixture into prepared popsicle molds, leaving a small gap at the top for expansion. Insert sticks.
- Place molds in the freezer for at least 4 hours or overnight until firm and creamy.
- To unmold, briefly run warm water on the outside of the molds for a few seconds (do not submerge), then gently pull the sticks.
Notes
Melt chocolate gently over low heat or use a double boiler to avoid burning. Whisk gently to avoid air bubbles. Freeze molds on a level surface. Wrap pops individually in parchment paper for longer storage to prevent freezer burn. If fudge is grainy, whisk in a splash of warm milk before freezing.
Nutrition
- Serving Size: 1 fudge pop
- Calories: 135
- Sugar: 11
- Sodium: 30
- Fat: 9
- Saturated Fat: 5
- Carbohydrates: 11
- Fiber: 1
- Protein: 2.5
Keywords: fudge pops, chocolate popsicles, homemade fudge pops, creamy chocolate treats, easy frozen dessert


