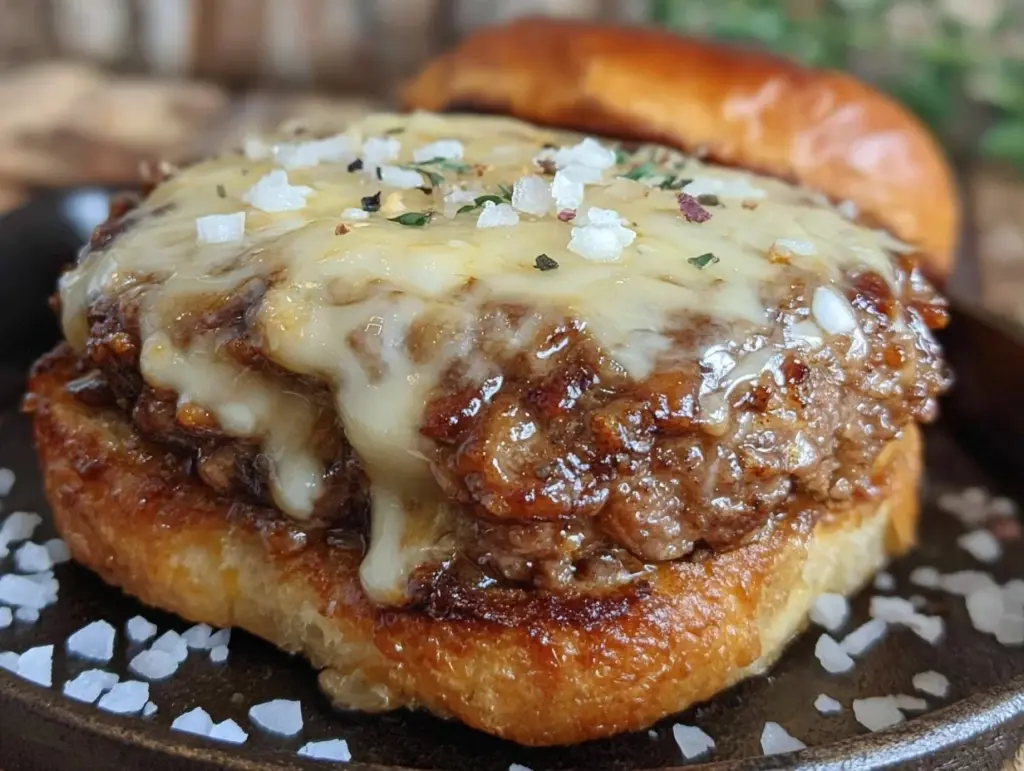
“Hey, you ever tried smashing a burger in a cast iron skillet?” my buddy asked, tossing me a half-smirk over a late-night text. Honestly, I was skeptical—smash burgers always sounded like a trend, you know? But that evening, with the kitchen quiet except for the sizzle, I gave it a shot. The smell of that crust forming on the patty, the way the edges crisped up just right, and that gooey American cheese melting over the top—it wasn’t just good; it was a game changer. The kind of burger that makes you pause, mid-bite, and just nod in quiet approval.
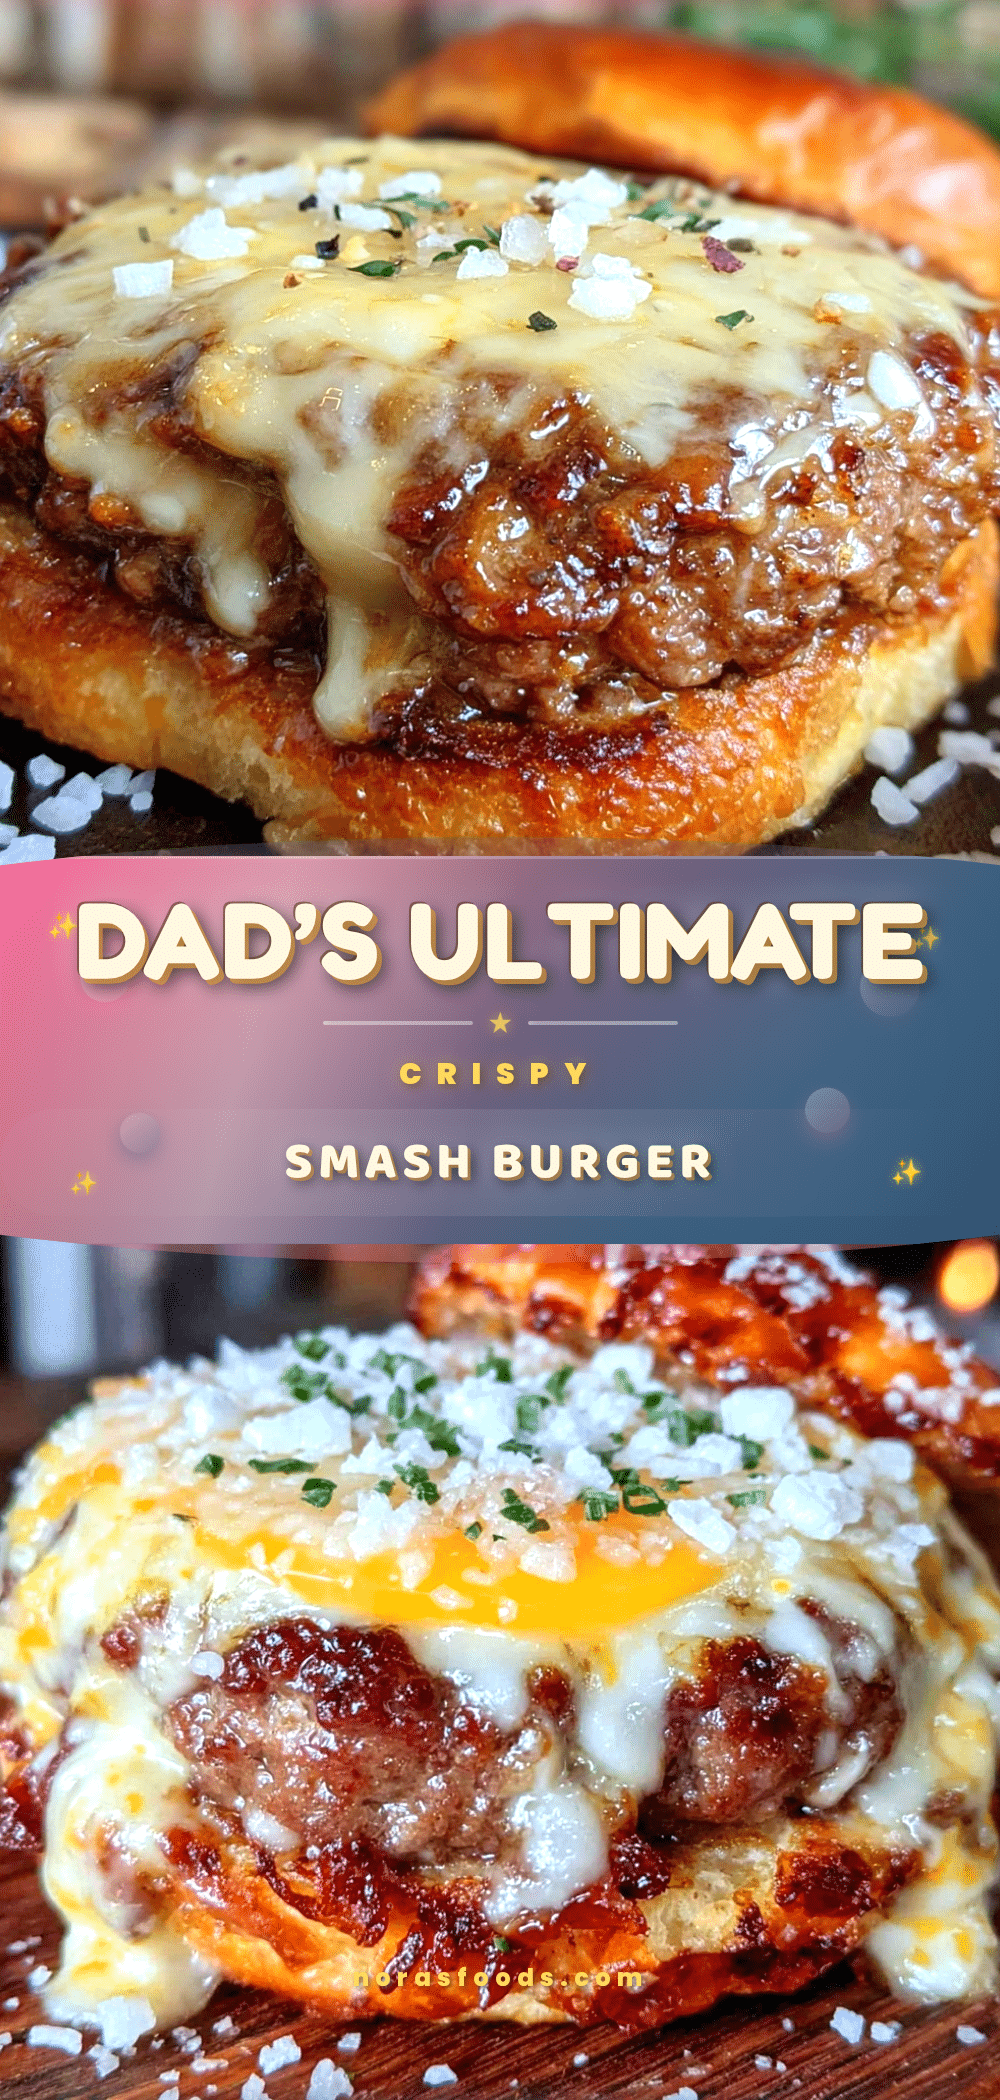
I’d always thought homemade burgers needed a lot of fuss, but this Crispy Dad’s Cast-Iron Smash Burger with American Cheese proved me wrong. It’s quick, no-nonsense, and hits that nostalgic spot like few things do. Dad’s old grill might’ve been the original inspiration, but this skillet version gives you that perfect crust and juiciness without the smoke or waiting for the right weather.
That night, I made it three times, tweaking the seasoning just a bit each round (because, why not?). Now, it’s a staple whenever I want something honest, comforting, and wickedly crispy. Plus, it pairs perfectly with some crispy Blackstone griddle smash potatoes I recently tried (give those a look if you love a good sidekick). There’s something about this recipe that sticks with you — the kind of burger you want to share and make your own over and over.
Why You’ll Love This Crispy Dad’s Cast-Iron Smash Burger Recipe
After making this recipe a dozen times (not exaggerating), I can say it ticks all the boxes for burger lovers and home cooks alike. Here’s why this recipe stands out:
- Quick & Easy: From patty to plate in under 20 minutes — perfect for busy weeknights or those sudden burger cravings.
- Simple Ingredients: No need for fancy or hard-to-find items. Just ground beef, American cheese, buns, and a few pantry staples.
- Perfect for Casual Gatherings: Whether it’s a laid-back weekend cookout or a family dinner, this burger never disappoints.
- Crowd-Pleaser: Kids and adults alike give it rave reviews — that crispy edge and melty cheese combo is hard to beat.
- Unbelievably Delicious: The cast-iron skillet creates a crusty, flavorful exterior, locking in juicy goodness inside.
What makes this recipe different? It’s the smashing technique combined with the cast-iron’s heat retention. Pressing the patty flat ensures maximum surface area for browning, while the skillet’s even heat gives you that signature crust. Plus, using classic American cheese creates a nostalgic, creamy melt that’s just right—not too sharp, not too mild.
This burger isn’t just food; it’s a little moment of indulgence that’s easy to cook and even easier to enjoy. It’s like that perfect mix of comfort and simplicity you crave after a long day, or when you want to impress without stress. And if you’re curious about pairing it with something creamy on the side, the hidden veggie mac and cheese is an unbeatable combo.
What Ingredients You Will Need
This recipe uses straightforward, wholesome ingredients to deliver that bold, crispy flavor and juicy texture without fuss. Most are pantry staples, making this easy to whip up anytime.
- Ground Beef (80/20 blend): About 1 pound (450g) for 2-3 burgers. The fat content is key for juicy patties and great crust.
- American Cheese Slices: 2-3 slices. Classic choice for meltability and that nostalgic creaminess.
- Burger Buns: Soft, sturdy buns like potato rolls or brioche work best to hold everything together without sogging.
- Salt and Pepper: Simple seasoning that enhances beef flavor. Use kosher salt if you can for better control.
- Vegetable Oil or High-Smoke Point Oil: For the skillet—helps get that perfect sear without burning.
- Optional Toppings: Thinly sliced onions, dill pickle slices, shredded lettuce, and tomato slices. Nothing fancy, just fresh.
- Butter: For toasting buns in the skillet—adds richness and crunch.
Ingredient tips: Look for freshly ground beef from a trusted butcher or brand like Pat LaFrieda for quality and flavor. If you’re gluten-free, swap standard buns for your favorite gluten-free versions. For a dairy-free twist, try a melty vegan cheese in place of American.
Equipment Needed
- Cast Iron Skillet (10-12 inches): The star of the show. Its heat retention is what makes the crust perfect. If you don’t have cast iron, a heavy stainless steel pan can work, but results may vary.
- Spatula or Burger Press: A sturdy metal spatula to smash the patties flat. A burger press isn’t necessary but handy if you want uniform thickness.
- Tongs: For flipping buns and handling patties with care.
- Kitchen Thermometer (optional): Useful for checking doneness if you’re picky about burger temperature.
- Paper Towels: To blot excess grease after cooking if desired.
Personally, I’ve used everything from a vintage Lodge skillet to a budget-friendly Lodge pre-seasoned pan. Both work great—just make sure you preheat properly. Also, avoid plastic spatulas here; a metal one helps scrape up that delicious crust without melting.
Preparation Method

- Preheat your cast iron skillet: Place the skillet over medium-high heat and let it warm up for about 5 minutes. You want it hot enough to hear a loud sizzle when the beef hits the pan.
- Divide and shape the beef: Take 1 pound (450g) of ground beef and divide into 3 equal balls (~5 oz or 140g each). Don’t overwork the meat; keep it loose for better texture.
- Oil the skillet lightly: Add about 1 teaspoon of vegetable oil to the pan and swirl to coat.
- Smash the patties: Place one beef ball in the skillet and immediately press down firmly with your spatula until it’s about ¼ inch (6mm) thick. Hold the pressure for 10-15 seconds. You want a thin, even patty with crispy edges.
- Season: Sprinkle salt and pepper generously on the exposed side of the patty.
- Cook the first side: Let the patty cook undisturbed for 2-3 minutes. You’ll see the edges brown and crisp up nicely.
- Flip carefully: Use the spatula to scrape under the patty and flip it over. Season the new side with salt and pepper.
- Add cheese: Immediately place 1 slice of American cheese on the patty. Cover the skillet with a lid or foil to help the cheese melt evenly. Cook another 1-2 minutes.
- Toast the buns: While the cheese melts, butter the buns lightly and toast them cut-side down in the same skillet until golden and crisp (about 1 minute).
- Assemble and serve: Remove patties and buns from the skillet. Stack the burger with your favorite toppings like pickles, onions, lettuce, and tomato. Serve immediately to enjoy that crispy, melty goodness.
Pro tip: Don’t press the burger down after flipping; that squeezes out juices and dries it out. Also, avoid overcrowding the pan to keep the heat high and crust perfect.
Cooking Tips & Techniques for the Perfect Smash Burger
Making the perfect crispy smash burger is all about timing and technique. Here’s what I’ve learned by trial, error, and a lot of hungry tasting:
- Use cold beef: Keep ground beef chilled until just before cooking. This helps maintain juiciness and prevents the fat from melting too soon.
- Don’t over-handle the meat: Overworking patties leads to tough burgers. Lightly shape and smash instead.
- Press firmly and quickly: Smash the ball immediately after placing it in the skillet to maximize browning.
- Listen for the sizzle: That’s your cue the skillet is hot enough. If it’s not sizzling, you won’t get a crispy crust.
- Flip once: Resist flipping multiple times. One flip preserves juices and texture.
- Use a lid when melting cheese: It creates steam that melts cheese evenly without overcooking the patty.
- Toast buns in the same pan: It adds flavor and texture, plus you save on dishes.
One thing I messed up early on was trying to smash too thin or too thick. Too thin and it dries out; too thick and you miss that crispy edge. About ¼ inch is the sweet spot. Also, if you want a little smoky char without a grill, try finishing the burger under a broiler for 30 seconds after cheese melts.
Variations & Adaptations for Your Smash Burger
This recipe is flexible and easy to tweak to your tastes or dietary needs. Here are some ideas I’ve tried or want to try:
- Cheese swap: Try sharp cheddar or pepper jack for a flavor kick, or provolone for a milder melt.
- Seasoning boost: Add garlic powder, smoked paprika, or cayenne pepper to the beef for extra depth.
- Gluten-free option: Use gluten-free buns or lettuce wraps instead of traditional buns.
- Double stack: For hungry eaters, stack two smashed patties with cheese in between for a juicy, thick burger.
- Plant-based: Use a plant-based ground “beef” substitute and vegan cheese for a meatless version.
Once, I swapped the American cheese for a smoky gouda and added caramelized onions. It turned out richer and a bit fancy but still kept the crispy vibe. Also, if you want to try cooking this outdoors, a Blackstone griddle works wonders and pairs great with the crispy smash potatoes mentioned earlier.
Serving & Storage Suggestions
Serve these crispy smash burgers hot and fresh with your favorite sides for maximum enjoyment. The contrast of warm, crispy edges and melty cheese with fresh toppings is what makes this recipe a winner.
- Serving temperature: Best hot off the skillet to keep the crust crisp and cheese gooey.
- Side pairings: Classic fries or the crispy Blackstone griddle smash potatoes are perfect. For a lighter side, a fresh cucumber cream cheese dill tea sandwich (try this recipe) balances the meal well.
- Storage: Leftover patties keep well in the fridge for up to 2 days. Store separately from buns to avoid sogginess.
- Reheating: Reheat patties in a hot skillet for a minute or two to restore crust. Toast buns separately for freshness.
- Flavor development: While burgers are best fresh, resting the cooked patties for a minute before assembling lets juices settle for a juicier bite.
Nutritional Information & Benefits
Estimated per serving (1 burger with cheese and bun): approximately 550 calories, 35g protein, 30g fat, and 40g carbohydrates.
The beef provides a good source of high-quality protein and essential nutrients like iron and B vitamins. Using American cheese adds calcium and a creamy texture without overpowering the flavor.
For those watching carbs, swapping the bun for lettuce wraps lowers the carb count drastically. This recipe is naturally gluten-free if you pick the right buns or alternatives.
Personally, it’s a balanced treat I enjoy knowing I can pair it with healthy sides or easy homemade options like the crispy chicken and sweet potato bowls on days when I want to keep things light yet satisfying.
Conclusion
This Crispy Dad’s Cast-Iron Smash Burger with American Cheese is exactly the kind of recipe that makes you rethink what a homemade burger can be. No frills, just that perfect combination of crispy, juicy, and melty that hits all the right notes every single time.
Feel free to tweak it—add your favorite toppings, swap cheeses, or go bun-less. That’s the fun part about a recipe this simple and solid. It’s your go-to for a quick fix that impresses, comforts, and satisfies in equal measure.
Thanks for sticking with me through this burger story. I’m betting once you try it, it’ll become one of your favorites too.
FAQs About Crispy Dad’s Cast-Iron Smash Burger
What’s the best ground beef to use for smash burgers?
Choose an 80/20 blend (80% lean, 20% fat) for the best balance of juiciness and flavor. The fat helps create a crisp crust and keeps the patty moist.
Can I use a non-cast iron skillet?
Yes, but cast iron is preferred because it holds heat evenly and creates the best crust. If using stainless steel, make sure it’s preheated well and use a bit more oil.
How thin should I smash the patties?
About ¼ inch (6mm) thick is ideal. Too thin and they dry out; too thick and you miss the crispy edges.
Why American cheese?
American cheese melts perfectly and has a creamy, mild flavor that complements the crispy burger without overpowering it.
Can I make these ahead of time?
You can shape the beef balls ahead and refrigerate for up to a day. Cook just before serving for best texture and flavor.
Pin This Recipe!
Crispy Dad’s Cast-Iron Smash Burger Recipe Perfect for Easy Homemade American Cheese Burgers

A quick and easy smash burger recipe using a cast iron skillet to achieve a crispy crust and juicy interior, topped with melty American cheese. Perfect for casual gatherings and nostalgic comfort food lovers.
- Prep Time: 5 minutes
- Cook Time: 10-15 minutes
- Total Time: 15-20 minutes
- Yield: 3 burgers 1x
- Category: Main Course
- Cuisine: American
Ingredients
- 1 pound (450g) ground beef (80/20 blend)
- 2–3 slices American cheese
- Burger buns (potato rolls or brioche recommended)
- Salt and pepper (kosher salt preferred)
- 1 teaspoon vegetable oil or high-smoke point oil
- Butter (for toasting buns)
- Optional toppings: thinly sliced onions, dill pickle slices, shredded lettuce, tomato slices
Instructions
- Preheat your cast iron skillet over medium-high heat for about 5 minutes until hot enough to sizzle.
- Divide 1 pound of ground beef into 3 equal balls (~5 oz or 140g each), keeping the meat loose.
- Lightly oil the skillet with about 1 teaspoon of vegetable oil and swirl to coat.
- Place one beef ball in the skillet and immediately press down firmly with a spatula until about 1/4 inch (6mm) thick. Hold pressure for 10-15 seconds.
- Season the exposed side of the patty generously with salt and pepper.
- Cook the first side undisturbed for 2-3 minutes until edges brown and crisp.
- Flip the patty carefully using a spatula, season the new side with salt and pepper.
- Place 1 slice of American cheese on the patty and cover the skillet with a lid or foil to melt the cheese for 1-2 minutes.
- While cheese melts, butter the buns lightly and toast cut-side down in the same skillet until golden and crisp, about 1 minute.
- Remove patties and buns from skillet, assemble burgers with desired toppings, and serve immediately.
Notes
Use cold ground beef and do not overwork the meat to keep patties juicy. Press firmly and quickly to maximize browning. Flip only once and avoid pressing down after flipping to retain juices. Use a lid to melt cheese evenly. Toast buns in the same pan for added flavor. For gluten-free, use gluten-free buns or lettuce wraps. For dairy-free, substitute American cheese with vegan cheese.
Nutrition
- Serving Size: 1 burger with cheese
- Calories: 550
- Sugar: 5
- Sodium: 700
- Fat: 30
- Saturated Fat: 12
- Carbohydrates: 40
- Fiber: 2
- Protein: 35
Keywords: smash burger, cast iron skillet, American cheese burger, crispy burger, easy burger recipe, homemade burger


