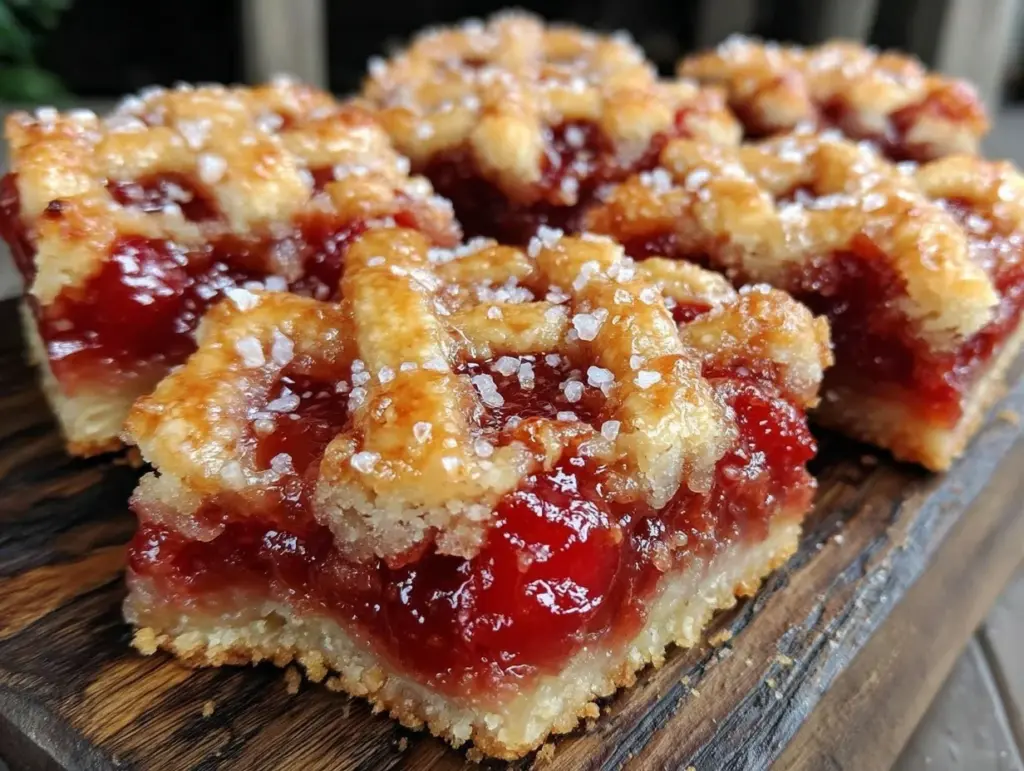
“You just *have* to try this cherry bar,” my neighbor insisted one afternoon, sliding a neatly wrapped square across the fence. I was skeptical at first—homemade cherry desserts often teeter between cloyingly sweet and oddly bland in my experience. But this? This was something else. The perfect balance of tart cherry filling hugged by buttery, crumbly lattice topping had me hooked before I could even finish my second bite.
Honestly, it started as a kind of accident—or more precisely, a “what if I tried this?” moment. I had leftover pie crust dough from making a batch of mini tarts and a jar of cherry pie filling I’d grabbed on sale. Combining the two in a pan with a quick crumble topping felt like a lazy shortcut, but it turned into the kind of treat that gets requested again and again. This recipe for classic cherry pie bars with an irresistible lattice crumble topping is now my go-to when I want something nostalgic but fuss-free. No delicate rolling or perfect pie assembly—just sweet, tart, buttery, and cozy all baked into neat little squares.
What really sold me was the texture contrast—the crispness of the buttery crust, the soft, jammy cherries, and the crunchy crumble lattice on top. It reminds me a little of the flaky perfection in a lemon blueberry pound cake I adore, but with that homey fruit pie vibe you just can’t beat. And you know, it’s the kind of recipe that’s just as good for a laid-back afternoon snack as it is for unexpected guests dropping by.
There’s something quietly satisfying about pulling a pan of these bars from the oven, the kitchen smelling like cherry pie but without hours of work. They’ve stuck with me because they’re simple, sweet, and downright reliable. If you’re after a homemade baked good that feels like a warm hug, this cherry pie bar recipe might just become your new favorite.
Why You’ll Love This Recipe
After making these classic cherry pie bars with irresistible lattice crumble topping more times than I can count, I’ve come to appreciate what makes them so special. They’re not just another cherry dessert—they’re a sweet slice of easy-to-make comfort food with a twist.
- Quick & Easy: The whole recipe takes about 45 minutes from start to finish, perfect for busy afternoons or when you want a dessert without the stress.
- Simple Ingredients: You don’t need anything fancy—just pantry staples and a can of cherry pie filling (or fresh cherries if you prefer).
- Perfect for Any Occasion: Whether it’s a casual brunch or a potluck, these bars fit right in with their classic yet unique lattice crumble look.
- Crowd-Pleaser: Kids love the sweet cherry filling, and adults appreciate the buttery, crumbly texture. It always sparks compliments and requests for seconds.
- Unbelievably Delicious: The combo of buttery crust, tart cherries, and crunchy crumble topping creates a flavor and texture harmony that’s hard to beat.
This isn’t just another cherry bar recipe. The lattice crumble topping adds rustic charm and a satisfyingly crunchy bite you won’t find in many versions. Plus, I’ve found using real butter instead of shortening gives the crust a flaky richness that’s absolutely worth the slight extra effort. It’s that little detail that turns a simple bar into something memorable.
Honestly, this recipe feels like a gentle nod to tradition with a modern, easy twist. You’ll find yourself closing your eyes after the first bite, savoring that sweet-tart burst of cherry balanced by the comforting buttery crumble. And hey, if you’re into quick homemade desserts, you might also enjoy the creamy strawberry cheesecake trifle bowl I often make for gatherings.
What Ingredients You Will Need
This recipe uses simple, wholesome ingredients to deliver bold cherry flavor and a satisfying crumbly texture without any fuss. Most of these are pantry staples, and you can easily swap or adjust a few based on what you have on hand.
- For the Crust & Crumble:
- All-purpose flour (2 ½ cups / 315 grams) – forms the buttery base and crumble topping
- Granulated sugar (¾ cup / 150 grams) – adds sweetness and helps with browning
- Salt (½ teaspoon) – balances and enhances flavor
- Unsalted butter (1 cup / 226 grams), cold and cubed – the star of a flaky, rich crust (I prefer using European-style butter like Kerrygold for best flavor)
- Vanilla extract (1 teaspoon) – adds warmth and depth
- For the Cherry Filling:
- Cherry pie filling (24 oz / 680 grams) – canned is fine, but fresh or frozen cherries cooked down with sugar and a little cornstarch work beautifully too
- Fresh lemon juice (1 tablespoon) – brightens the cherry flavor
- Cornstarch (1 tablespoon) – thickens the filling, especially important if using fresh cherries
- Ground cinnamon (¼ teaspoon, optional) – adds a subtle warmth and complexity
If you want to make this gluten-free, swapping in a 1-to-1 gluten-free flour blend works well for the crust. For a dairy-free version, use chilled coconut oil or a vegan butter alternative, though the texture might be a little different. I’ve tried almond flour crusts for a twist, but the classic all-purpose flour version gives the best crumble and structure.
Equipment Needed
- 9×13 inch (23×33 cm) baking pan – standard size for these bars; a glass or metal pan works fine
- Mixing bowls – one large for dough, one medium for filling prep
- Pastry cutter or fork – to cut butter into flour for the crumble topping; a food processor can speed this up
- Measuring cups and spoons – for precise ingredient amounts
- Rubber spatula – handy for folding ingredients and scraping bowls
- Wire rack – for cooling the bars evenly
Personally, I like using a pastry cutter over a food processor because it gives a more controlled, crumbly texture, but if you’re in a hurry, a quick pulse in the processor works too. A rimmed baking sheet underneath the pan can help catch any drips if your filling bubbles over. And if you don’t have a 9×13 pan, a similarly sized square pan will do, just keep an eye on baking time.
Preparation Method
- Preheat the oven to 350°F (175°C). Lightly grease your 9×13 inch baking pan or line it with parchment paper, leaving some overhang for easy removal later.
- Prepare the crust and crumble base: In a large bowl, whisk together 2 ½ cups (315 g) all-purpose flour, ¾ cup (150 g) granulated sugar, and ½ teaspoon salt. Add 1 cup (226 g) cold, cubed unsalted butter. Using a pastry cutter or your fingertips, cut the butter into the dry ingredients until the mixture resembles coarse crumbs with some pea-sized pieces. Stir in 1 teaspoon vanilla extract.
- Reserve 1 ½ cups of the crumble mixture for the topping. Press the remaining crumble evenly into the bottom of the prepared pan using your fingers or the back of a measuring cup. Aim for a firm, even layer. Bake this crust alone for about 15 minutes until it’s just starting to turn golden around the edges.
- While the crust bakes, prepare the cherry filling: In a medium bowl, stir together 24 oz (680 g) cherry pie filling, 1 tablespoon fresh lemon juice, 1 tablespoon cornstarch, and ¼ teaspoon ground cinnamon (if using). Mix until well combined. This step is key to making sure the filling thickens nicely and doesn’t runny out when baking.
- Remove crust from oven: It will look set but not fully browned. Spread the cherry filling evenly over the warm crust layer.
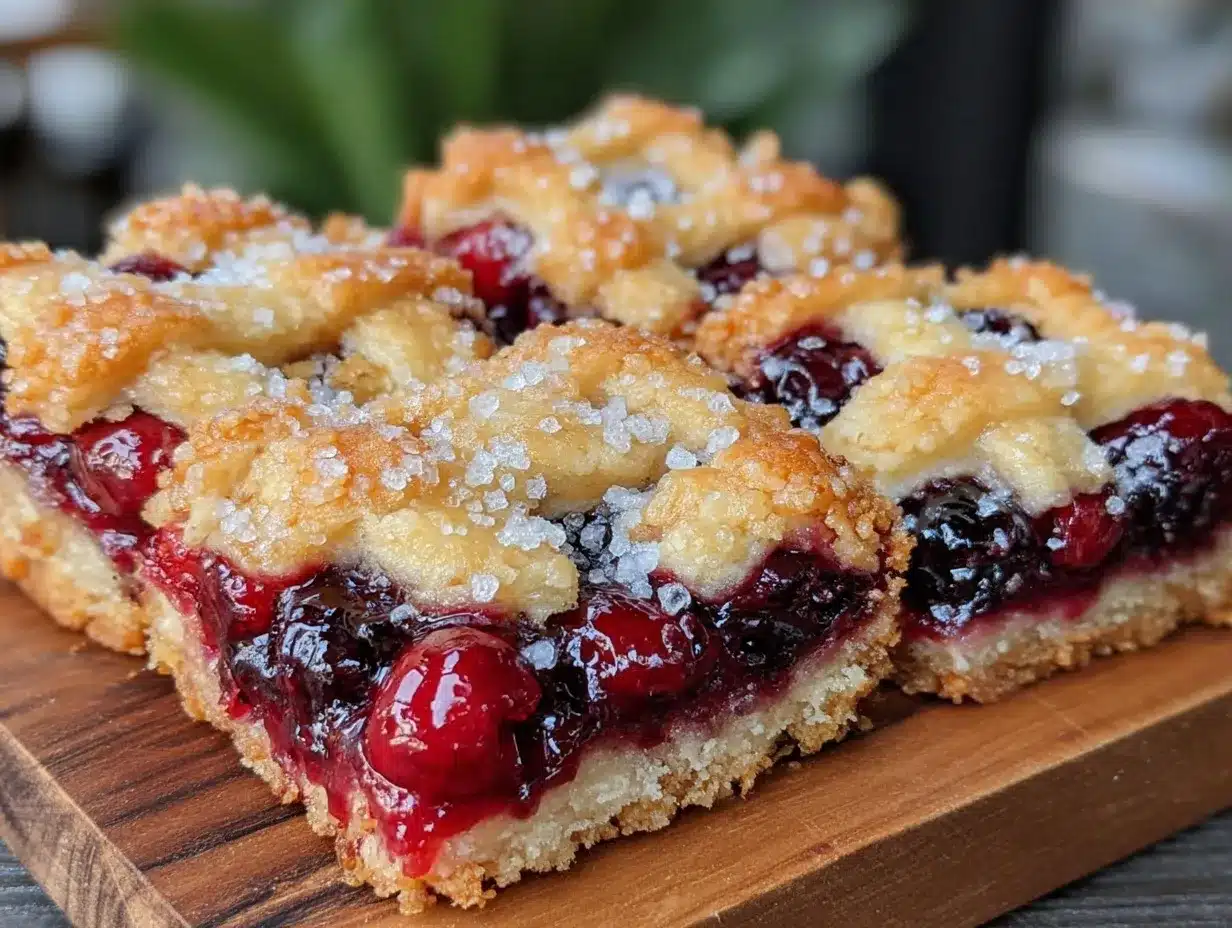
- Create the lattice crumble topping: Take the reserved crumble mixture and gently sprinkle it over the cherry filling. You want a rustic, uneven lattice effect—not a solid layer—so the cherries peek through here and there.
- Bake the assembled bars: Return the pan to the oven and bake for 35-40 minutes, or until the topping is golden brown and the cherry filling is bubbling around the edges. The smell at this point is pure magic—like a cozy summer pie in bar form.
- Cool completely: Let the bars cool on a wire rack for at least 2 hours (preferably longer) to allow the filling to set properly. This step is crucial for clean, neat slices.
- Slice and serve: Use a sharp knife and wipe it clean between cuts for best results. These bars are perfect on their own or with a scoop of vanilla ice cream or whipped cream.
Pro tip: If your crumble topping browns too quickly, tent the pan loosely with foil halfway through baking to prevent burning. Also, I’ve found that letting these bars chill overnight really lets the flavors meld beautifully.
Cooking Tips & Techniques
Making cherry pie bars with a lattice crumble topping might sound fancy, but it’s really about getting a few simple techniques right to achieve that perfect texture and flavor combo.
- Cold Butter Is Key: Keep your butter chilled until right before mixing. Warm butter leads to a greasy, dense crust rather than a crumbly, tender one.
- Don’t Overmix: When cutting the butter into the flour, stop as soon as you have coarse crumbs with some pea-sized pieces. Overmixing develops the flour’s gluten, making the crust tougher.
- Prebake the Crust: This step prevents the bottom from getting soggy once the cherry filling goes on. You want it just lightly golden and set, not fully baked.
- Thicken the Filling: Adding cornstarch and lemon juice helps the cherry filling set and balances the sweetness with a slight tang.
- Lattice Crumble Technique: Instead of rolling out dough strips like a traditional lattice, sprinkling the crumble mixture unevenly creates a charming, rustic top with more crunch.
- Cooling Is Crucial: Don’t rush cutting these bars. Cooling allows the filling to firm up, making neat slices easier and less messy.
I once skipped the cooling step because I was impatient, and let’s just say the cherry filling oozed everywhere—lesson learned! Also, if you want to speed things up a bit on a busy day, try multitasking by prepping the filling while the crust bakes. Speaking of quick meals, if you love homemade recipes that come together easily, you might appreciate the easy crispy chicken and sweet potato sheet pan bowls I often make for hectic evenings.
Variations & Adaptations
This cherry pie bar recipe is versatile and easy to tweak, making it a great base for all sorts of adaptations.
- Seasonal Fruit Swap: Try swapping cherries for blueberries, raspberries, or even a mix of fresh peaches and strawberries during summer. Just adjust the cornstarch if your fruit is very juicy.
- Gluten-Free Version: Use a 1-to-1 gluten-free flour blend in place of all-purpose flour. The bars will be a bit more delicate but still delicious.
- Dairy-Free Alternative: Replace butter with chilled coconut oil or a plant-based vegan butter for a dairy-free crumble topping. The texture changes slightly but still tasty!
- Nutty Crunch: Add ½ cup chopped walnuts or pecans to the crumble topping for some extra texture and flavor.
- Less Sweet Option: Reduce sugar in the crust and crumble to ½ cup (100 g) if you prefer a less sweet dessert, especially if your cherry filling is very sweet.
I once tried a version with a hint of almond extract in the crust and it paired beautifully with the cherry filling, giving it a subtle nutty undertone. If you’re interested in more fruit bar recipes with a twist, the cozy mulberry cobbler might be another favorite to try.
Serving & Storage Suggestions
These classic cherry pie bars are best served at room temperature or slightly warmed. I like to pop a few squares in the microwave for 10-15 seconds to bring out that fresh-baked aroma and soften the crumble topping just a touch.
They’re wonderful on their own, but for a special treat, serve with a scoop of vanilla ice cream or a dollop of homemade whipped cream. A light dusting of powdered sugar adds a pretty finishing touch for presentation.
To store, keep the bars in an airtight container at room temperature for up to 2 days. For longer storage, refrigerate for up to 5 days or freeze for up to 3 months. When freezing, wrap tightly in plastic wrap and foil to prevent freezer burn.
Reheat frozen bars gently in a 325°F (160°C) oven for 10-15 minutes or until warmed through, to preserve that crisp crumble texture. Flavors often deepen after a day, making leftovers even better. If you enjoy easy homemade desserts, you might also appreciate the convenience of the easy no-bake chocolate peanut butter oat bars for quick sweet snacks.
Nutritional Information & Benefits
Each serving (about one bar if cut into 12 squares) contains approximately:
| Calories | 280 |
|---|---|
| Fat | 14g |
| Carbohydrates | 36g |
| Fiber | 2g |
| Sugar | 20g |
| Protein | 2g |
The cherries contribute antioxidants and vitamin C, while the butter provides fat-soluble vitamins and richness. Using fresh lemon juice adds a touch of vitamin C and brightness to the flavor. This recipe is naturally gluten-containing but can be modified with gluten-free flour for those with sensitivities. It’s an indulgent treat but also a way to enjoy fruit in a satisfying, homemade form.
From a wellness perspective, I like that this recipe uses simple, recognizable ingredients and lets the natural tartness of cherries shine through without relying on artificial flavors. It’s a nice balance of sweet and wholesome that feels just right for occasional homemade treats.
Conclusion
These classic cherry pie bars with irresistible lattice crumble topping really hit the sweet spot between simple and special. They bring that familiar cherry pie joy in an easy bar form that’s perfect for snacking, sharing, or gifting. The buttery crust, tart cherry filling, and crunchy topping come together to create a dessert that feels both nostalgic and fresh.
Feel free to make the recipe your own—adjust the sweetness, swap in your favorite fruits, or add a sprinkle of nuts. It’s a flexible, forgiving recipe that invites creativity while delivering consistent, delicious results.
Personally, I love how these bars make my kitchen smell like a cozy bakery and how easy they are to slice up for a crowd or pack in lunchboxes. If you try them, I’d love to hear how you made them yours—drop a comment or share your favorite twist!
Here’s to simple, homemade sweetness that feels like coming home.
FAQs
Can I use fresh cherries instead of canned pie filling?
Yes! Use about 4 cups of fresh pitted cherries cooked with sugar, lemon juice, and cornstarch until thickened. This makes the filling less sweet and more natural tasting.
How do I get a crisp crumble topping instead of soggy?
Using cold butter and not overmixing helps create a crumbly texture. Also, prebaking the crust and sprinkling the topping evenly ensures it crisps nicely.
Can I make these bars ahead of time?
Absolutely! They keep well at room temperature for 2 days, refrigerated for up to 5 days, and freeze beautifully for up to 3 months.
What’s the best way to slice these bars cleanly?
Let them cool completely, ideally overnight in the fridge, then use a sharp knife wiped clean between cuts for neat slices.
Are these bars suitable for gluten-free diets?
Yes, by substituting a 1-to-1 gluten-free flour blend for the all-purpose flour, you can make gluten-free cherry bars with great results.
Pin This Recipe!
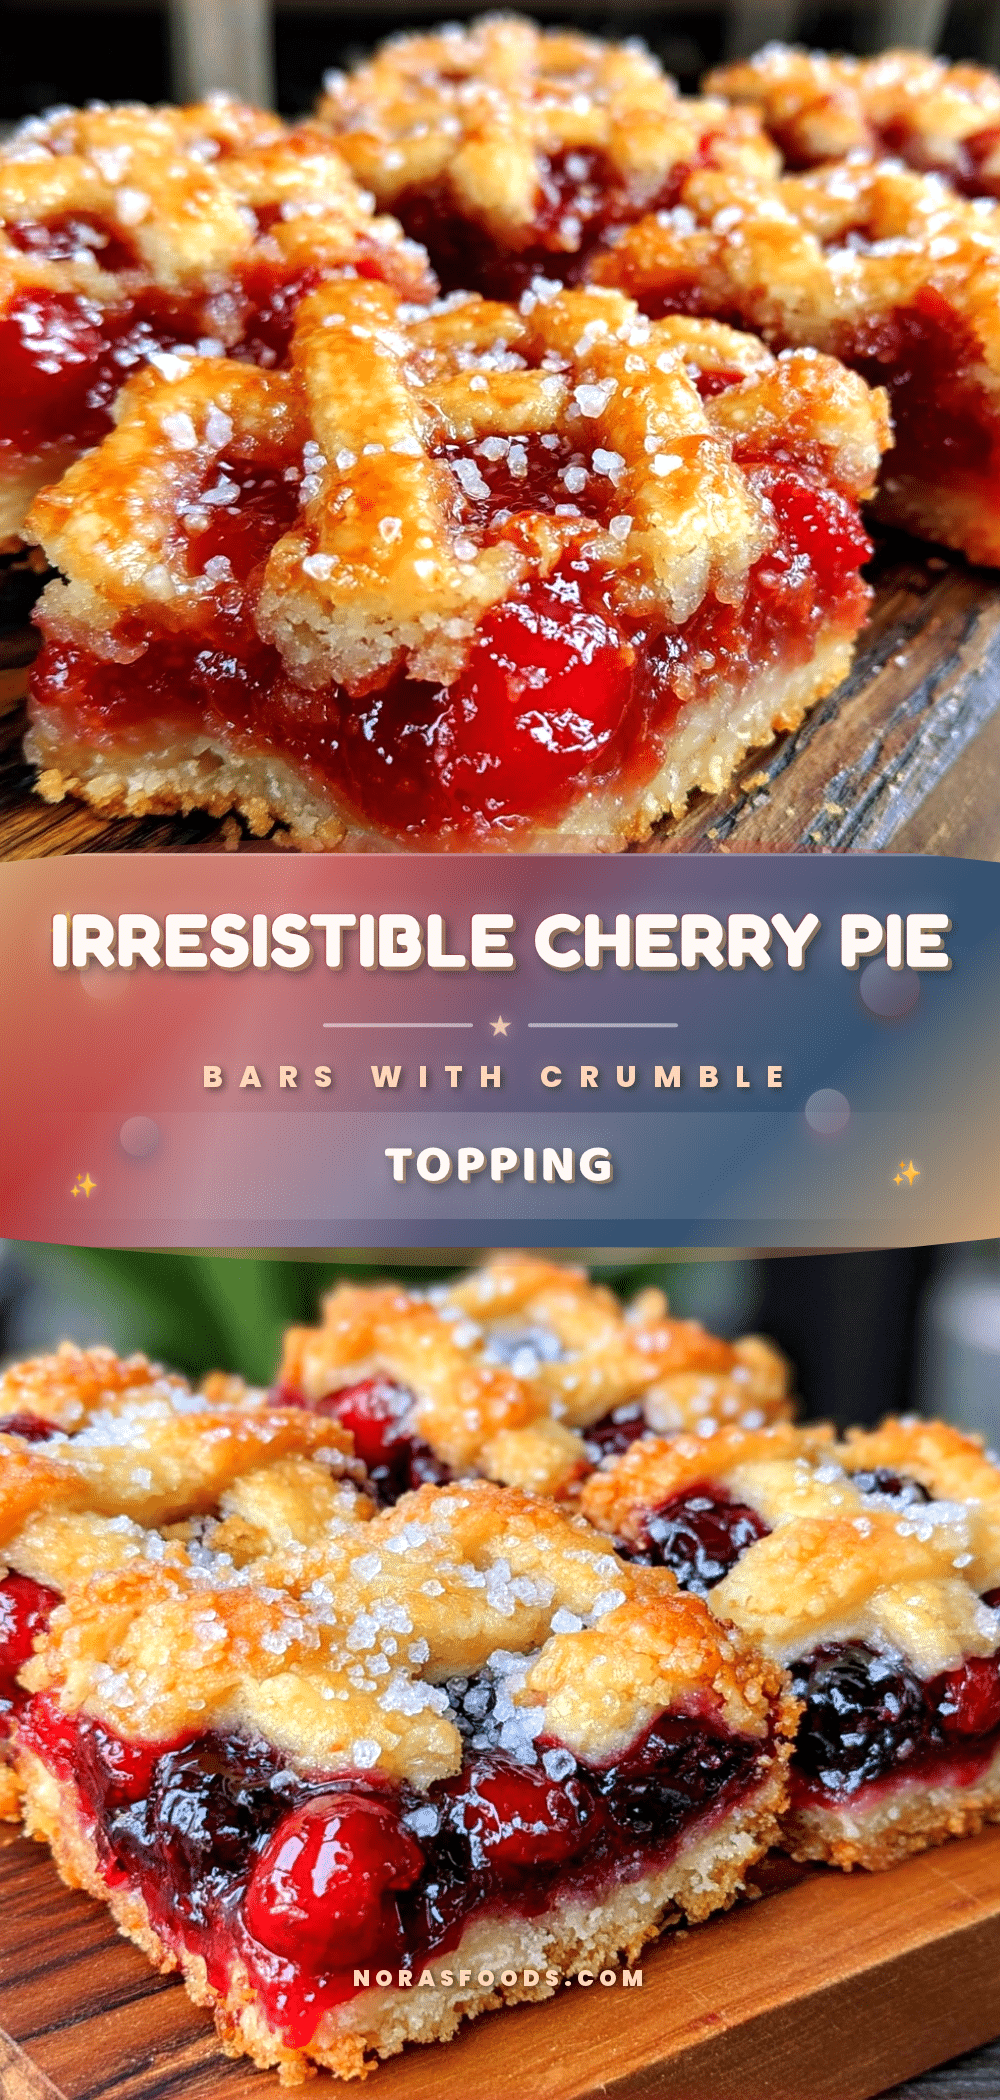
Classic Cherry Pie Bars Recipe Easy Homemade Lattice Crumble Bars
These classic cherry pie bars feature a buttery, crumbly lattice topping with a tart cherry filling, offering a nostalgic yet easy-to-make dessert perfect for any occasion.
- Prep Time: 15 minutes
- Cook Time: 50 minutes
- Total Time: 1 hour 5 minutes
- Yield: 12 servings 1x
- Category: Dessert
- Cuisine: American
Ingredients
- 2 ½ cups (315 grams) all-purpose flour
- ¾ cup (150 grams) granulated sugar
- ½ teaspoon salt
- 1 cup (226 grams) cold unsalted butter, cubed
- 1 teaspoon vanilla extract
- 24 oz (680 grams) cherry pie filling
- 1 tablespoon fresh lemon juice
- 1 tablespoon cornstarch
- ¼ teaspoon ground cinnamon (optional)
Instructions
- Preheat the oven to 350°F (175°C). Lightly grease a 9×13 inch baking pan or line it with parchment paper, leaving some overhang for easy removal.
- In a large bowl, whisk together flour, sugar, and salt. Add cold, cubed butter and cut into the dry ingredients using a pastry cutter or fingertips until mixture resembles coarse crumbs with some pea-sized pieces. Stir in vanilla extract.
- Reserve 1 ½ cups of the crumble mixture for the topping. Press the remaining crumble evenly into the bottom of the prepared pan to form a firm, even layer.
- Bake the crust alone for about 15 minutes until it starts to turn golden around the edges.
- While the crust bakes, prepare the cherry filling by mixing cherry pie filling, lemon juice, cornstarch, and cinnamon (if using) in a medium bowl until well combined.
- Remove crust from oven and spread the cherry filling evenly over the warm crust layer.
- Sprinkle the reserved crumble mixture unevenly over the cherry filling to create a rustic lattice effect.
- Return the pan to the oven and bake for 35-40 minutes, or until the topping is golden brown and the filling is bubbling around the edges.
- Cool the bars completely on a wire rack for at least 2 hours to allow the filling to set properly.
- Slice into bars using a sharp knife, wiping the knife clean between cuts. Serve as is or with vanilla ice cream or whipped cream.
Notes
Use cold butter to ensure a crumbly, tender crust. Prebake the crust to prevent sogginess. Let bars cool completely before slicing for clean cuts. Tent with foil if topping browns too quickly. Bars can be stored at room temperature for 2 days, refrigerated for 5 days, or frozen for 3 months.
Nutrition
- Serving Size: 1 bar (if cut into 1
- Calories: 280
- Sugar: 20
- Fat: 14
- Carbohydrates: 36
- Fiber: 2
- Protein: 2
Keywords: cherry pie bars, cherry bars, lattice crumble topping, easy cherry dessert, homemade cherry bars, cherry pie filling, crumbly crust, quick dessert


