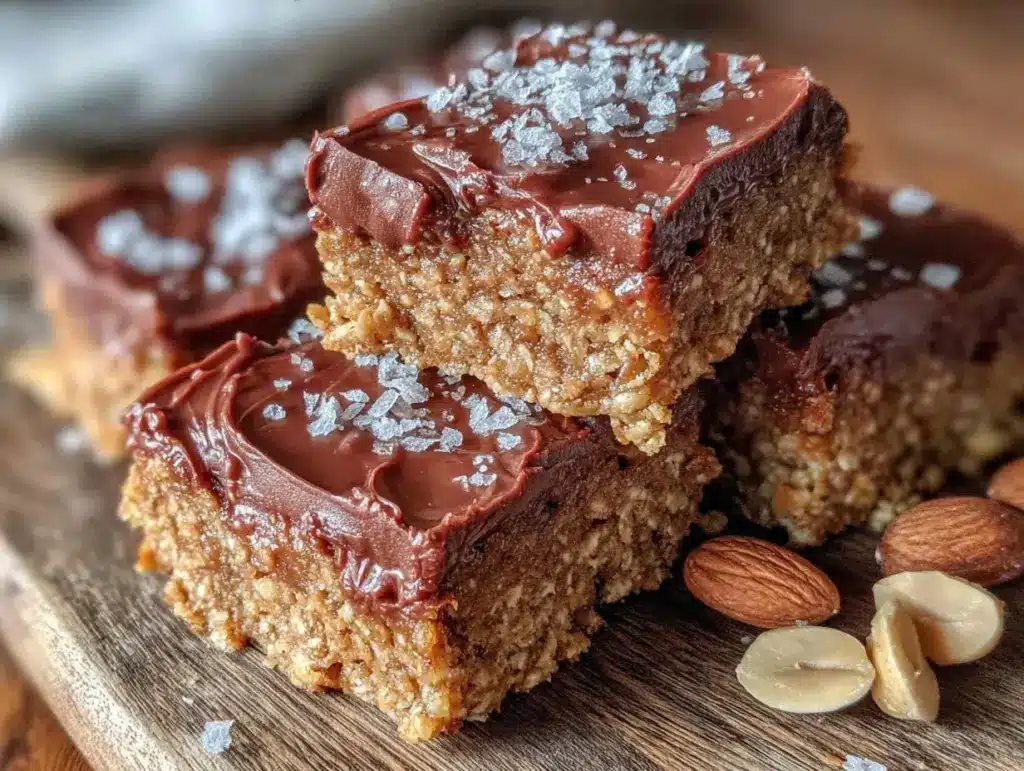
“You sure these bars don’t need baking?” my roommate asked, eyeing the bowl of sticky, chocolate-peanut butter goodness I was mixing up one late Sunday afternoon. Honestly, I was half-expecting them to fall apart, but after the first bite, I was hooked. These Easy No-Bake Chocolate Peanut Butter Oat Bars started as a quick fix when my usual afternoon snack stash ran dry and the thought of firing up the oven felt like too much. Turns out, skipping the oven doesn’t skip the flavor or the satisfaction.
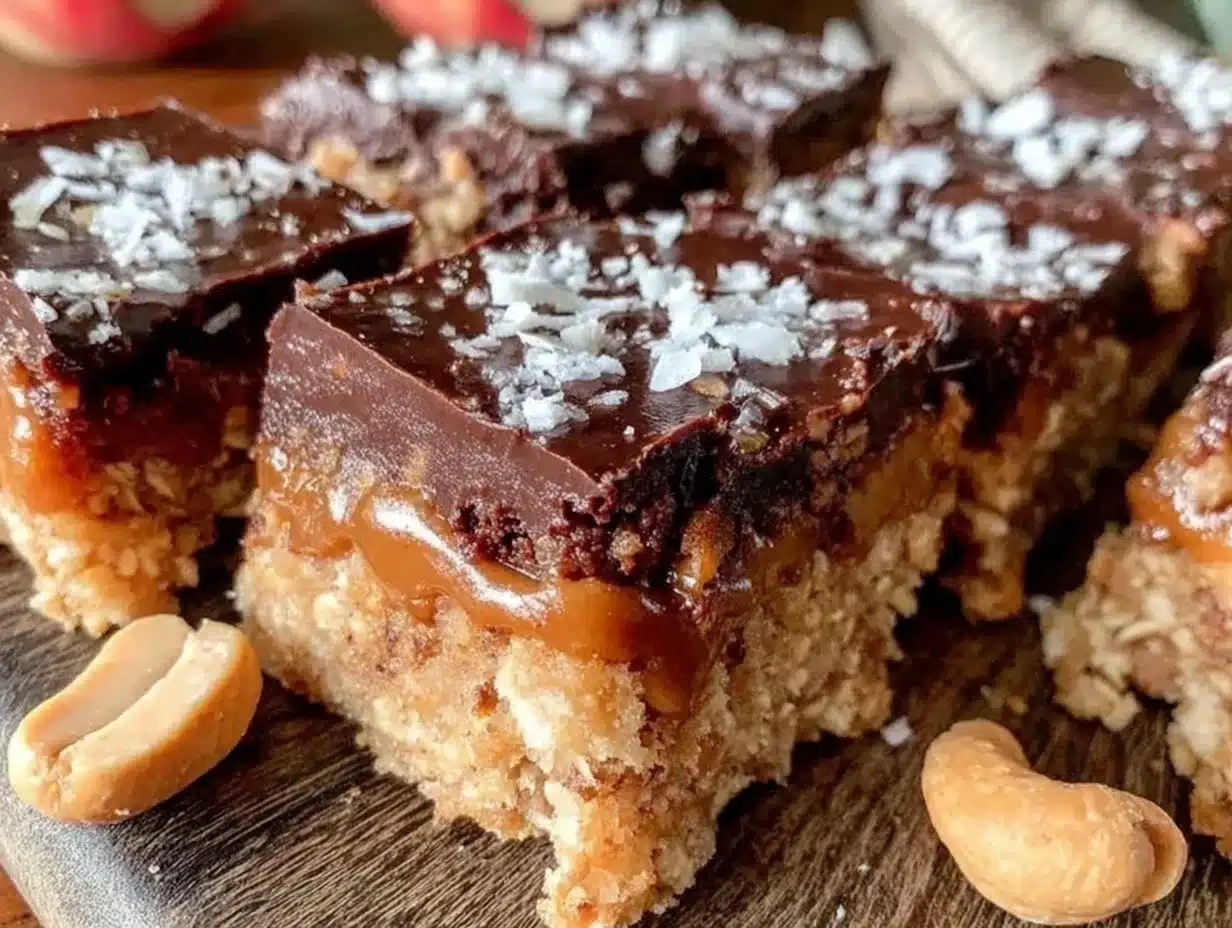
There’s something about the way the rich chocolate blends with creamy peanut butter and hearty oats that makes these bars feel like a small celebration in every bite. I remember sitting on my couch, a little skeptical, waiting for them to firm up in the fridge. When I finally took a bite, that perfect chewy edge with a hint of crunch surprised me. Since that accidental win, these bars have been a constant companion during busy mornings, quick lunch breaks, and even as a post-workout treat. They’re the kind of snack that feels homemade and thoughtful, yet comes together faster than you’d expect.
What really got me was how forgiving the recipe is — a little more peanut butter here, a handful of extra oats there — and it still turns out delicious every time. No fancy gadgets, no complicated steps, just honest ingredients and a little patience in the fridge. If you’ve ever found yourself staring blankly into an empty pantry wishing for a quick pick-me-up, this recipe is your new best friend. It’s simple, satisfying, and honestly, a bit addictive.
These bars have quietly claimed a spot in my routine, and I have a feeling they will in yours too. There’s no fuss, no mess, just the kind of snack that feels like a small reward in the middle of a hectic day. Let’s get into why these bars are a must-try and what makes them stand out.
Why You’ll Love This Recipe
After making these Easy No-Bake Chocolate Peanut Butter Oat Bars more times than I can count, I’ve learned a thing or two about what makes them a snack standout. They’re not just another no-bake recipe thrown together — they have real staying power and flavor balance that keeps you coming back.
- Quick & Easy: Ready in under 15 minutes plus chilling time, perfect for busy afternoons or last-minute snack cravings.
- Simple Ingredients: No need for specialty stores; the pantry staples like oats, peanut butter, and cocoa powder are probably already in your kitchen.
- Perfect for Anytime Snacking: Ideal for school lunches, office treats, or even a quick energy boost before hitting the gym.
- Crowd-Pleaser: I’ve brought these bars to potlucks and casual gatherings — they vanish fast, and everyone asks for the recipe.
- Unbelievably Delicious: The texture is just right — chewy, slightly crunchy, with that irresistible chocolate-peanut butter combo.
What really sets this recipe apart is the balance of flavors and textures, plus the no-bake method that’s actually reliable. I’ve tried other no-bake bars that fall apart or taste overly sweet, but this recipe hits that sweet spot with a touch of saltiness from the peanut butter and just enough cocoa to satisfy a chocolate craving without overwhelming. The trick is mixing the oats just right and letting the bars chill long enough to firm up perfectly.
Plus, if you’re into easy meals, you might appreciate how these bars fit alongside other favorites on the site like the healthy trail mix energy bites or the easy cheesy breakfast burrito foil packets. They all come together quickly but deliver on flavor and satisfaction.
What Ingredients You Will Need
This recipe uses simple, wholesome ingredients to deliver bold flavor and satisfying texture without the fuss. These are pantry staples for many, with options for easy substitutions if needed.
- Old-fashioned rolled oats (1 ½ cups / 135g) – the base that adds heartiness and chew
- Natural creamy peanut butter (¾ cup / 190g) – I prefer brands like Smucker’s Natural for smoothness and flavor
- Honey or maple syrup (⅓ cup / 80ml) – the natural sweetener that binds everything
- Unsweetened cocoa powder (¼ cup / 25g) – choose Dutch-processed for a richer chocolate taste
- Vanilla extract (1 teaspoon) – adds depth and a subtle sweetness
- Salt (¼ teaspoon) – balances the sweetness and enhances flavor
- Mini chocolate chips (½ cup / 90g) – optional but highly recommended for little bursts of melty chocolate
If you don’t have honey, maple syrup works beautifully too, and for a slightly different twist, almond butter can replace peanut butter if allergies are a concern. For a gluten-free option, make sure your oats are certified gluten-free. In summer, tossing in some chopped nuts or dried fruit can add a nice seasonal touch.
Equipment Needed
- Mixing bowl: A medium to large bowl for combining ingredients. Glass or stainless steel works well.
- Measuring cups and spoons: Precise measurement keeps the texture consistent.
- Rubber spatula or wooden spoon: For mixing the sticky ingredients thoroughly without scraping the bowl too much.
- 8×8-inch baking pan: To press and shape the bars. Line with parchment paper for easy removal.
- Microwave-safe bowl (optional): For slightly warming peanut butter and honey to make mixing easier, but you can also use a stovetop double boiler.
Personally, I like using a silicone spatula because it scrapes the bowl clean and handles the stickiness nicely. If you don’t have an 8×8 pan, any similar-sized container will work, just adjust thickness accordingly. Parchment paper is a game-changer here — it makes lifting the bars out a breeze and keeps cleanup low fuss.
Preparation Method
- Warm the peanut butter and honey: In a microwave-safe bowl, gently heat the peanut butter and honey together for about 20-30 seconds until the mixture is soft and easy to stir. Stir to combine well. (If you prefer stovetop, use a double boiler over simmering water.) This step helps bind the ingredients smoothly without lumps.
- Add cocoa powder, vanilla, and salt: Stir in the cocoa powder, vanilla extract, and salt to the warm peanut butter mixture until completely blended. The mixture should be glossy and evenly dark chocolate in color.
- Mix oats and chocolate chips: In your mixing bowl, combine the rolled oats and mini chocolate chips. Pour the peanut butter mixture over the oats and stir with a spatula until every oat is coated and the mixture looks sticky and thick. If it feels dry, just add a teaspoon of honey or peanut butter.
- Transfer to pan and press: Line your 8×8-inch pan with parchment paper, leaving a little overhang. Pour the oat mixture into the pan and press down firmly with your spatula or hands (clean hands work best for even packing). Firm pressure helps the bars hold together after chilling.
- Chill and set: Cover the pan with plastic wrap and place it in the refrigerator for at least 2 hours, or until the bars are firm to the touch. You can also freeze for 30-45 minutes if you’re short on time, just let them thaw a bit before slicing.
- Slice and serve: Use the parchment paper overhang to lift the set mixture from the pan. Place on a cutting board and slice into 12 bars or squares. Store leftovers in an airtight container in the fridge.
If the bars crumble when you cut them, it usually means they didn’t chill long enough or weren’t pressed firmly. Next time, press a bit harder and give them more time to chill. The texture should be chewy but hold together well.
Cooking Tips & Techniques
Keep these tips in mind to get the best results with your Easy No-Bake Chocolate Peanut Butter Oat Bars:
- Use natural peanut butter: The kind with oil separation works best here—it melts smoothly and binds better than overly processed spreads.
- Warm ingredients gently: Heating the peanut butter and honey makes mixing easier and ensures a smooth texture without clumps.
- Press firmly: This is key to bars that hold together. I learned the hard way after a crumbly first batch (lesson learned!). Use the bottom of a measuring cup or your palms.
- Chill long enough: Patience pays off. At least 2 hours in the fridge lets everything firm up nicely for clean slicing.
- Avoid overmixing: Stir until just combined to keep the oats intact and maintain that chewy texture.
- Multitasking: While chilling, prep your lunch or clean up the kitchen to save time—these bars are perfect for no-fuss snacking later.
Don’t rush the chilling step or skip the pressing; those are the moments that make or break the bars. Also, if you want to add a little crunch, tossing in chopped nuts or seeds before pressing is a great move.
Variations & Adaptations
These bars are pretty flexible and open to customization depending on your taste or dietary needs:
- Nut-Free Version: Swap peanut butter for sunflower seed butter or tahini to keep it safe for nut allergies but just as tasty.
- Vegan & Refined Sugar-Free: Use maple syrup instead of honey and dairy-free chocolate chips to keep things plant-based.
- Seasonal Twist: Add dried cranberries, chopped dates, or even shredded coconut for a festive touch.
- Protein Boost: Stir in a scoop of your favorite protein powder for a post-workout snack.
- Spiced Up: A pinch of cinnamon or cayenne pepper adds a surprising warmth that pairs well with chocolate and peanut butter.
One version I love is swapping out half the oats for puffed quinoa—it adds an extra light crunch that’s unexpected but delicious. If you want to try a warm variation, these bars also work well slightly warmed in the microwave for 10 seconds, especially when topped with a dollop of yogurt or a drizzle of honey.
Serving & Storage Suggestions
These bars are best served chilled or at room temperature. They make a great grab-and-go snack straight from the fridge or a quick sweet bite with a glass of milk or your favorite coffee.
For a little extra flair, try slicing them thinner and serving with a dollop of Greek yogurt and fresh berries, or wrap individual bars in parchment paper for an easy snack pack.
Store the bars in an airtight container in the refrigerator for up to 1 week. They also freeze beautifully—just wrap them individually or in small stacks and freeze for up to 3 months. Thaw in the fridge overnight or at room temperature for about 20 minutes before eating.
Over time, the flavors deepen—the peanut butter and chocolate meld together even more, making the bars taste richer the next day. It’s a nice little bonus if you can wait that long!
Nutritional Information & Benefits
Each bar (assuming 12 bars per batch) roughly contains:
| Calories | 190-210 kcal |
|---|---|
| Protein | 5-6g |
| Fat | 10-12g (mostly healthy fats) |
| Carbohydrates | 20-22g |
| Fiber | 3-4g |
The oats provide whole-grain fiber that helps keep you full, while peanut butter offers protein and healthy fats that support sustained energy. Cocoa powder is rich in antioxidants, and using natural sweeteners like honey adds a touch of sweetness without refined sugars. These bars are naturally gluten-free if you use certified oats, and dairy-free if you skip the chocolate chips or choose vegan versions.
Personally, I appreciate how this snack hits the sweet spot between indulgence and nourishment, making it a feel-good treat rather than just empty calories.
Conclusion
These Easy No-Bake Chocolate Peanut Butter Oat Bars have quietly become my go-to whenever I need a quick, satisfying snack that doesn’t require turning on the oven. They’re simple, adaptable, and genuinely tasty enough to impress friends or just keep you fueled through the day. Feel free to tweak the ingredients to suit your preferences—whether that’s adding some crunch, swapping nut butters, or sneaking in some extra protein.
I love that they strike a balance between comfort and health without any complicated steps. Plus, they’ve saved me more than once during a hectic week when I needed a quick bite but wanted something homemade. If you give these bars a try, I’d love to hear what variations you come up with and how they fit into your routine!
Keep experimenting and enjoy every bite.
Frequently Asked Questions
Can I use crunchy peanut butter instead of creamy?
Yes! Crunchy peanut butter adds extra texture and crunch to the bars. Just keep in mind it might make the bars a bit less smooth but still delicious.
How long do these bars last at room temperature?
They’re best stored in the fridge due to the peanut butter and honey content. At room temperature, they may soften and become sticky within a few hours.
Can I substitute the honey for another sweetener?
Absolutely. Maple syrup works well for a vegan option, and agave nectar is another good alternative. Avoid granulated sugar as it won’t bind the bars properly.
Is there a way to make these bars without chocolate?
You can leave out cocoa powder and chocolate chips for a peanut butter oat bar version. Add cinnamon or vanilla for extra flavor instead.
What’s the best way to cut the bars without crumbling?
Make sure the bars are fully chilled and firm. Use a sharp knife and cut straight down in one motion rather than sawing back and forth.
Pin This Recipe!
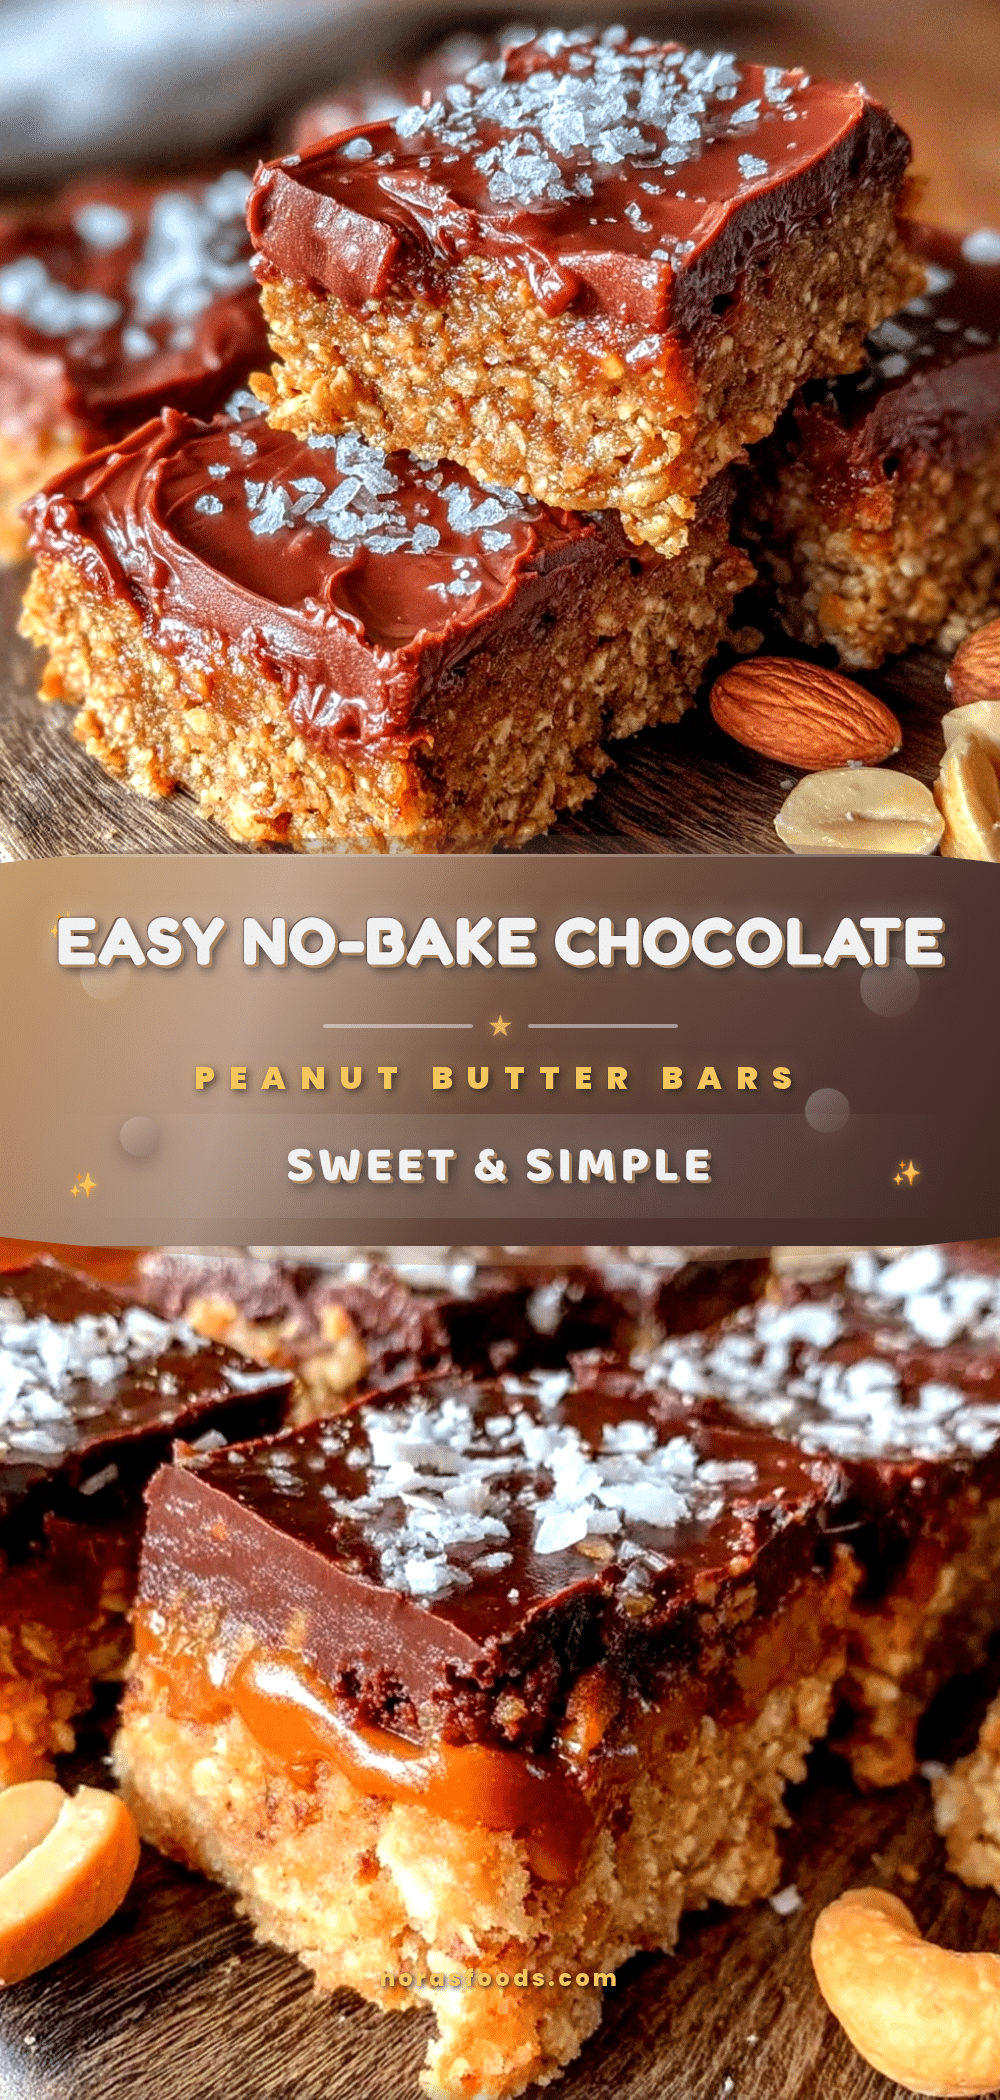
Easy No-Bake Chocolate Peanut Butter Oat Bars
These no-bake bars combine rich chocolate, creamy peanut butter, and hearty oats for a quick, satisfying snack that requires no oven and minimal effort.
- Prep Time: 10 minutes
- Cook Time: 0 minutes
- Total Time: 2 hours 10 minutes
- Yield: 12 bars 1x
- Category: Snack
- Cuisine: American
Ingredients
- 1 ½ cups old-fashioned rolled oats (135g)
- ¾ cup natural creamy peanut butter (190g)
- ⅓ cup honey or maple syrup (80ml)
- ¼ cup unsweetened cocoa powder (25g)
- 1 teaspoon vanilla extract
- ¼ teaspoon salt
- ½ cup mini chocolate chips (90g) (optional)
Instructions
- Warm the peanut butter and honey together in a microwave-safe bowl for 20-30 seconds until soft and easy to stir. Stir to combine well.
- Add cocoa powder, vanilla extract, and salt to the warm peanut butter mixture and stir until completely blended and glossy.
- In a mixing bowl, combine rolled oats and mini chocolate chips. Pour the peanut butter mixture over the oats and stir until every oat is coated and the mixture is sticky and thick. Add a teaspoon of honey or peanut butter if too dry.
- Line an 8×8-inch baking pan with parchment paper, leaving an overhang. Pour the oat mixture into the pan and press down firmly with a spatula or clean hands to pack evenly.
- Cover the pan with plastic wrap and refrigerate for at least 2 hours until firm. Alternatively, freeze for 30-45 minutes and thaw slightly before slicing.
- Use the parchment paper overhang to lift the set mixture from the pan. Slice into 12 bars or squares. Store leftovers in an airtight container in the fridge.
Notes
Use natural peanut butter with oil separation for best binding. Press bars firmly and chill at least 2 hours for clean slicing. Variations include nut-free versions using sunflower seed butter, vegan versions with maple syrup and dairy-free chocolate chips, and adding nuts or dried fruit for texture.
Nutrition
- Serving Size: 1 bar (1/12th of rec
- Calories: 200
- Sugar: 10
- Sodium: 90
- Fat: 11
- Saturated Fat: 2
- Carbohydrates: 21
- Fiber: 3.5
- Protein: 5.5
Keywords: no-bake bars, chocolate peanut butter bars, oat bars, healthy snack, quick snack, no oven snack, peanut butter oat bars


